You can make a difference in the Apple Support Community!

When you sign up with your Apple Account, you can provide valuable feedback to other community members by upvoting helpful replies and User Tips.

Looks like no one’s replied in a while. To start the conversation again, simply ask a new question.

Macbook Air support error 2002F

I tried to to reset my macbook air and accidentally shut it down, not knowing that it would do this. I tried using the internet recovery method multiple time but everytime it take me to the error screen with an exclamation point in a triangle in a globe, it also said apple support 2002F. I don't want to take this out to service because of the whole covid19 situation, so does anybody know how I can manually reset it and turn it back to normal?

Thank you

MacBook Air 13", 10.14

Posted on Apr 2, 2020 7:51 PM

Reply
Question marked as Top-ranking reply

Posted on Apr 3, 2020 10:19 AM

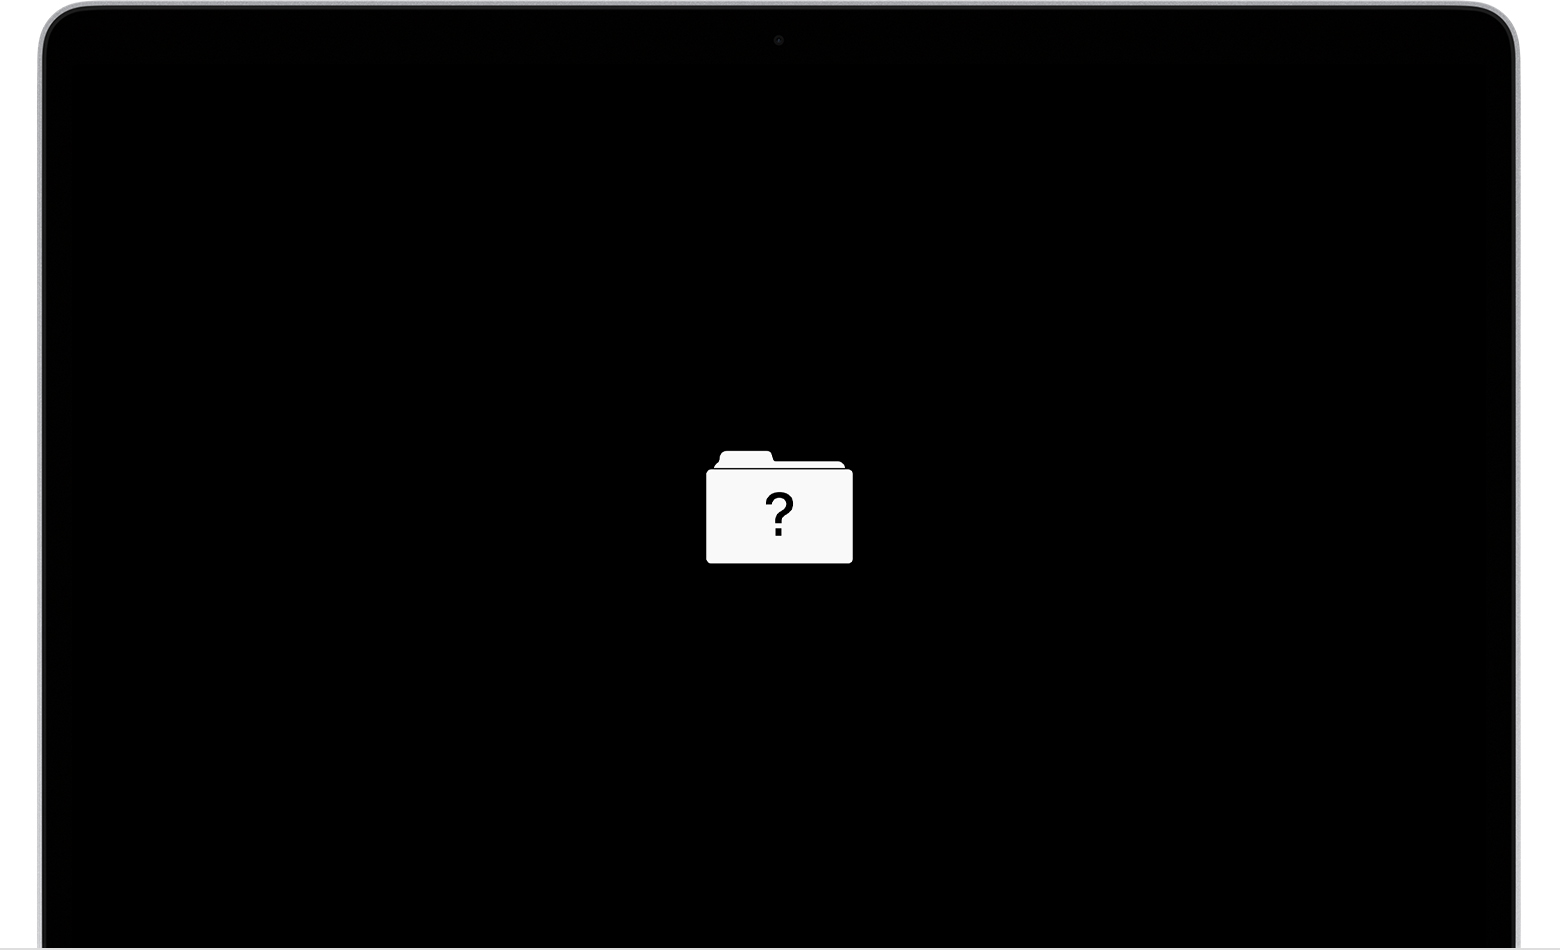
Question mark


Learn what to do if your Mac starts up to a question mark.


If this doesn't work at all, then it means you also erased the Recovery HD. Thus, you are taken automatically to Network Recovery with the globe. The error number usually means you have not established an Internet connection. You will need an active connection, either Wi-Fi or Ethernet. When you boot from Network Recovery you should get a window for selecting your Wi-Fi network and signing into it. However, using Ethernet is more reliable and faster. If you can, connect the computer to an Ethernet port on your modem/router before booting. The procedure is as follows:


Internet/Network Recovery of El Capitan or Later on a Clean Disk


     If possible back up your files before proceeding.


  1. Restart the computer. Immediately, at or before the chime, hold down the (Command-Option-Shift-R) keys until a globe appears.
  2. The Utility Menu will appear in from 5-20 minutes. Be patient.
  3. Select Disk Utility and click on the Continue button.
  4. When Disk Utility loads select the target drive (out-dented entry w/type and size) from the side list.
  5. Click on the Erase button in Disk Utility's toolbar. A panel will drop down.
  6. Set the partition scheme to GUID.
  7. Set the Format type to APFS (SSDs, only if installing Mojave or Catalina ) or Mac OS Extended, (Journaled.)
  8. Click on the Apply button, then click on the Done button when it activates.
  9. Quit Disk Utility and return to the Utility Menu.
  10. Select Install OS X and click on the Continue button.

This should install the original version of macOS that came from the factory.

3 replies
Question marked as Top-ranking reply

Apr 3, 2020 10:19 AM in response to huyen160

Question mark


Learn what to do if your Mac starts up to a question mark.


If this doesn't work at all, then it means you also erased the Recovery HD. Thus, you are taken automatically to Network Recovery with the globe. The error number usually means you have not established an Internet connection. You will need an active connection, either Wi-Fi or Ethernet. When you boot from Network Recovery you should get a window for selecting your Wi-Fi network and signing into it. However, using Ethernet is more reliable and faster. If you can, connect the computer to an Ethernet port on your modem/router before booting. The procedure is as follows:


Internet/Network Recovery of El Capitan or Later on a Clean Disk


     If possible back up your files before proceeding.


  1. Restart the computer. Immediately, at or before the chime, hold down the (Command-Option-Shift-R) keys until a globe appears.
  2. The Utility Menu will appear in from 5-20 minutes. Be patient.
  3. Select Disk Utility and click on the Continue button.
  4. When Disk Utility loads select the target drive (out-dented entry w/type and size) from the side list.
  5. Click on the Erase button in Disk Utility's toolbar. A panel will drop down.
  6. Set the partition scheme to GUID.
  7. Set the Format type to APFS (SSDs, only if installing Mojave or Catalina ) or Mac OS Extended, (Journaled.)
  8. Click on the Apply button, then click on the Done button when it activates.
  9. Quit Disk Utility and return to the Utility Menu.
  10. Select Install OS X and click on the Continue button.


This should install the original version of macOS that came from the factory.

Apr 2, 2020 9:00 PM in response to huyen160

What model do you have? To find the complete model information select About This Mac from the Apple menu. You can create a snapshot of the dialog as follows:


How to take a screenshot on your Mac

Capture, Save or Record Screenshots in Mac OS X - Help Desk Geek


OS X Screen Capture Shortcuts


(⌘⬆︎3) Command-Shift-3 Capture the screen to a file

(⌘⬆︎⌃3) Command-Shift-Control-3 Capture the screen to the Clipboard

(⌘⬆︎4) Command-Shift-4 Capture a selection to a file

(⌘⬆︎⌃4) Command-Shift-Control-4 Capture a selection to the Clipboard

(⌘⬆︎5) Command-Shift-5 Invoke new screen grabber


You can then post the image in the forum's message editor.


Install El Capitan or Later from Scratch


If possible, back up your files.


  1. Restart the computer. Immediately, at or before the chime, hold down the Command and R keys until the Apple logo and progress bar appear. Wait until the Utility Menu appears.
  2. Select Disk Utility from the Utility Menu and click on the Continue button.
  3. When Disk Utility loads select the target drive (out-dented entry w/type and size info) from the Device list.
  4. Click on the Erase button in Disk Utility's toolbar. A panel will drop down.
  5. Set the partition scheme to GUID.
  6. Set the Format type to APFS (SSDs only) or Mac OS Extended (Journaled.)
  7. Click on the Apply button, then wait for the Done button to activate and click on it.
  8. Quit Disk Utility and return to the Utility Menu.
  9. Select Install OS X and click on the Continue button.


Macbook Air support error 2002F

Welcome to Apple Support Community
A forum where Apple customers help each other with their products. Get started with your Apple Account.