First, delete any driver you installed. It isn't necessary, or even useful.
You also don't need the Synology finder app. At least, not after the first time you connect to the NAS. All that app does is locate the NAS by the IP address assigned to it by your router. After that, all you need to know is the address and you can connect to the NAS at any time in your browser.
To get that info, login to your NAS with their finder app (for now). Once in, click on Control Panel > Network. Then the Network Interface tab. There it will show you the IP address used by your NAS.
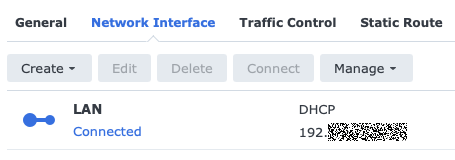
You'll never need to use the Synology finder app after this. Just put the IP address in your browser's search bar, hit enter and login as usual.
While you're in the NAS's settings, the important information for connecting as a user for read/write access is also there. Go to Control Panel > File Services. Click on the AFP tab and turn it off. Apple deprecated this old server protocol a while back. While it worked okay up through Ventura, it's unreliable in Sonoma.
Next, click on the SMB tab. The NAS shows what you need to know right on the panel. Write down the Mac's SMB address.
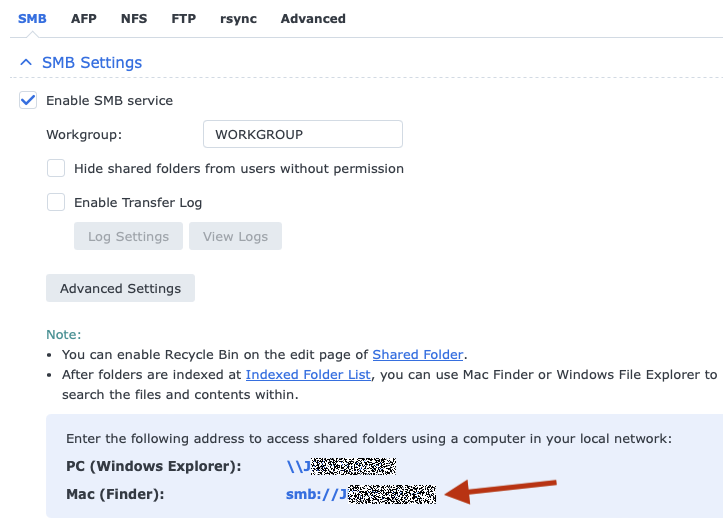
Other than having a user name set up for second user under User & Group so you're not sharing a single user login for two people (a bad idea), you're done in the NAS settings. Log out and close the browser window.
Now you're ready to log your wife's Mac into the NAS. Again, you don't need the Synology search app at all to do this.
From the desktop (where Finder is showing as the foreground app at the top left next to the Apple logo), press Command+K to open the server connection panel.
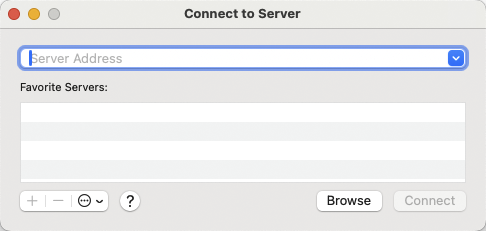
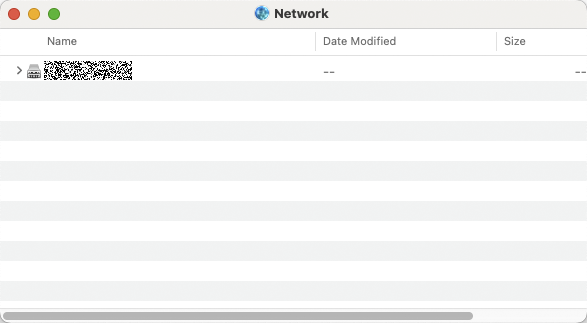
Now, you could press the Browse button to have the Mac locate the NAS for you, which would bring this window up and then double click the only server it should find:
But, since you already know the SMB address obtained in the NAS's settings, you can type it into the bar at the top. Which would be the smb://your_server_name text. Once you do that, click the + button to add the name to the favorites list. Now press Connect. You should then see this:
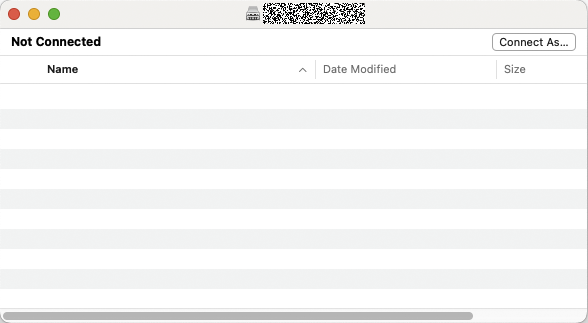
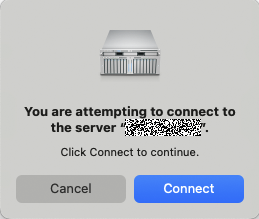
Click the Connect As… button. That will take you here. Click Connect to continue.
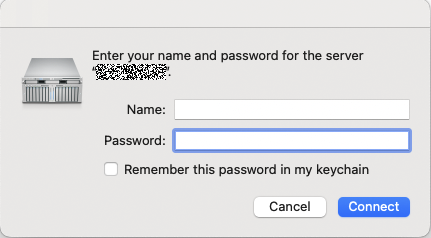
Now it will ask for the user name and password the NAS is expecting. Put in your the credentials for your wife you set up on the NAS for her. Make sure to turn on the check box for Remember this password in my keychain. Otherwise, she'll have to go through this chain of steps every time she connects to the NAS.
Finally, once connected, you'll see the icon for the NAS.
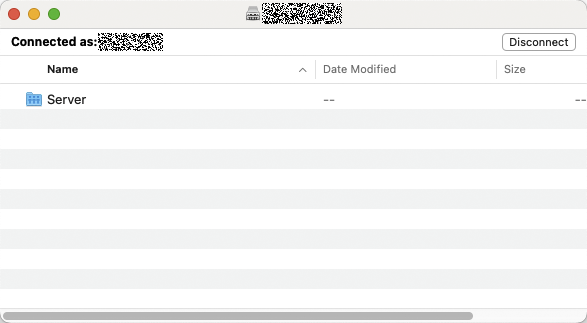
Double click the server icon to view the folder and file contents.
This all seems long and obnoxious, but now in the future, because she checked the box to remember the password, connecting will be as simple as pressing Command+K and hitting enter as the last server used will automatically be selected. The server icon will then appear on the desktop, assuming you have it chosen in the Finder options to show connected servers.
