Outer Glow is pretty good, and it's definitely easy.
This is a little more complicated, but offers a good bit more lattitude for options (and maybe take you down a rabbit hole or two 😀)
This will work with any kind of alpha media (video, stills):
Clone the object (select the layer and type K)
Move the clone underneath the layer you want to outline.
With the clone selected, type Command-Shift-G (make a group and place the clone inside - in one throw)
With the group selected, in the Inspector > Group, check Fixed Resolution (otherwise the added effects will be cropped to the bounds of the original image.)
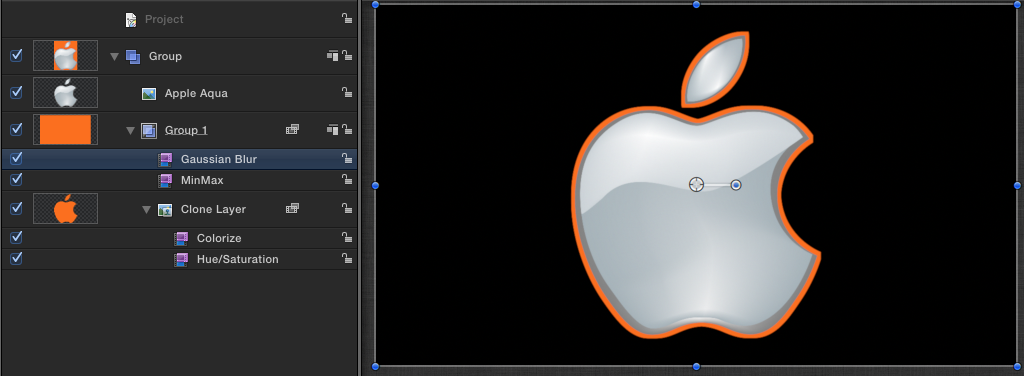
To the Group, add Filter > Stylize > MinMax ; set the type to Maximize and Radius > 0 (set it to 10 to start)
To the Clone layer add Filter > Color Correction > Hue Saturation Value - set Value to 0 (everything turns black.)
To the Clone layer add Filter > Color Correction > Colorize and set the Remap Black color to the outline color you want.
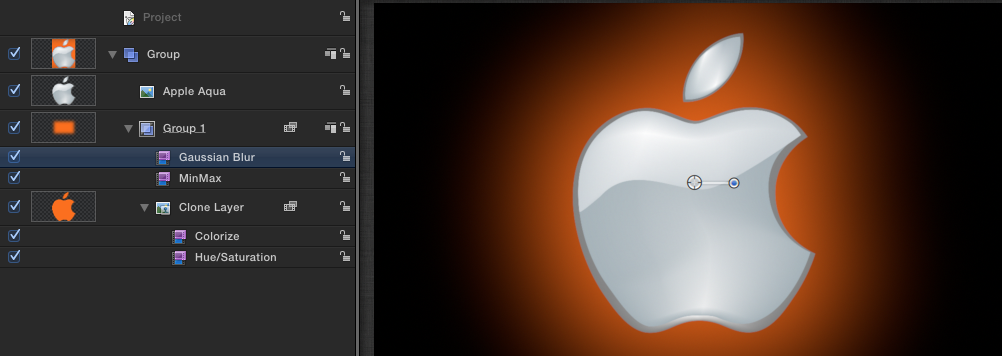
A nice touch is to add a Filter > Blur > Gaussian Blur to the clone. Set the Blur to > 100 for a really nice "glow" effect. At < 100, it will give the outline a little "3D depth".
Blur 0:
Blur 50:
[Note: this example moves the Gaussian Blur to the clone layer]

Blur 600:
[Note: this example has the Gaussian Blur applied to the Group - you can get
2 slightly different effects depending on the placement of the blur effect. Try both.]
If you plan to animate the object with the "outline" then you need to "link" the two positions:
Select the Clone layer and in the Inspector > Properties > Transform and right-click on Position > Add Parameter Behavior > Link. In Behaviors > "Link" ; click and drag the original media to the "Source Object" drop well. Now, when you animate the original, the clone will follow seamlessly.
One more thing to try:
To the original media object, Add Properties > Drop Shadow 😉 [play with the parrameters until you find a nice effect.]