Looks like no one’s replied in a while. To start the conversation again, simply ask a new question.

Viewing Tools Not Showing in iMovie 11

I've been using iMovie 8 for Mac for several years and just upgraded to iMovie 11 today but for some reason I can't get the display to work right so I can't find the tools I'm used to using! This won't let me upload a snapshot, so here's a link to a video that is showing what I'm missing:


https://www.youtube.com/watch?v=oHF6OcdnZJo


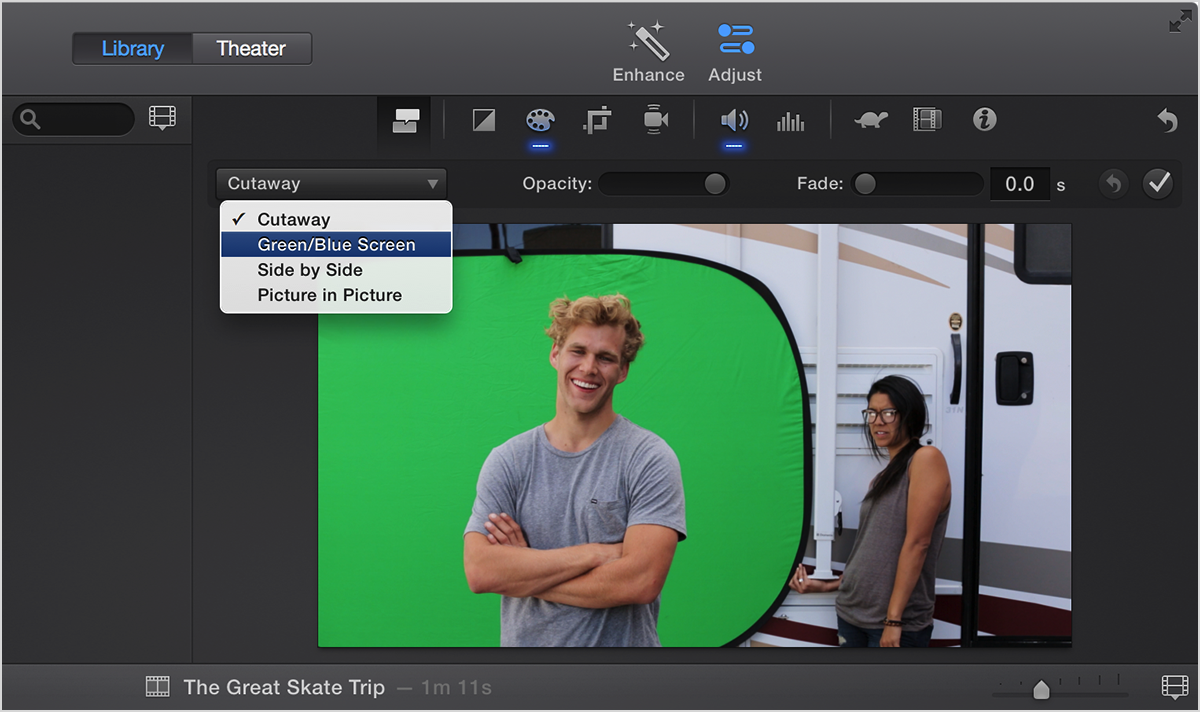
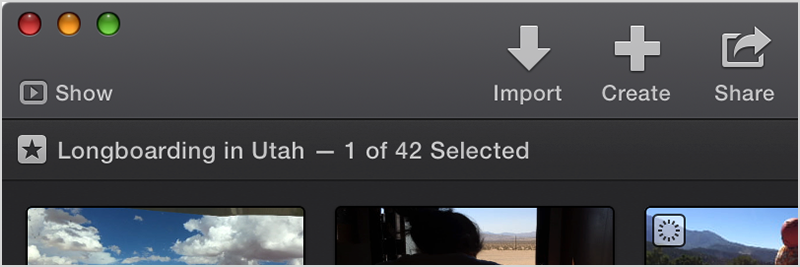
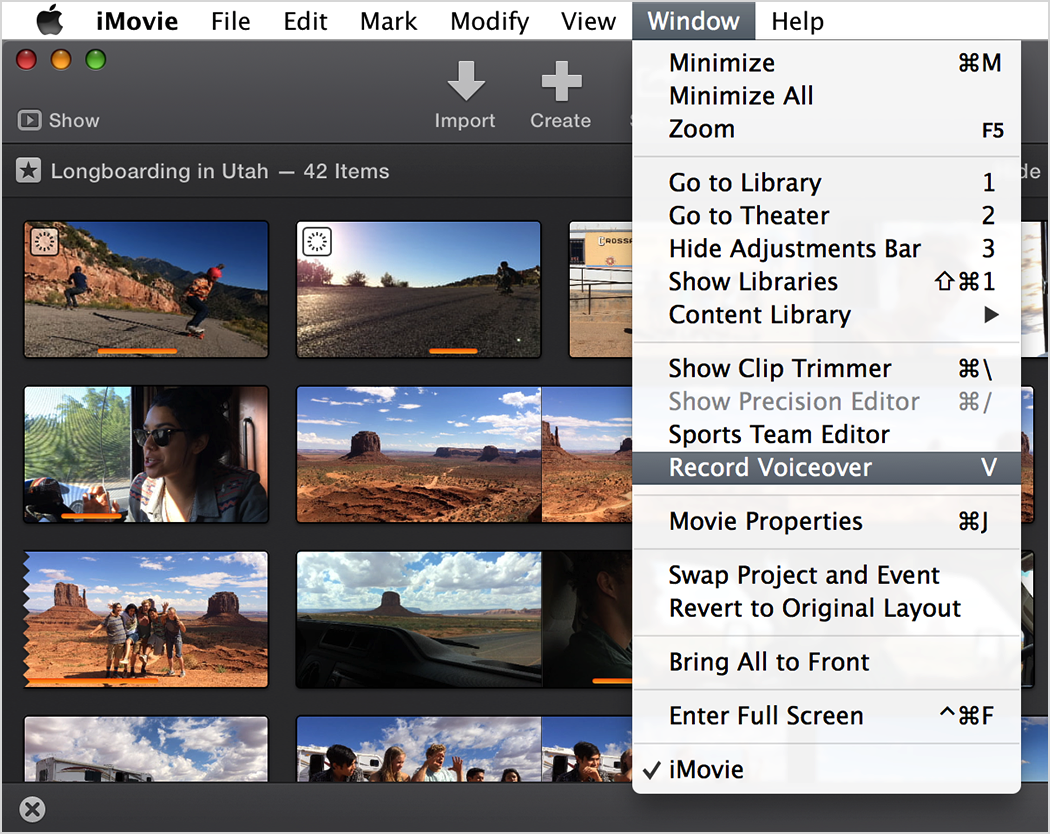
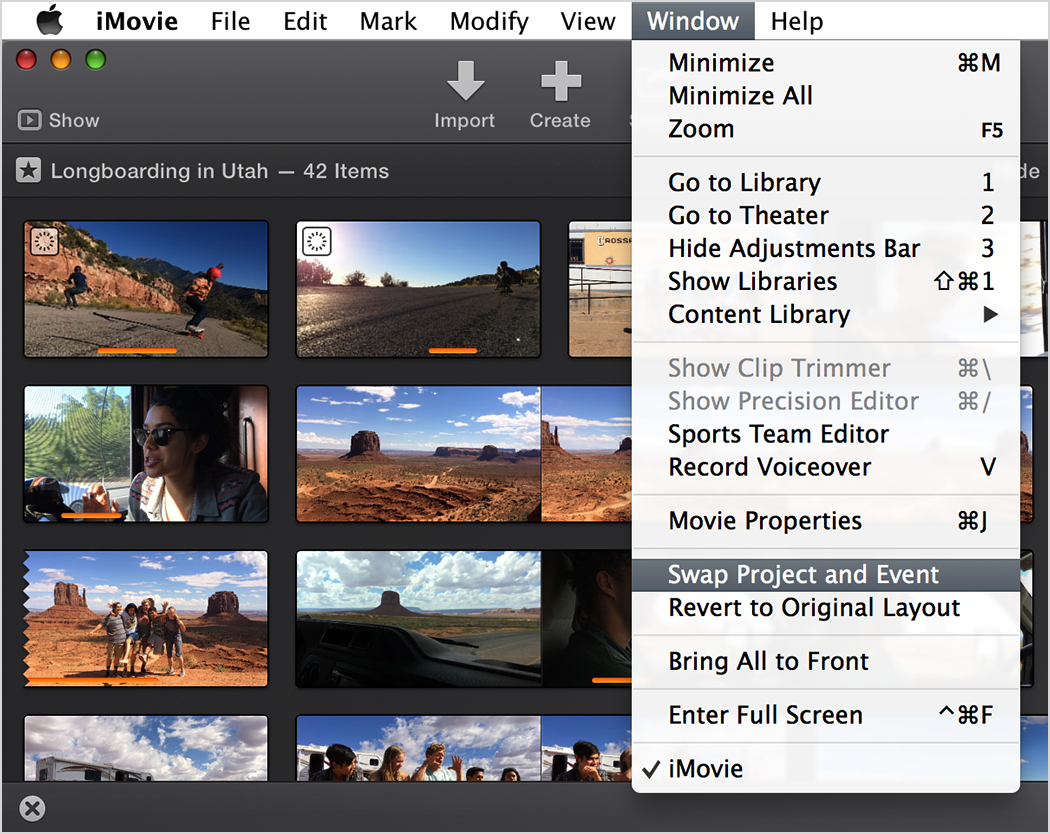
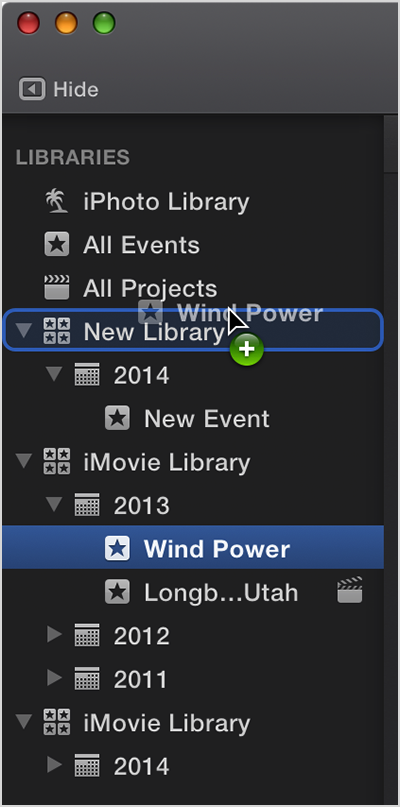
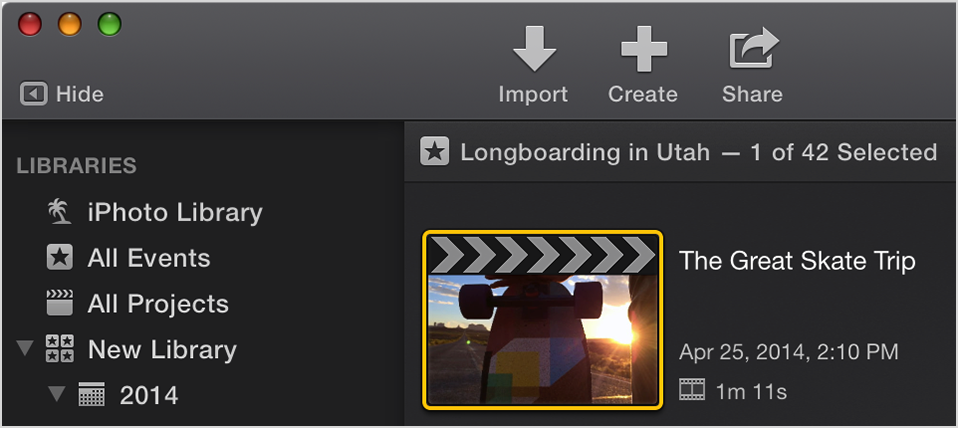
The part right under the browser at the top and the play movie is missing on my version - that little strip with the video camera, then the "swap arrows" then right in the middle where it has a cursor and other tools... How do I get that to display in iMovie 11? It obviously is still there because this tutorial is iMovie 11! I just can't find it!


Thanks so much for any help...


Jacki

Mac Pro, OS X Yosemite (10.10.2), Yosemite

Posted on Feb 3, 2015 11:26 AM

Reply
1 reply

Feb 5, 2015 11:51 AM in response to Jacki

Hi Jacki,

When you open your iMovie application and click on iMovie > About iMovie on the menu bar -- what version do you see? I'm assuming you are actually using iMovie 2013 (version 10.0.6) and that is why you are seeing a different layout.

If that is the case, then the article below will help you understand the layout of the version of iMovie you are working with. If I am misunderstanding your situation, please reply back with additional information.

iMovie (2013): Tips For iMovie ’11 Users - Apple Support
http://support.apple.com/en-us/HT202954


iMovie (2013): Tips For iMovie ’11 Users

iMovie (2013) introduced an all-new, streamlined design. If you used a previous version of iMovie, you’ll find that some features work differently or have moved to a different part of the app. Learn about these changes with the topics below.


Add titles, transitions, music, and maps

You can find titles, transitions, music, and maps in the Content Library. The Content Library is at the bottom of the sidebar once you open a movie project.

  1. If the sidebar is not already open, click Show in the toolbar.
    User uploaded file
  2. At the bottom of the sidebar, select an item from the Content Library.
    User uploaded file
  3. In the Browser, your selection appears (titles, transitions, and so on). Drag one to the timeline to add it to your movie.
    • If you add a title, map, or globe, you can adjust settings in the Adjustments Bar which is located above the Viewer.

      User uploaded file
    • If you add a transition, double-click it in the timeline to adjust its duration.
      User uploaded file
  4. To return to your video clips in the Browser, select an event in the sidebar.

Create Cutaway, Picture in Picture, Side by Side, and Green/Blue Screen effects

iMovie ’11 included an Advanced Tools preference which allowed you to add a video clip to your movie as a Cutaway, Picture in Picture, Side by Side, or Green/Blue Screen. To do this in iMovie (2013):

  1. Add a video clip to the timeline.
  2. Drag a second video clip above the first clip to add it as a Cutaway.
    Note:You can drag a video clip below another to add just its audio.
    User uploaded file
  3. Video Overlay controls will appear In the Adjustments Bar. From the drop-down menu, you can select a different overlay type.

    User uploaded file

Make range selections in the timeline

With range selections, you can select just a portion of a clip in the timeline.

  1. In the timeline, click and hold on a clip. After a brief pause the cursor will change.
  2. Drag left or right to make a selection.
    User uploaded file

Make audio waveform adjustments in the timeline

Audio waveforms show the volume of each of your clips and are color-coded to show you which parts are too loud.

Select Show Waveforms from the Timeline Appearance menu.

User uploaded file

To adjust the volume of an entire clip, drag the volume bar up or down.

User uploaded file

To adjust the volume of just a portion of a clip:

  1. In the timeline, click and hold on a clip. After a brief pause the cursor will change.
  2. Drag to select the portion of the clip you want to adjust.
    User uploaded file
  3. Drag the volume bar up or down to adjust the volume.
    User uploaded file

After making the adjustment, indicators of the volume change appear on the clip. You can drag these indicators in any direction to further customize the clip’s volume.
User uploaded file

Record Video with the FaceTime Camera

With iMovie you can record video with the FaceTime Camera built into your Mac and add it to you project.

  1. In the sidebar, select the event where you’d like to save the recorded video.
  2. Click the Import button in the toolbar.
    User uploaded file
  3. In the Import window that appears, select FaceTime HD Camera in the sidebar.
    Note: Depending on which Mac you have, the camera may be called FaceTime Camera or Built-in iSight.
    User uploaded file
  4. Click the Red record button at the bottom of the window to start and stop recording. The video will be added to the event you selected in step 1.
  5. Click the Close button. You can now add the recorded video clip to your project as you would any other clip.

Record Narration

With iMovie you can record narration using the microphone built into your Mac.

  1. Open a Movie project. To record narration, there must be at least one clip already in the timeline.
  2. Select Window > Record Voiceover. Voiceover controls will appear at the bottom of the area where you view your video.
    Note: You can also press the V key on the keyboard to display these controls.
    User uploaded file
  3. In the timeline, click where you’d like your recording to begin.
  4. Click the microphone button to start and stop recording. The recording will be added to the timeline and also to your event if you’d like to reuse it later.
    User uploaded file

Swap Project and Event areas

In iMovie ’11 a toolbar button allowed you to to swap the Project and Event areas. to do this in iMovie (2013):

Open a project and choose Window > Swap Project and Event.
User uploaded file

Finalize Projects

iMovie ’11 included a Finalize feature which created a “master” copy of your project. With iMovie (2013), sharing a project to iMovie Theater serves a similar purpose. You can also share your project to iTunes or as a File to archive a master copy.

Sorting Events in the Sidebar

In iMovie, events are organized by date in the sidebar with the newest events on top. To adjust how events are organized in the sidebar:

  1. Select an event in the sidebar.
  2. Choose View > Sort Events By.
    User uploaded file
  3. In the menu that appears, select a new setting.

Work with External Hard Drives

Your projects and events are stored inside of an iMovie library. You can store this file on your Mac or an external hard drive. You can even have multiple library files open at once.

To create a new iMovie library:

  1. Choose File > Open Library > New.
    User uploaded file
  2. In the window that appears, enter a name for your library and select where you would like to save it, such as an external hard drive.
  3. Click Save.
  4. In the sidebar, the new library will appear. You can now import media into this library, or copy existing projects and events to it.

To copy an event to a different library:

  1. Select the event.
  2. Drag it to another library in the sidebar. A progress indicator will appear in the toolbar.
    User uploaded file

To copy a project to a different library:

  1. Select the project.
    User uploaded file
  2. Drag the project to an event in a different library in the sidebar. A progress indicator will appear in the toolbar. iMovie will copy the project and all of its media (video clips, photos, and audio files) to the new library.

Learn more

Learn about updating projects and events from previous versions of iMovie.

Last Modified:
Helpful?

44% of people found this helpful.

Additional Product Support Information


Start a Discussion

in Apple Support Communities


See all questions on this article See all questions I have asked

Contact Apple Support

Need more help? Save time by starting your support request online and we'll connect you to an expert.

Get started User uploaded file


Shop the Apple Online Store (1-800-MY-APPLE), visit an Apple Retail Store, or find a reseller.

Copyright © 2015 Apple Inc. All rights reserved.


Cheers,

Judy

Viewing Tools Not Showing in iMovie 11

Welcome to Apple Support Community
A forum where Apple customers help each other with their products. Get started with your Apple ID.