Hi Matt,
Basically the same as your method, but using a horizontal line across the printable space and above the table.
With the colour of the line set to white, it disappears from the screen and from the printed page, but still serves as an object to be centred on.
I did this with a document containing two sheets and several tables, so when I exported to Excel format, the result included a sheet for each table plus a sheet for "Drawings".
The Sheet 2-Table 1 Excel workbook Sheet did include an extra row, holding the name of the table (which had been displayed in Numbers), but did not include an empty Column A.
Incidentally, with the Rulers shown, you can click in the vertical ruler and drag right, pulling out a vertical guideline, which you can position anywhere on the horizontal ruler. Repeat and you'll get a second guideline. I made a table whose with I adjusted to 'just fit' on a single page width when in Print Setup, then returned to editing mode and placed guidelines at its left and right edges. The yellow guidelines do not print.

Print Setup showing table sized to fit 1 page width, and matching horizontal line (before colour change to white).
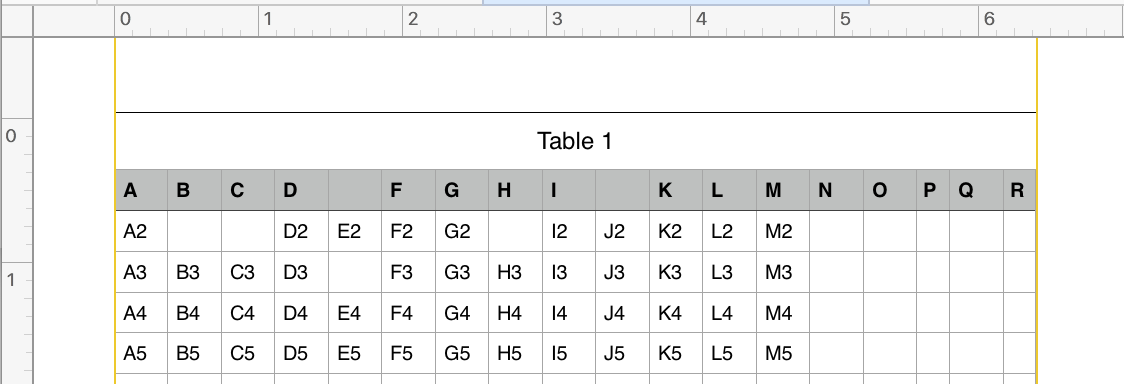
Same setup viewed in editing mode.

'Helper' line colour set to white.
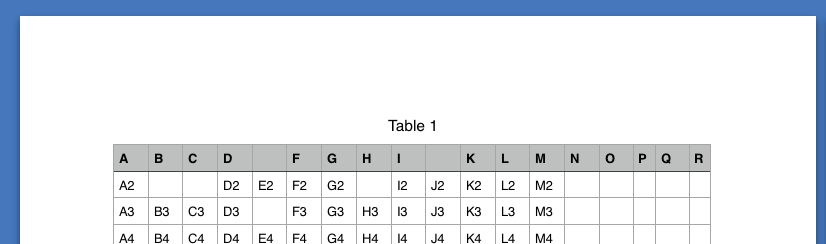
Printed (to Preview as PDF)
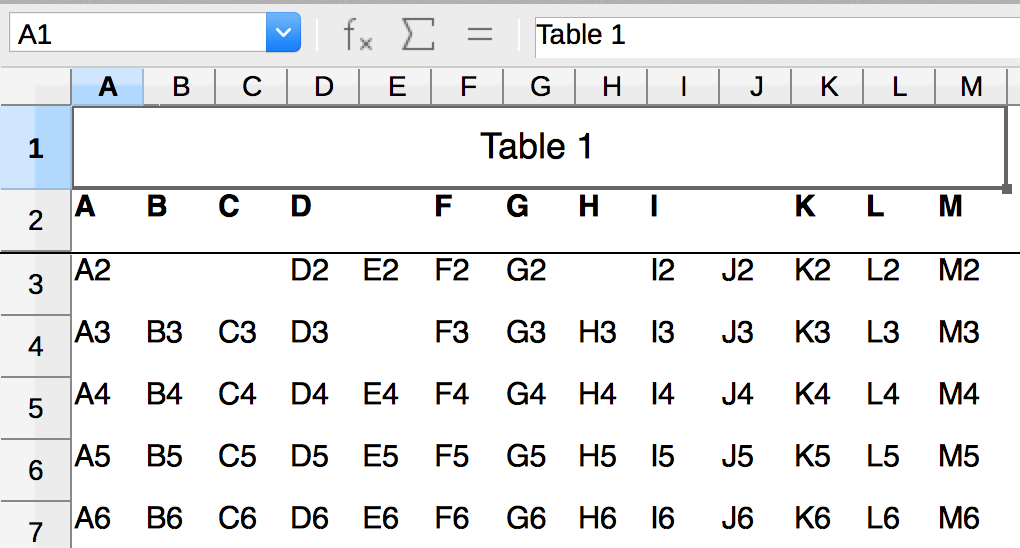
Four empty columns removed. Table was re-centred using the 'Helper' line. The Document was then exported as an Excel file, and opened in LibreOffice.
(Empty cells are correctly exported—the table was originally used to test a script (written by SGIII) used to clear specific cells in a set of tables.)
Regards,
Barry