Don’t let the amount of text fool you, this is by no stretch rocket science. Finding the button can make event planning a lot easier though, and I am yet to find a pass that does not allow sharing.
1) Launch your Wallet app and find the pass stored on behalf of your friends. On occasion, multiple tickets granting access to the same event will be listed next to each other on tapping the first pass. If you cannot swipe left to select the other passes, they will be itemised vertically with the other cards.
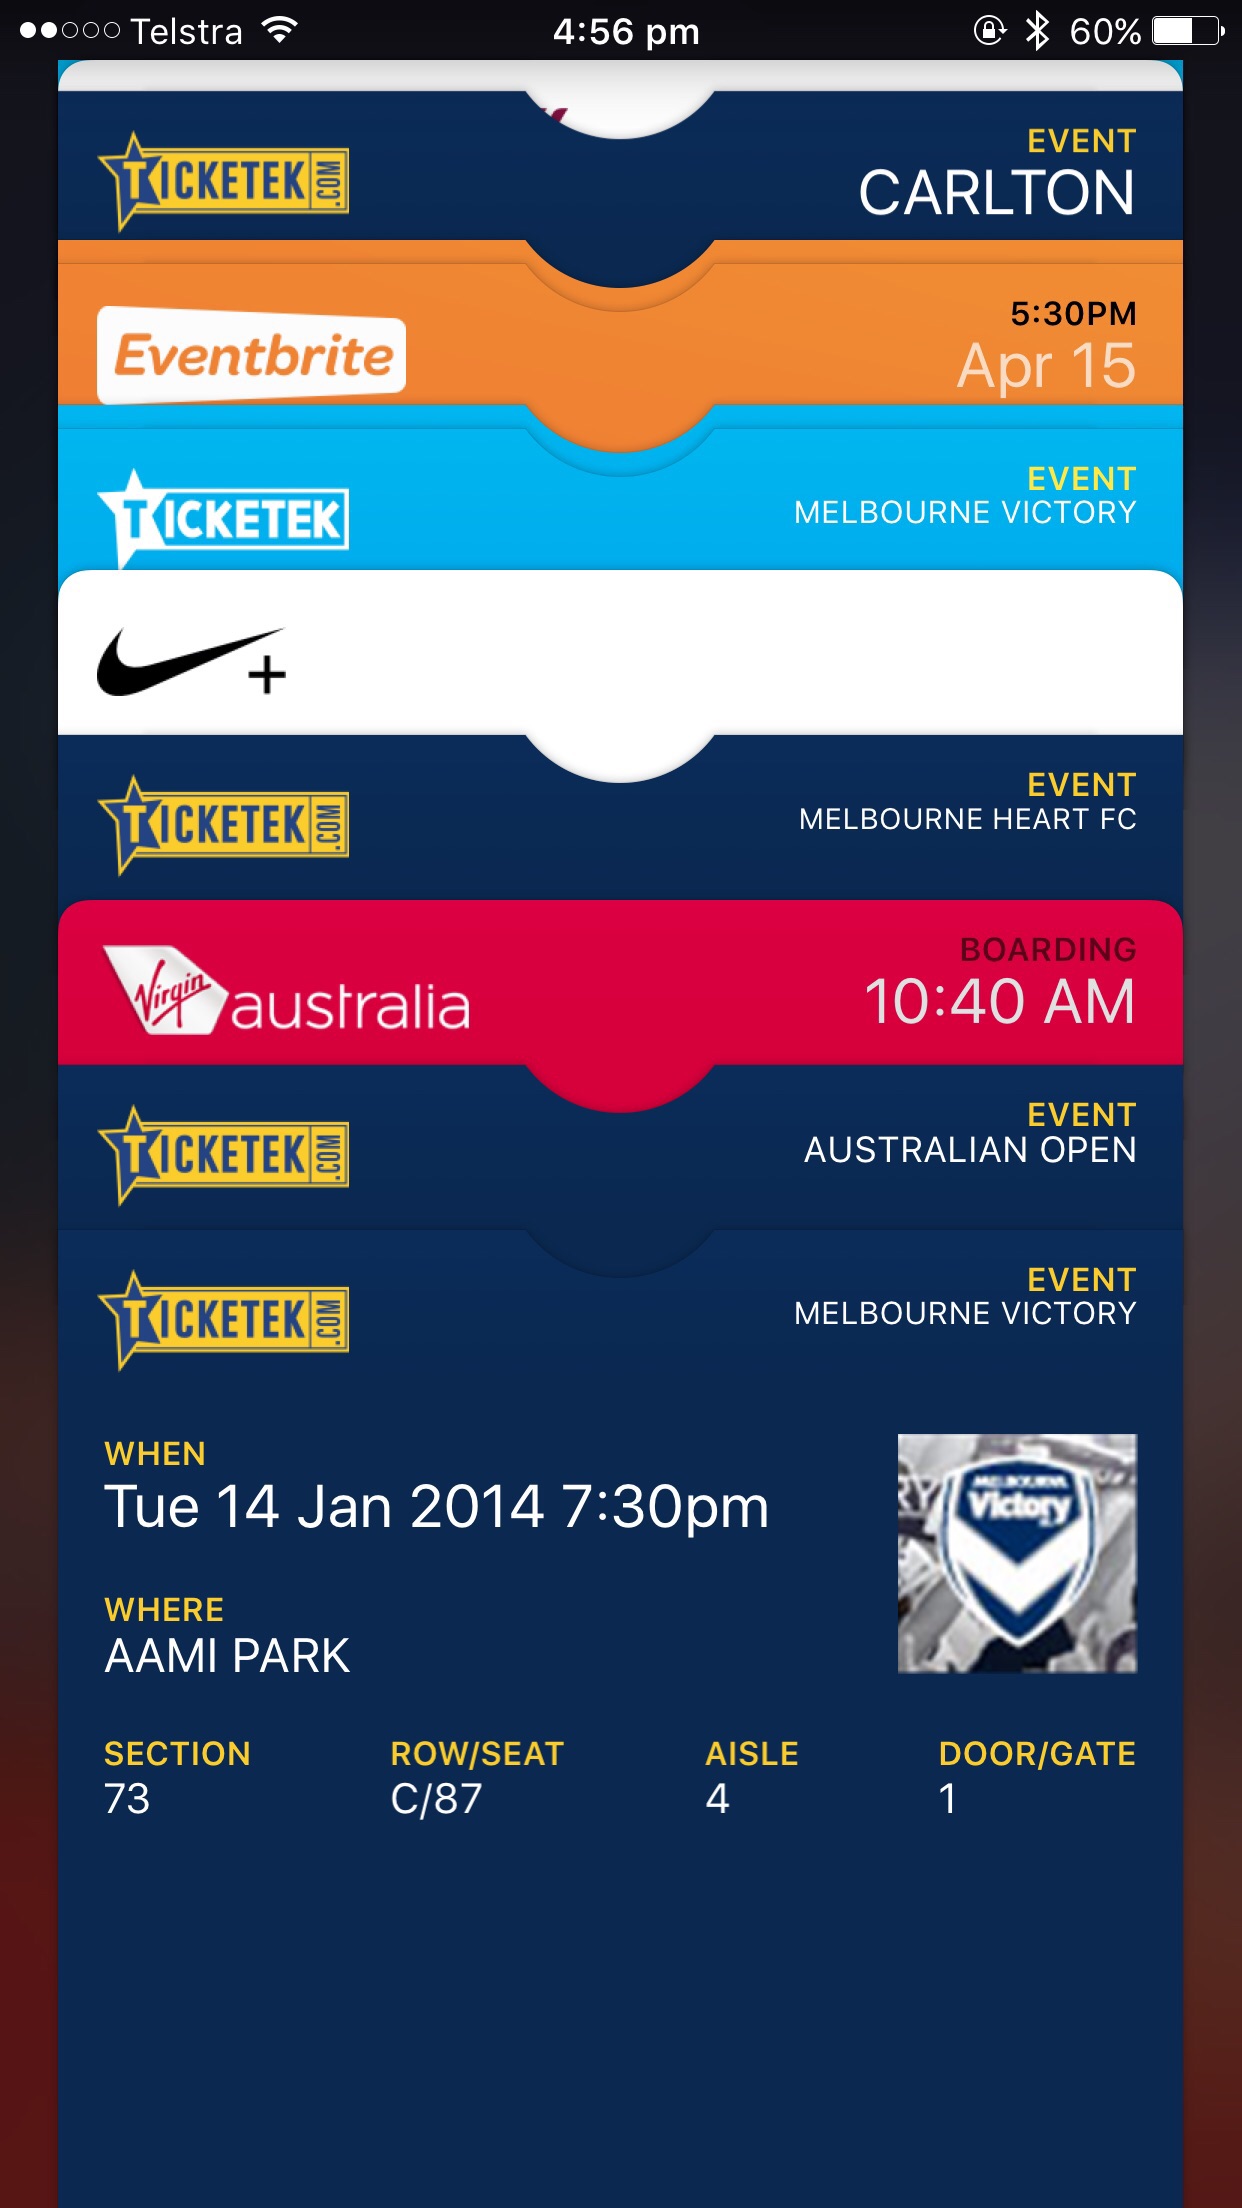
2) Touch the pass you want to impart to an acquaintance. Select the little i icon in the bottom right corner.
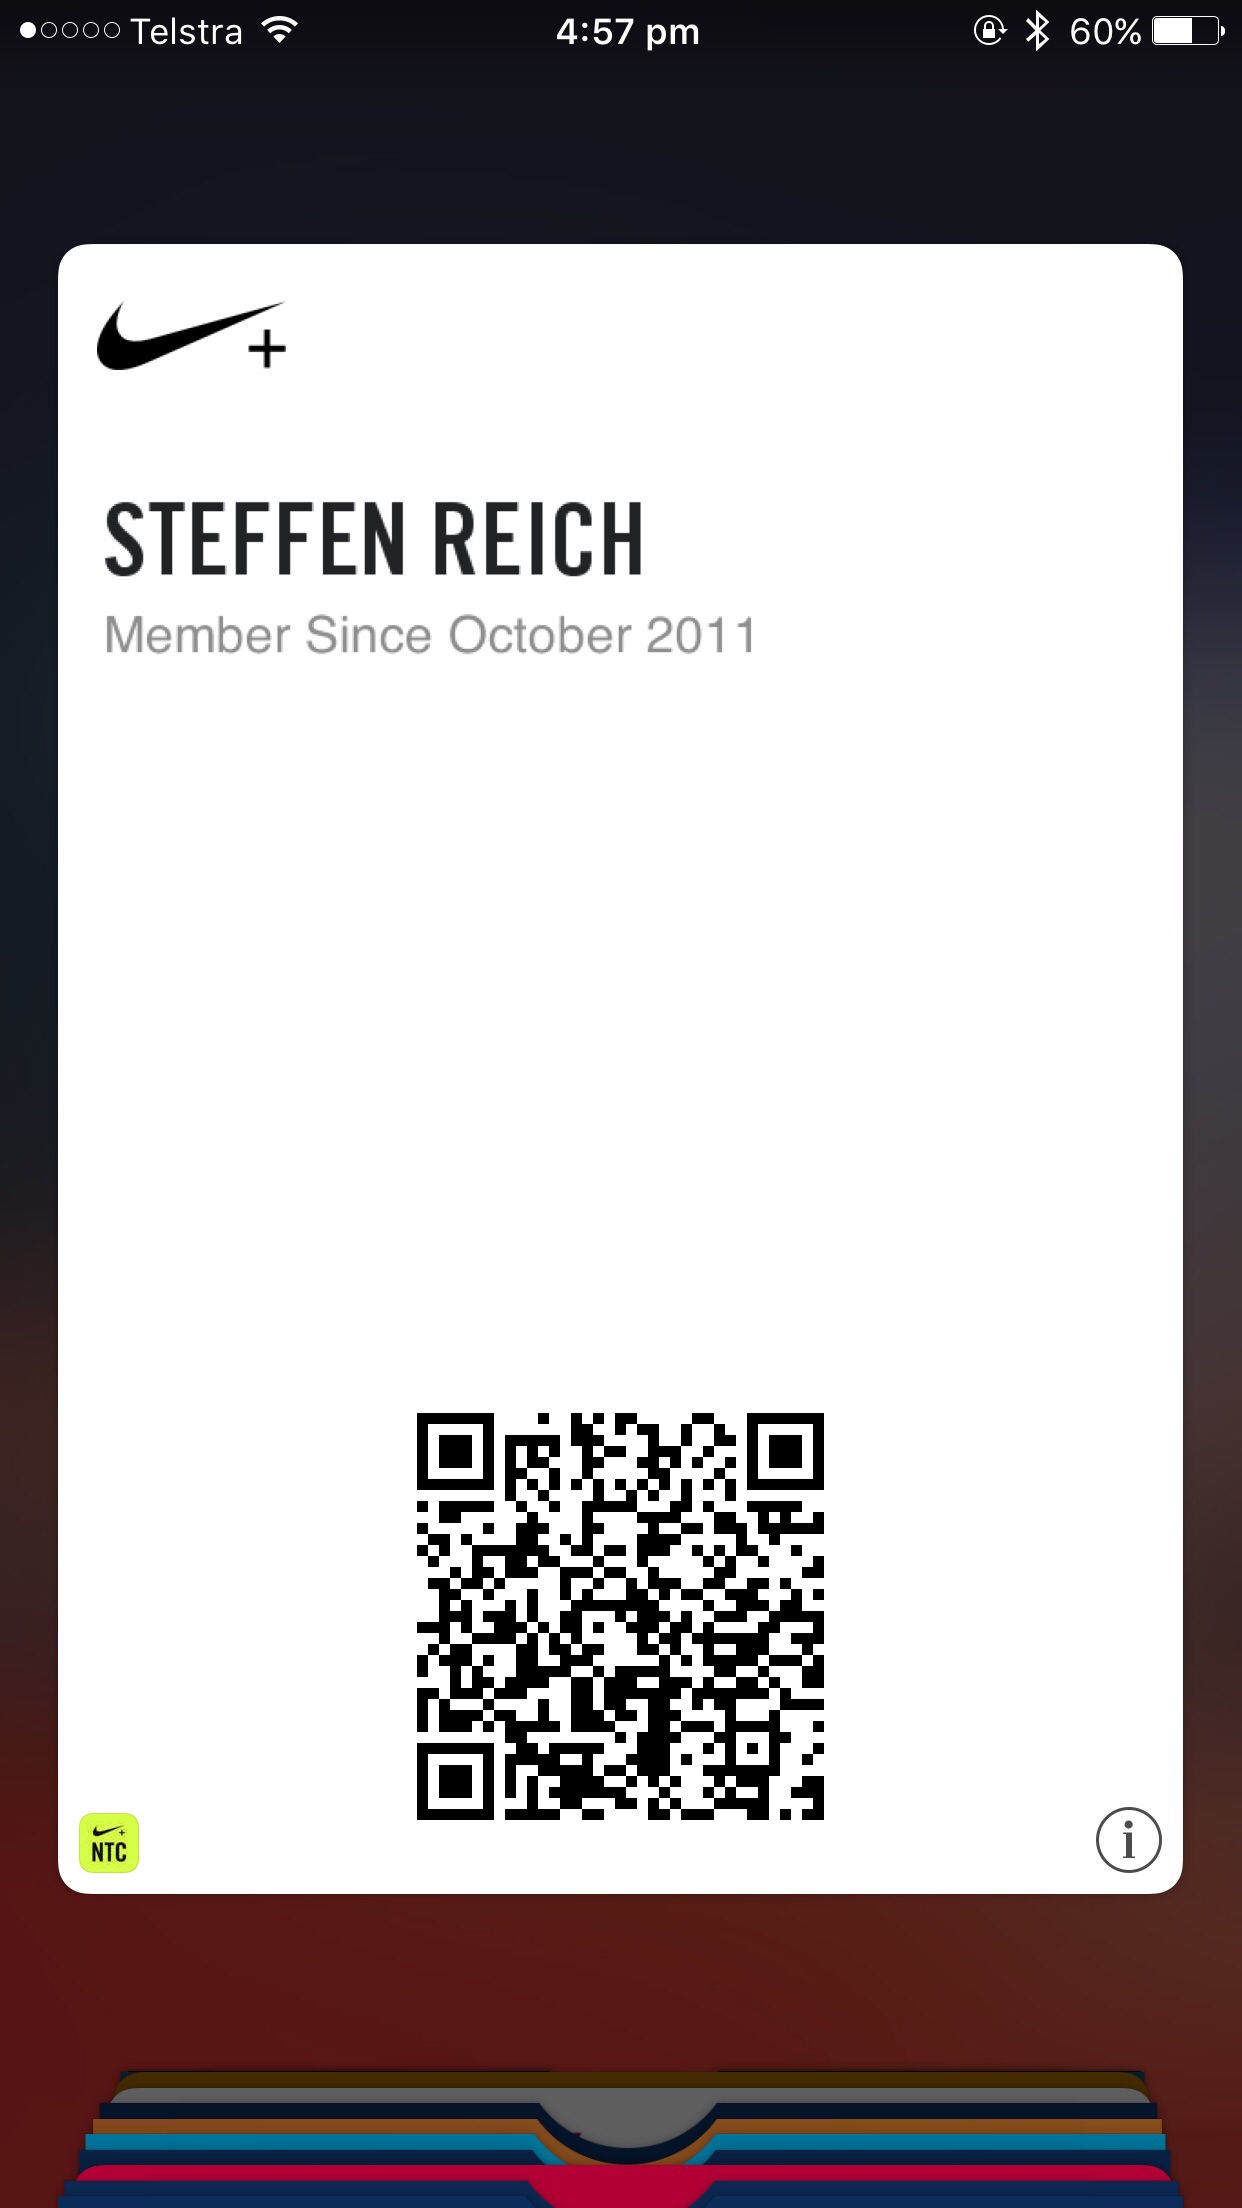
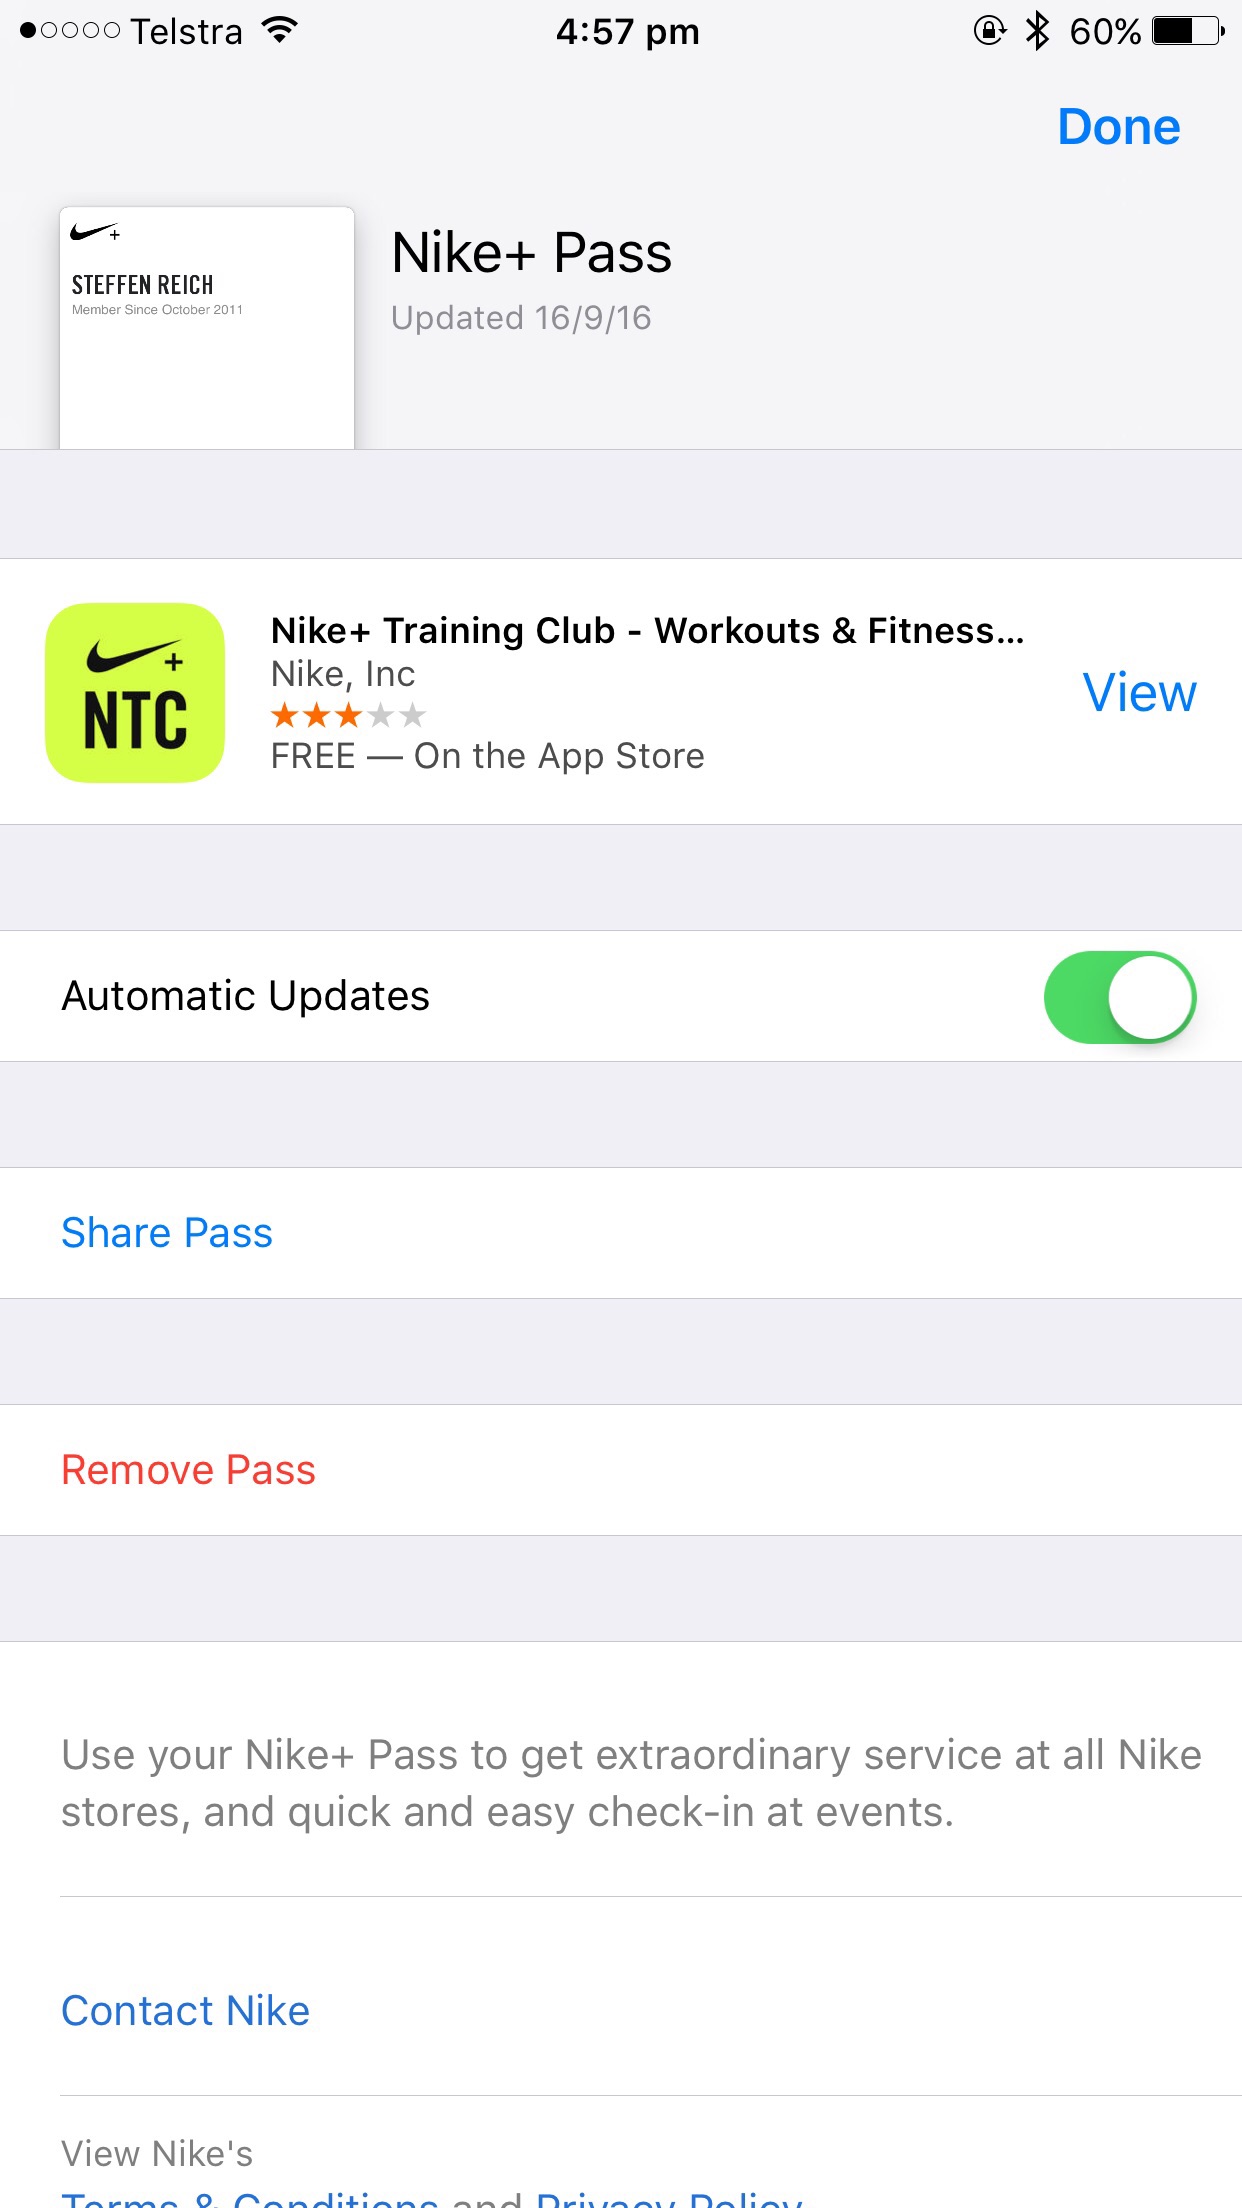
3) In the centre of the now flipped pass, locate Share Pass.
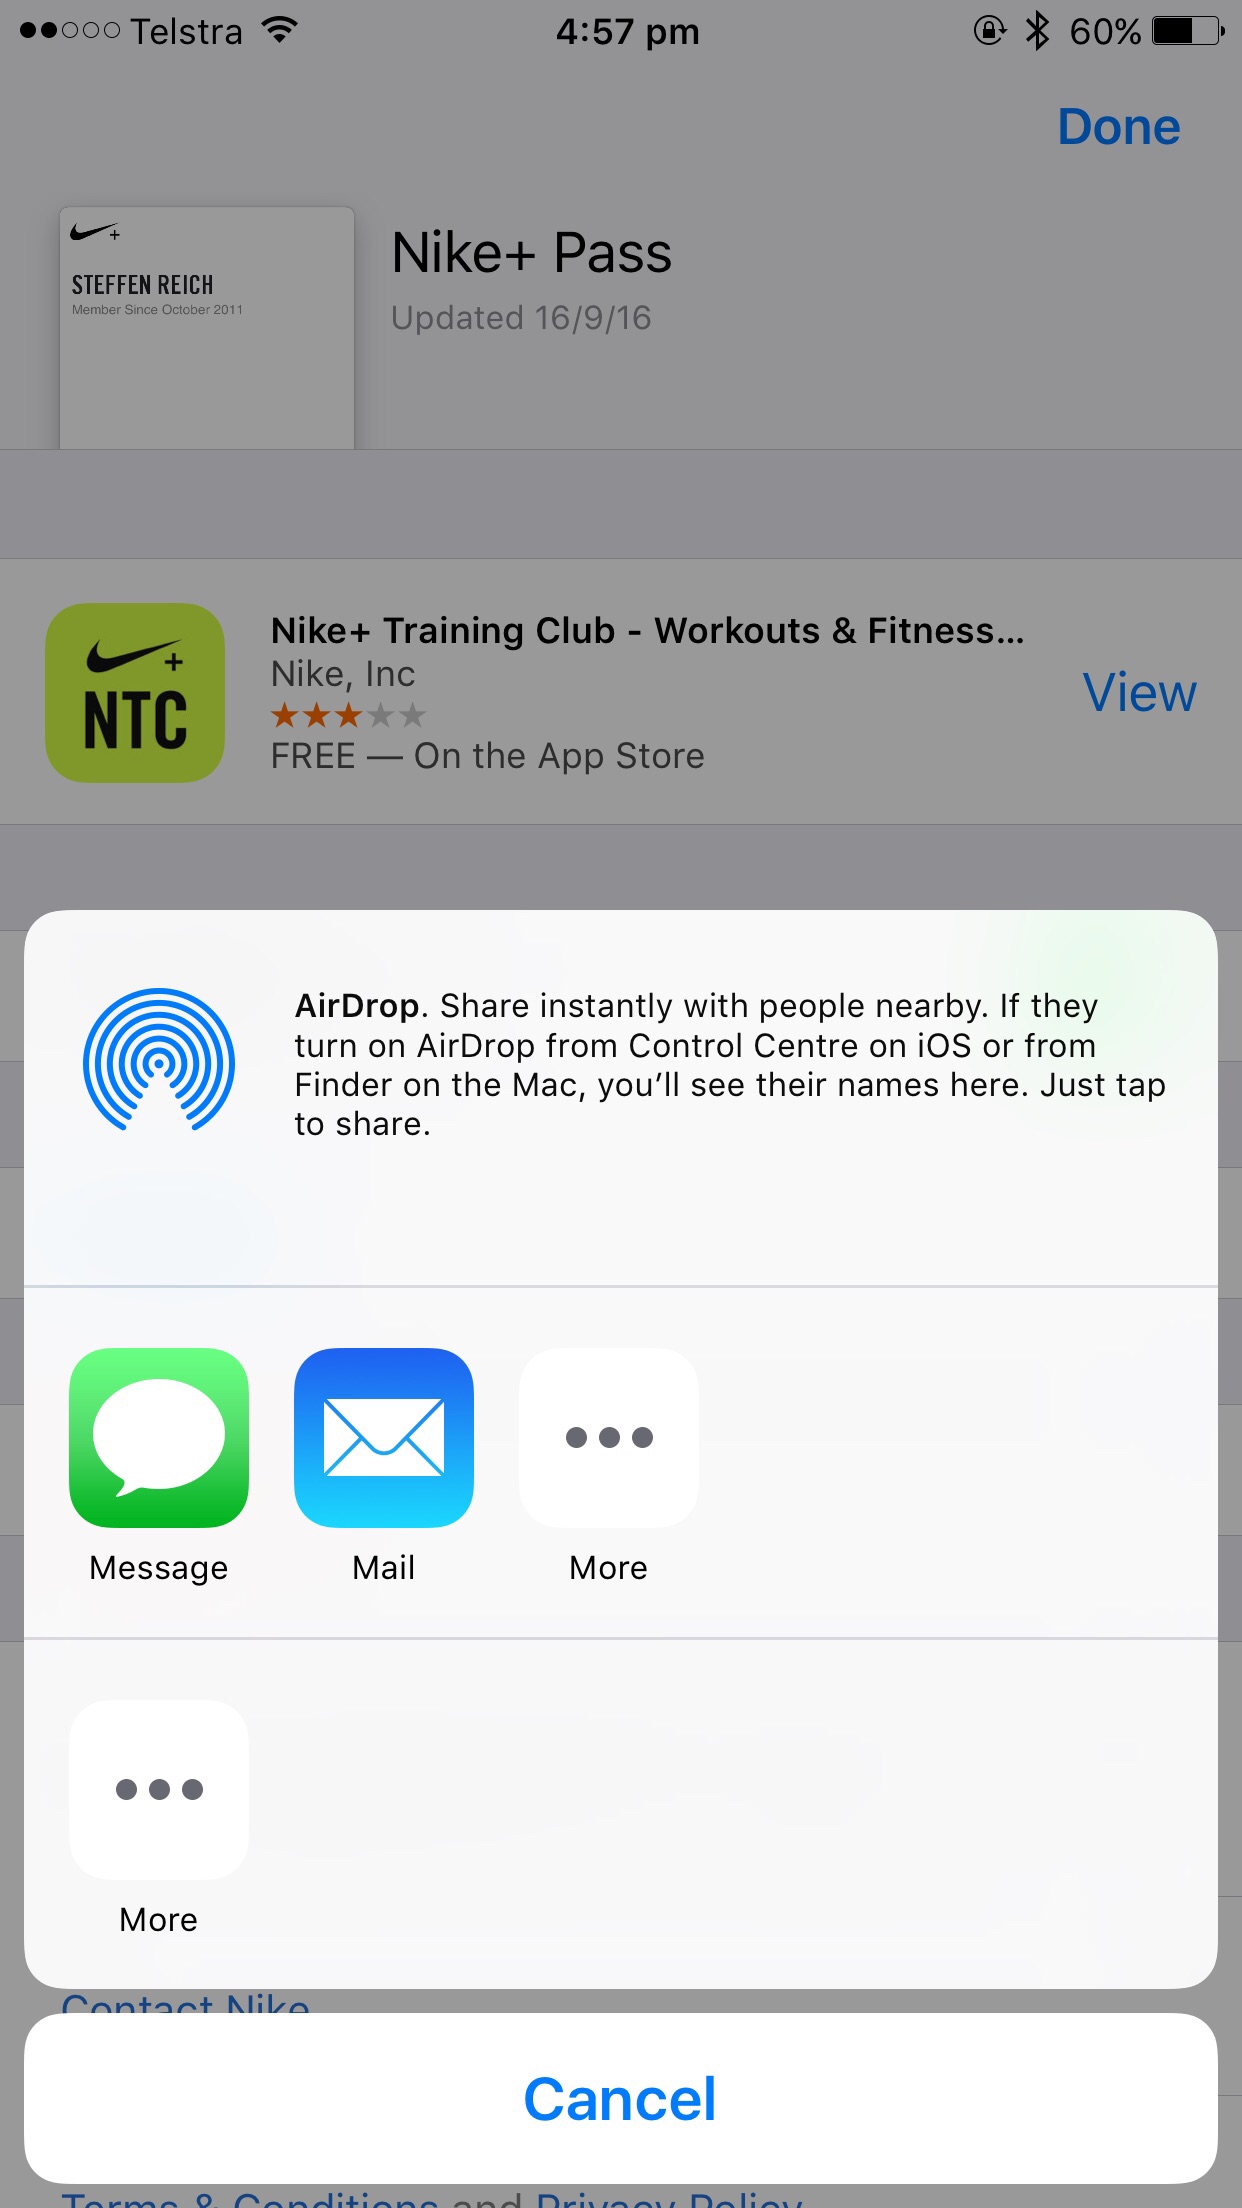
4) Choose from a range of options to send the ticket on. Your options are:
- AirDrop
- Email as exemplified in Step 5
- iMessage to the phone number or alternatively iMessage to email address tied to an Apple ID
Pick at will, although it will usually hinge on the circumstances: the quickest method remains AirDrop, which you should give a try if the recipient is nearby. Emailing the pass works just as smoothly as iMessaging, both of which can be performed without a local SIM on the recipient’s end.
5) We have now switched perspective and sit on the receiving end. Adding your pass to Wallet is as easy as tapping the attachment in your email, your iMessage or AirDrop pop-up.
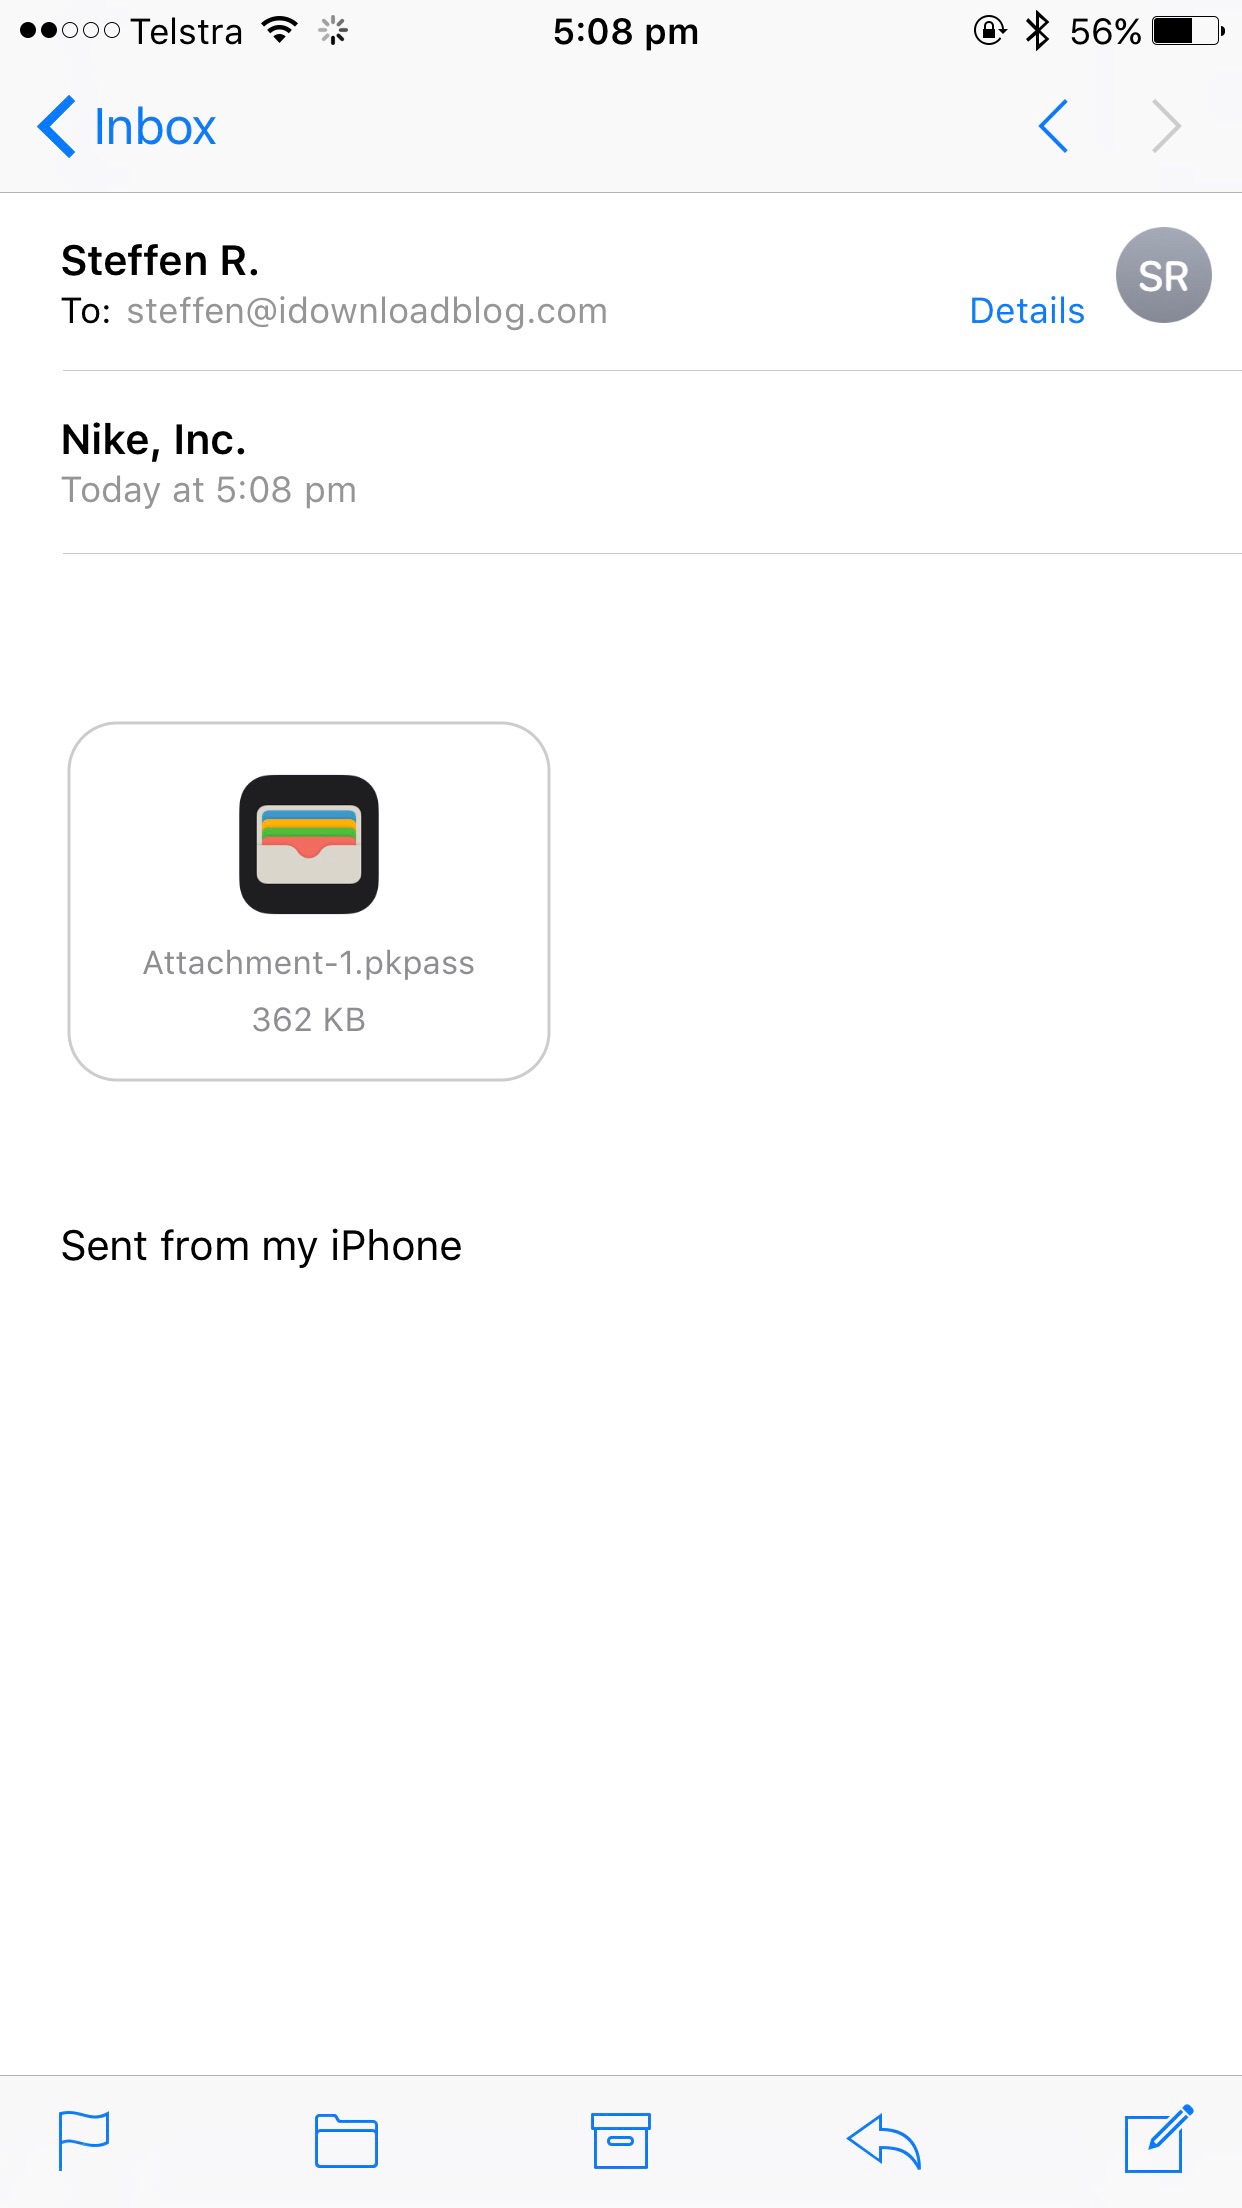
6) The ticket will jump to full screen and offer to Add it to your own Wallet in the top right corner. Hit the letters and voila, your ticket has finally found its way into your own pocket.
Use Wallet on your iPhone or iPod touch - Apple Support
https://support.apple.com/en-in/HT204003


