Loner T, have you had this happen? Have you gone through the steps on this exact model? I only ask because the 2017 model does not act like other iMac fusion drive models when it comes to partitioning/ using disk utility. You know that the only way to recover BCA broken free space is to break the fusion setup and format and reinstall Mojave right? It is not possible to do this through disk utility from the drive you startup from without a format. Period. Not Possible. Don't even try, it is not like a normal situation where you can + or - the drive partitions. You 'might' be able to break the fusion drive through internal recovery but I don't think it will let you as the drive includes recovery partitions. It may in some other circumstances or other models though.
I have tried Many ISO's as EFI and MBR installs and neither will work (I knew MBR wouldn't). I know that Mojave broke many BC partitions after the upgrade converted drives to APFS, apple states bootcamp will not work on fusions drives with APFS at all on (most) previous iMac models. Since I'm now about the 10th person (if not more) I see with this exact issue on this exact machine it would seem the system upgrade has issues like it has with other models, just a touch different.
I can guarantee the check disk command will return what everyone else's did so I won't bother you with that.
But to help others recover lost space after BCA breaks your setup here is what you do, keep in mind you will lose any and all data/ os installs on the drive:
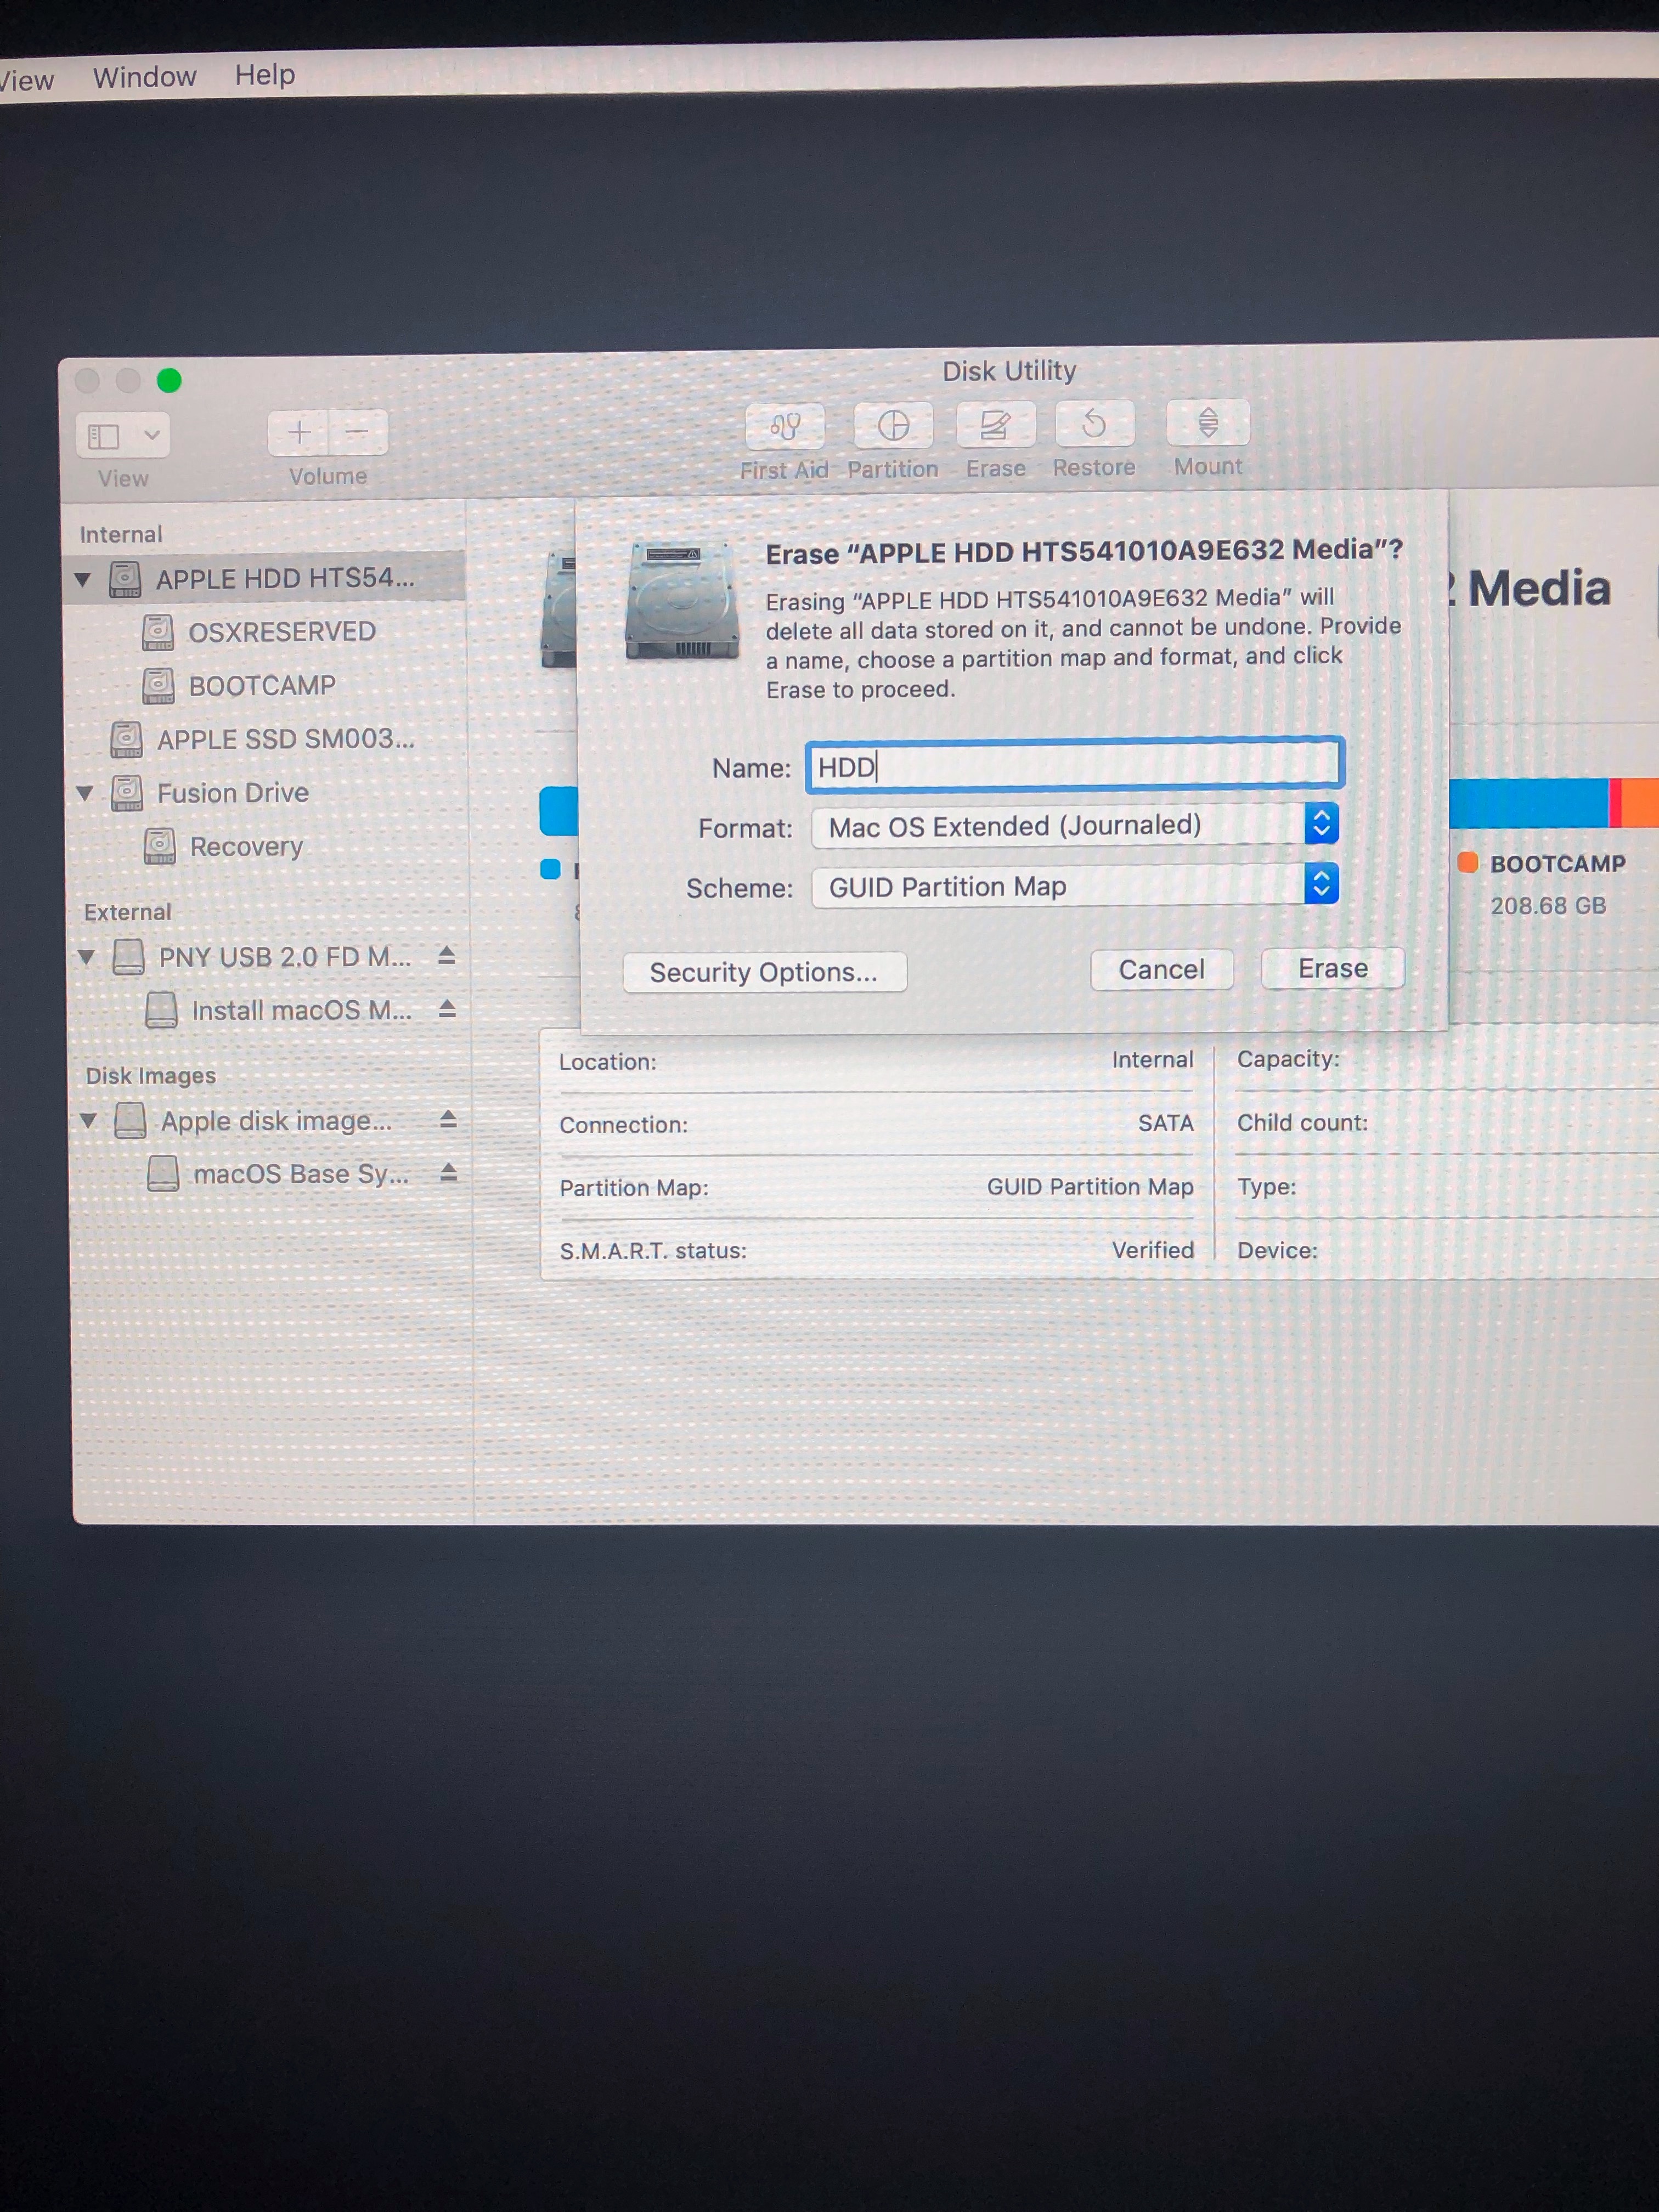
First you Startup from EXTERNAL Mojave installer drive (hold option after making the drive at startup, this cannot be done with internal recovery), then open Disk Utility and format the "Container drive" that is holding your MacOS partition, this should then break the Fusion drive setup.
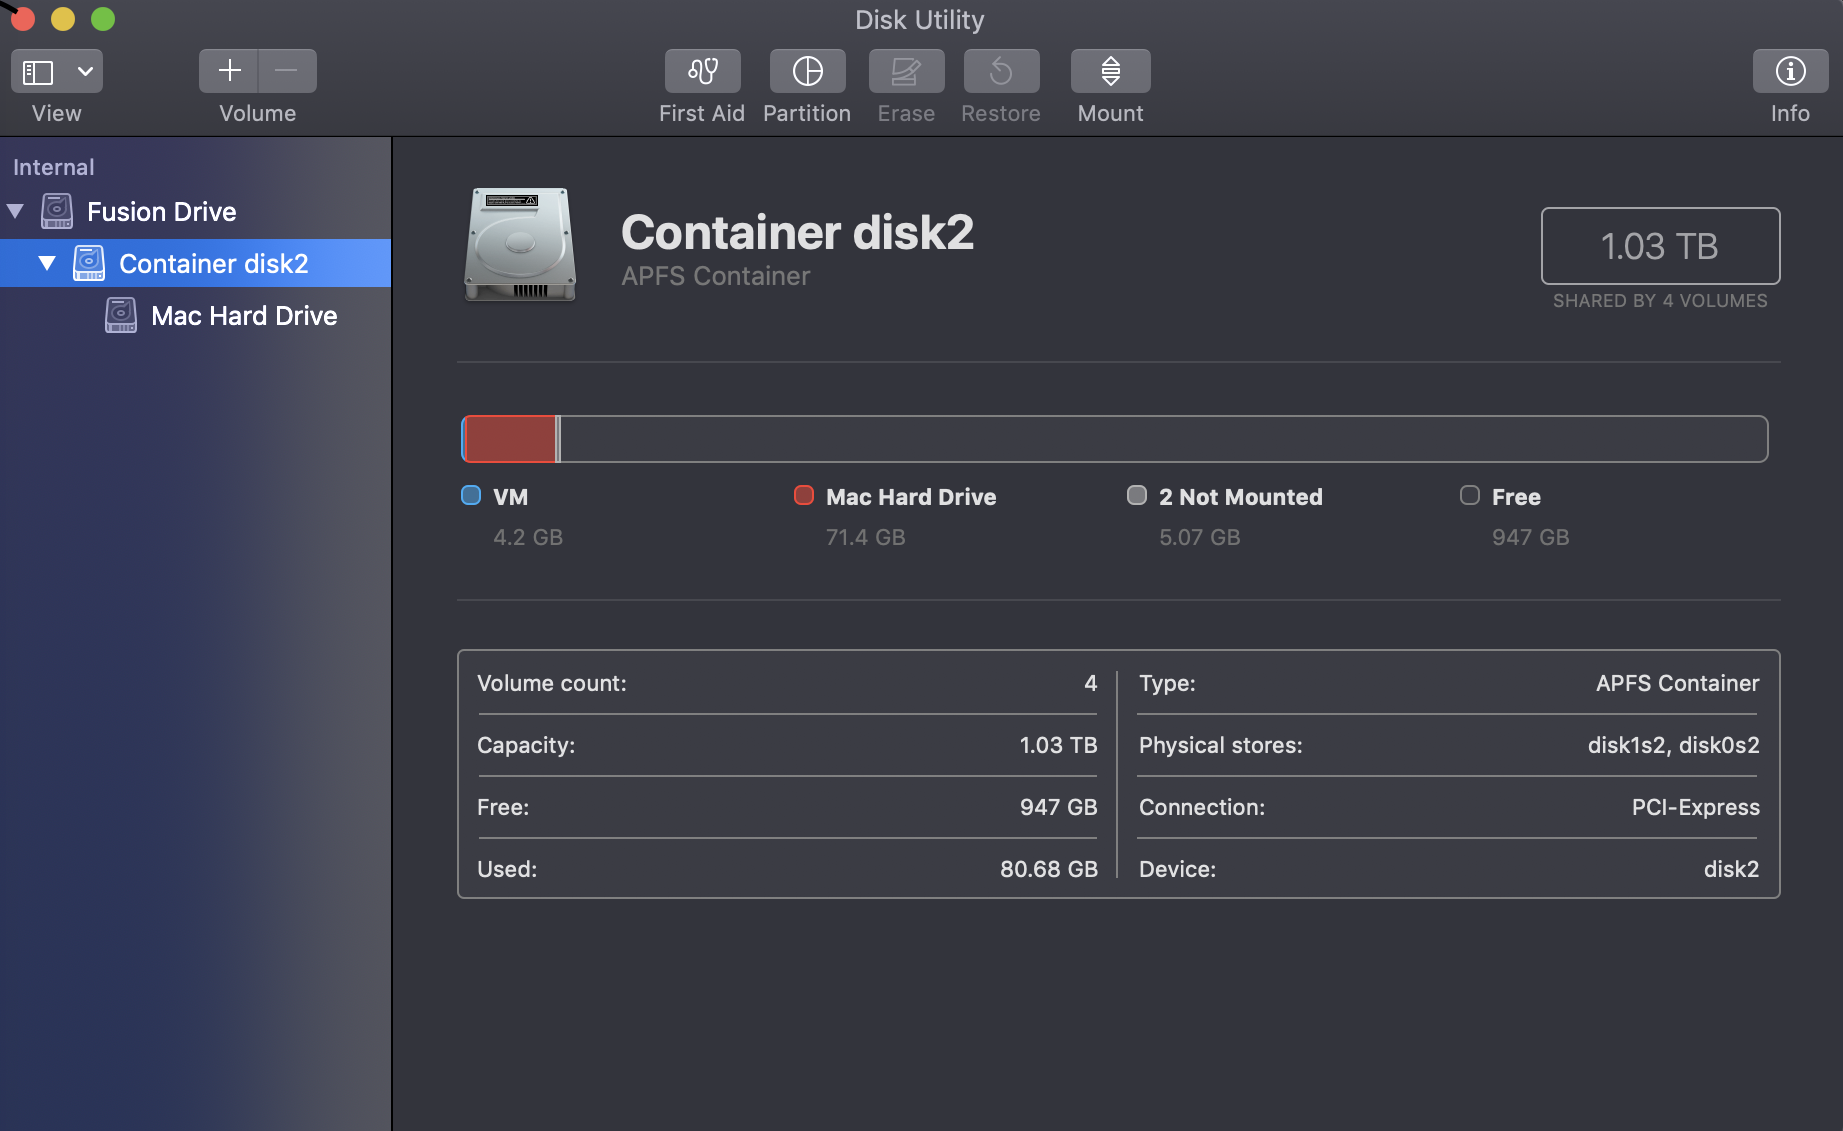
You will see something similar to this when the Fusion drive is separated. What you want to do now is format the SSD side and HDD side of the drive separately as Mac OS Extended/HFS+, I named them accordingly so they were easy to spot in Terminal diskutil list command.
Now Quit disk utility and open Terminal from the top menu. Once you are able to type you will want to see what disks and volumes are available (so you can create the fusion drive again). in Terminal use "diskutil list" without quotes and you will see something similar to the picture below. Note the section highlighted to show where the SSD and HDD drives are. You will see the HDD and SSD you just formatted.
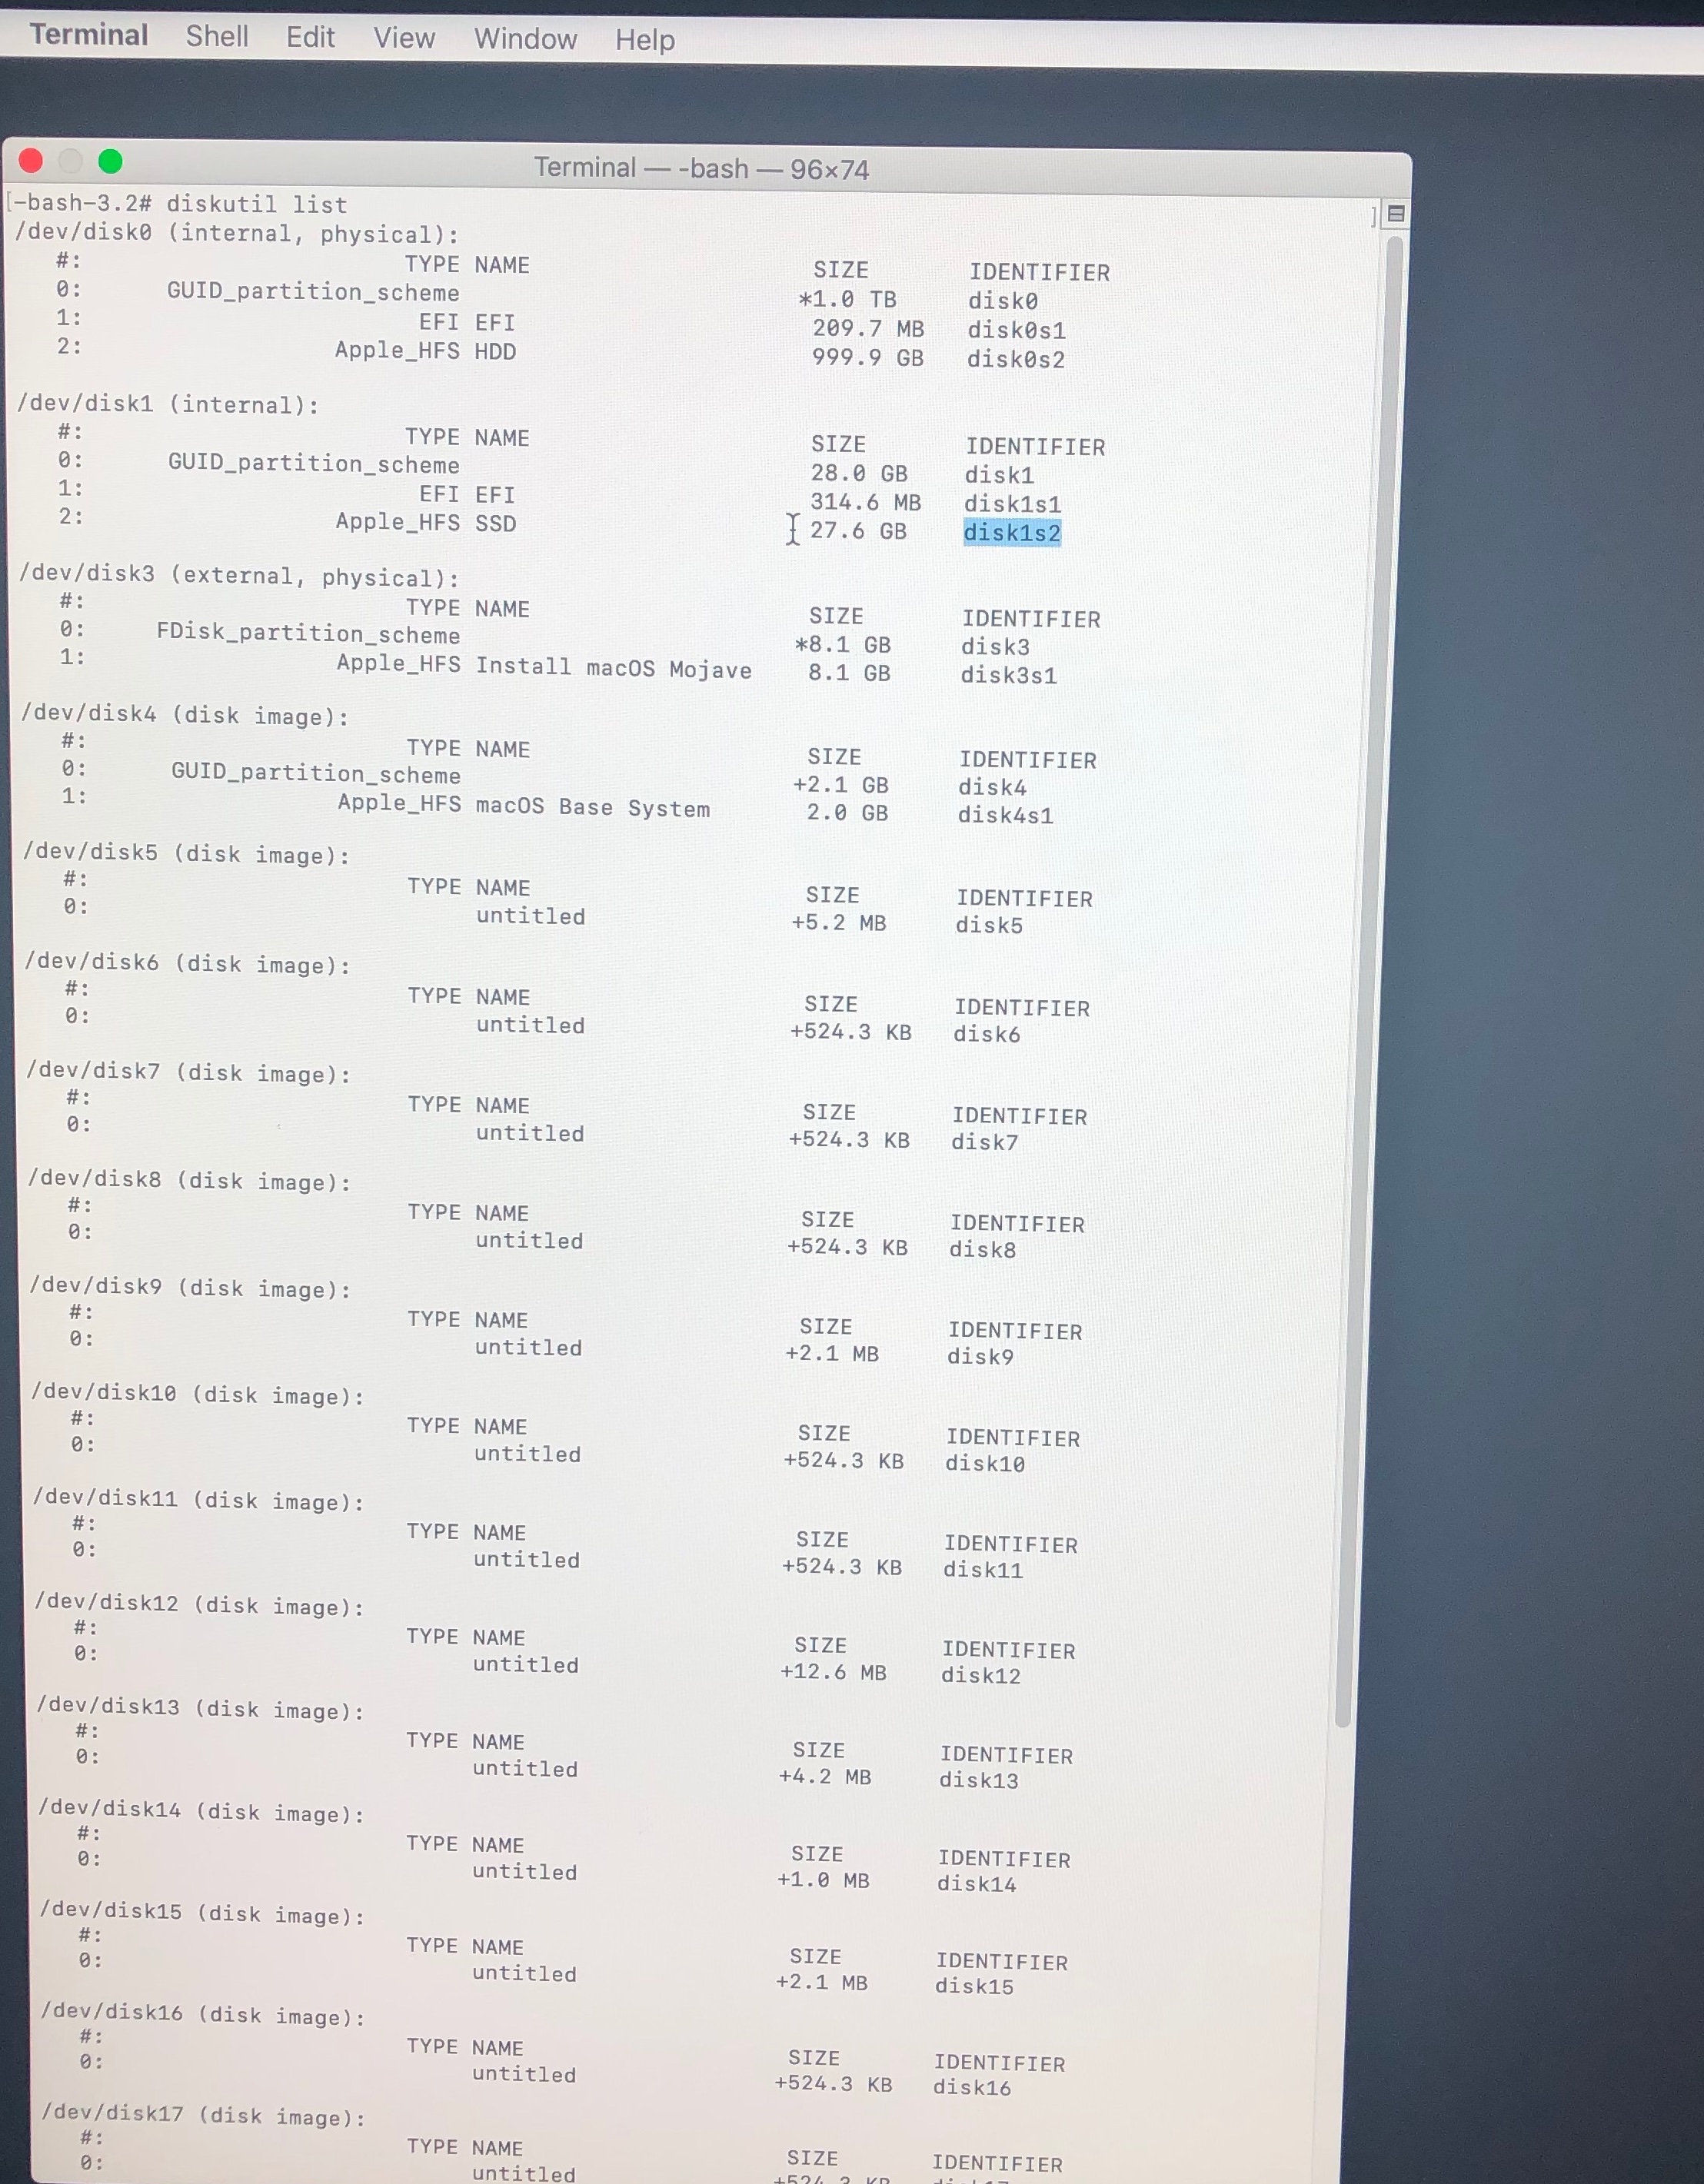
In Terminal use the drive identifiers in the following command to recreate the fusion drive, here is my example:
diskutil cs create 'Macintosh HD' /dev/disk1s2 /dev/disk0s2
(where disk1s2 is the SSD and disk0s2 is the HDD)
This will recreate the Fusion drive but no volumes. Quit Terminal and go back into Disk Utility, You will see something like this
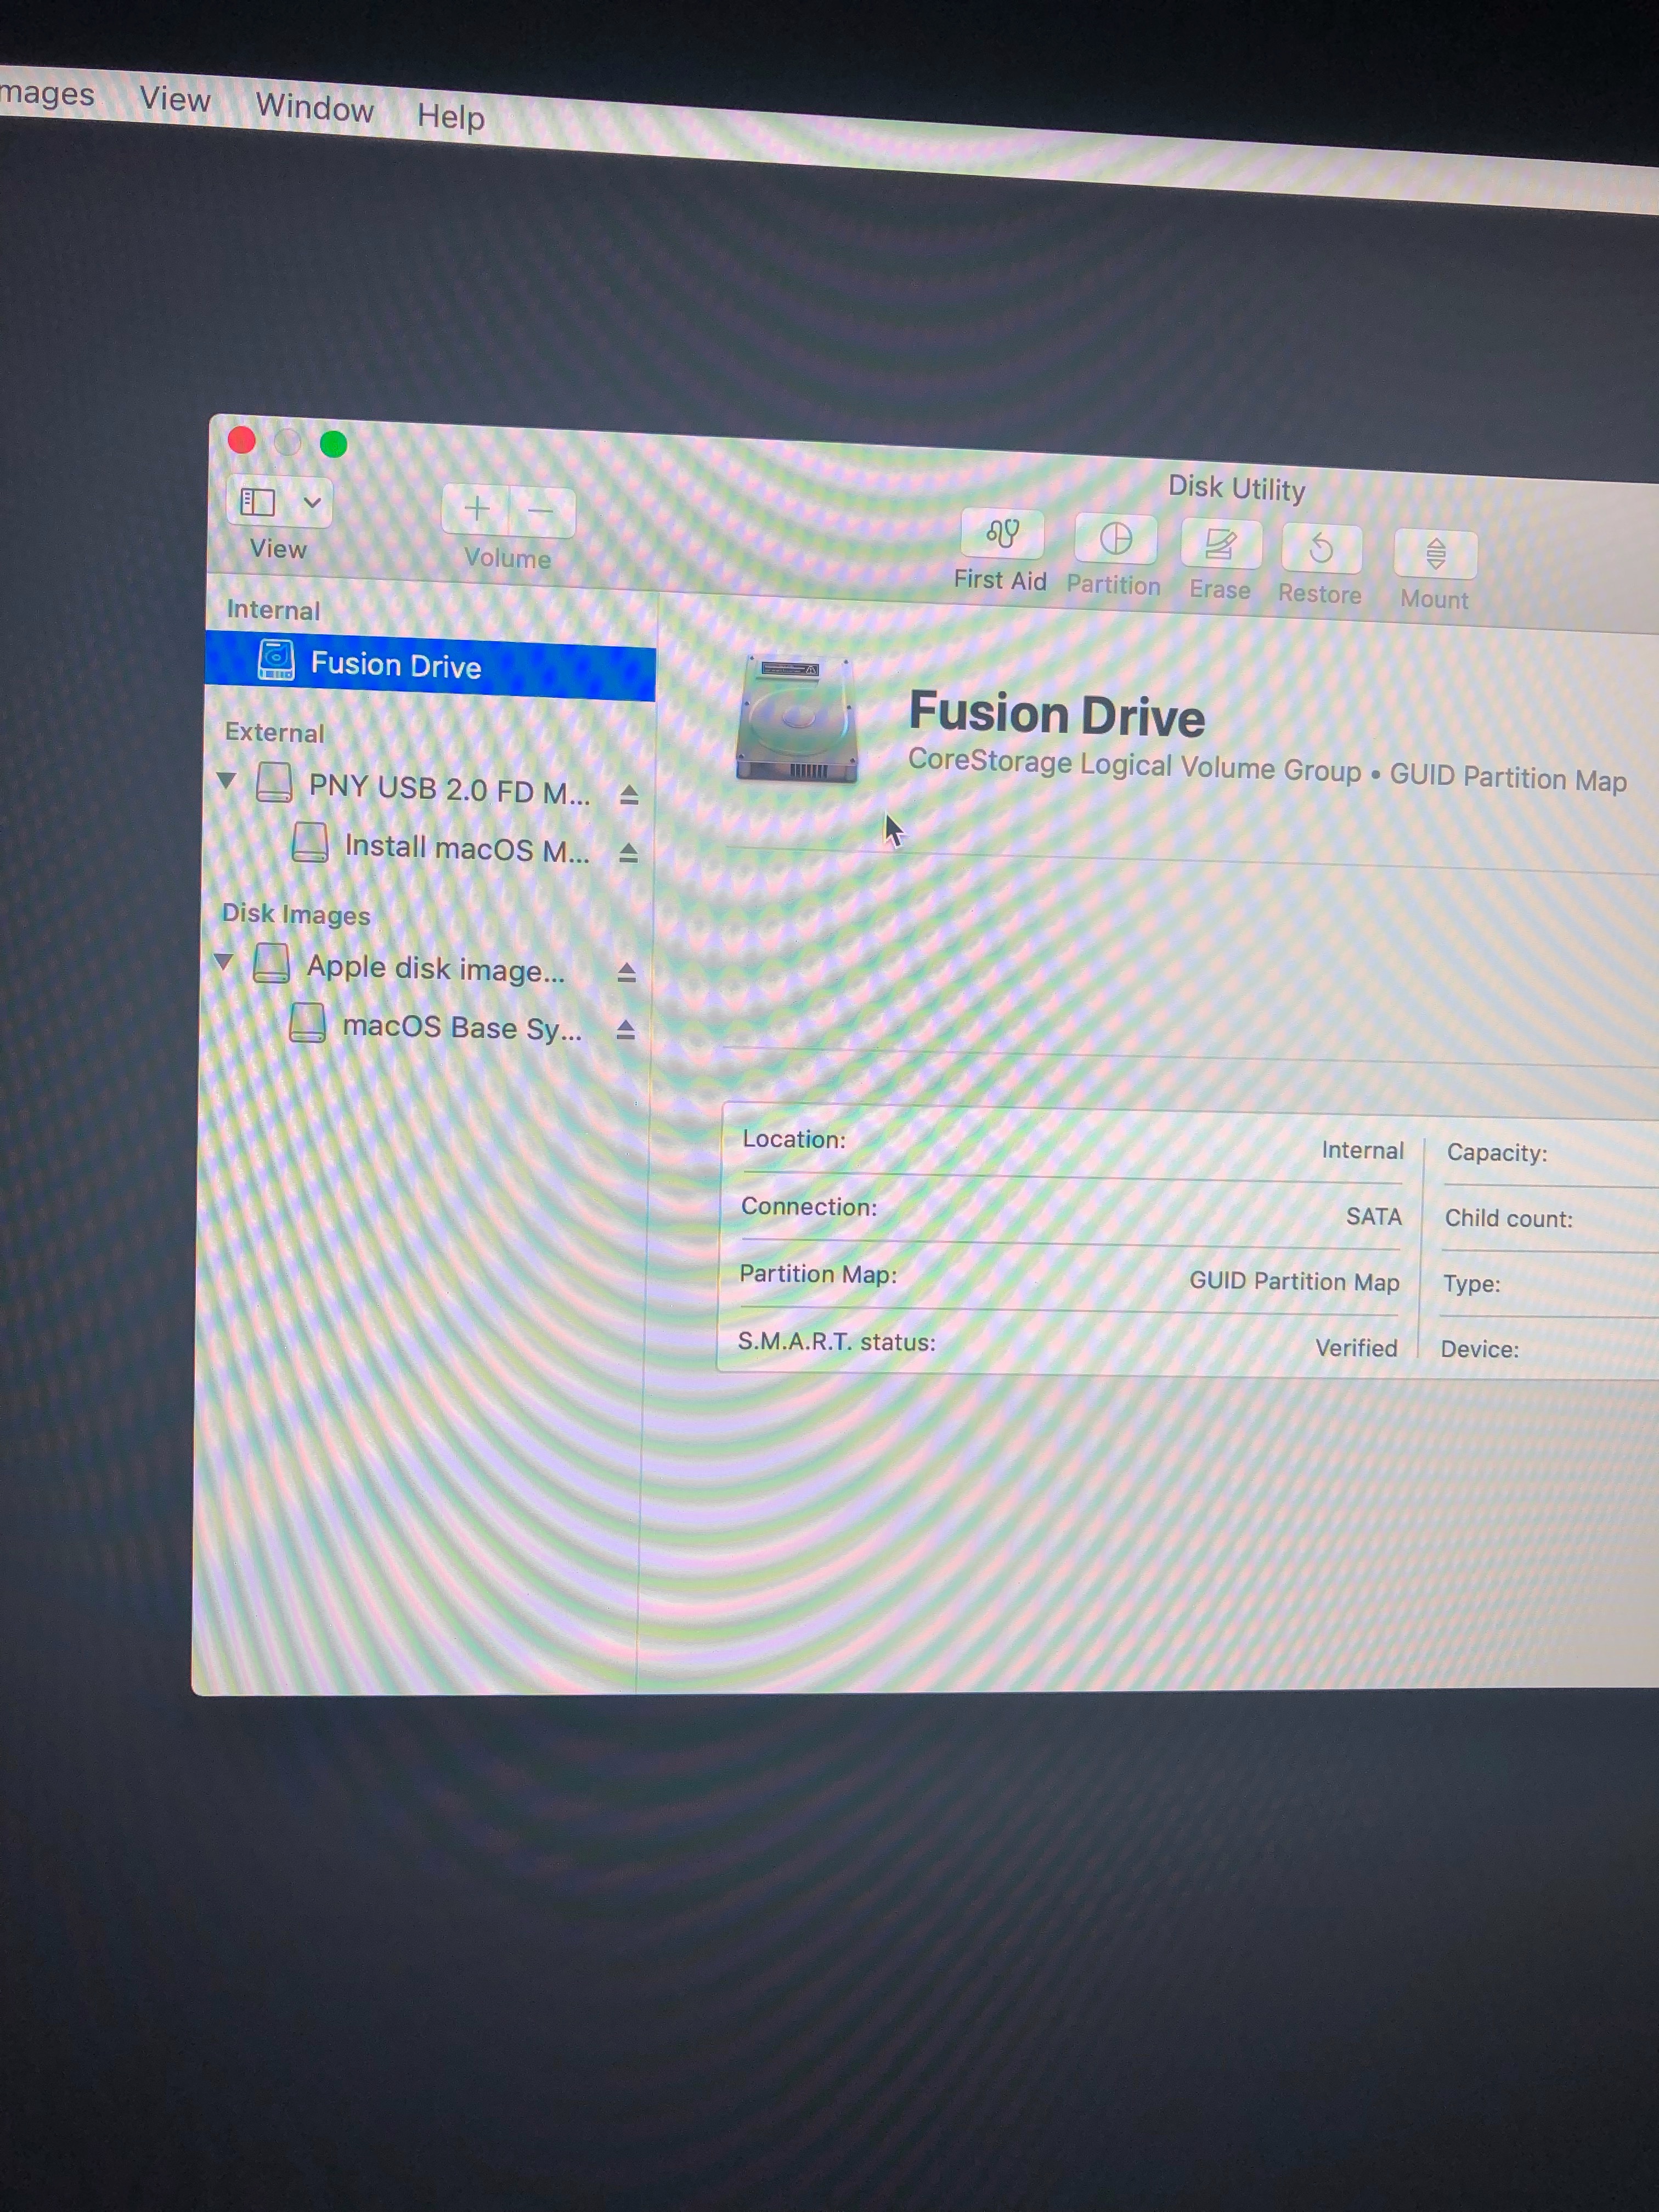
Now run first aid on the fusion drive and it will auto create your first volume
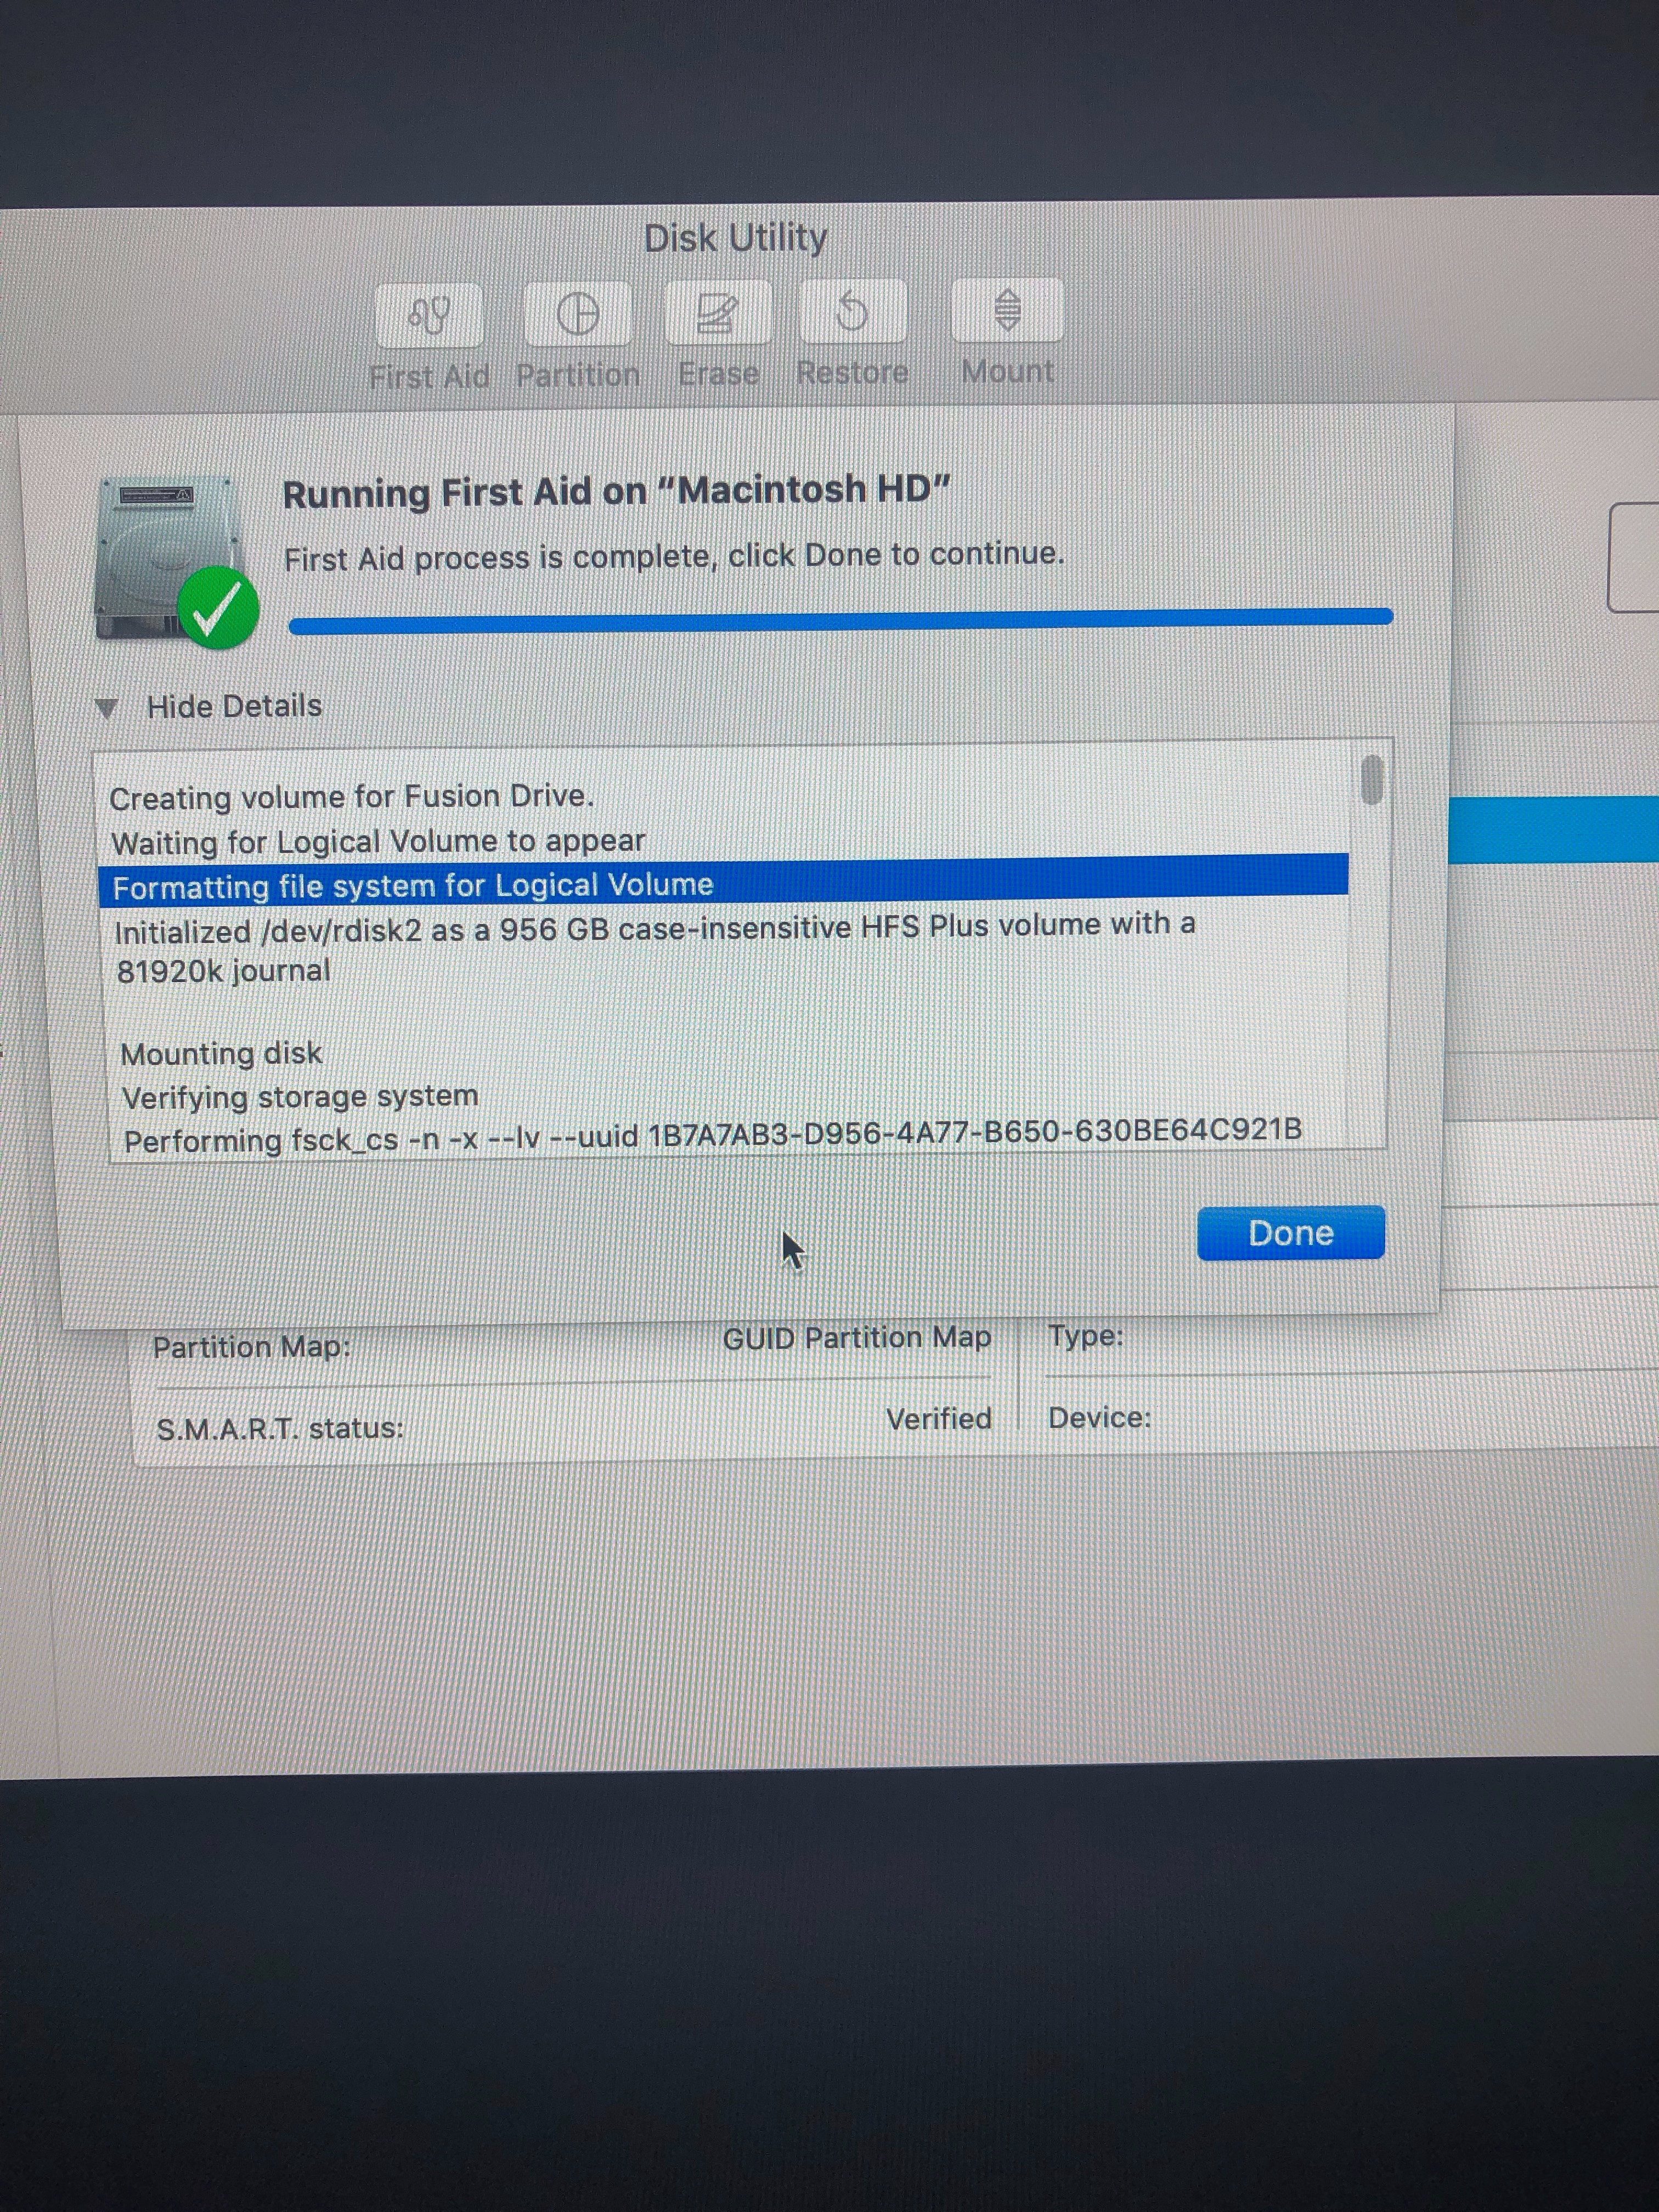
You can now Format the new volume as APFS or whichever you chose and rename it, then reinstall Mojave using the the normal method.
I hope this helps people recover lost space that cannot be given back through the OS. This was the ONLY way I was able to do it with this fusion drive. If someone else has a better way please let me know. I will no longer be trying to get windows in here natively as I am getting tired of rebuilding the drive and reinstalling Mojave. I was told going from Sierra/high Sierra to Mojave will not break the partitions but only remove the link for startup/shutdown options. I am not about to install those systems to find out if that is true though. Good Luck in the future, maybe apple will fix their mistake? Not sure why they released system that breaks a major feature that their customers rely on. Usually apple doesn't make these types of kiddy mistakes.