A Numbers table may have up to five Header Rows, up to five Header columns, and up to five Footer rows.
As the names imply, the Header rows must be at the top of the table, the Header columns must be at the left of the table, and the Footer rows must be at the bottom of the table.
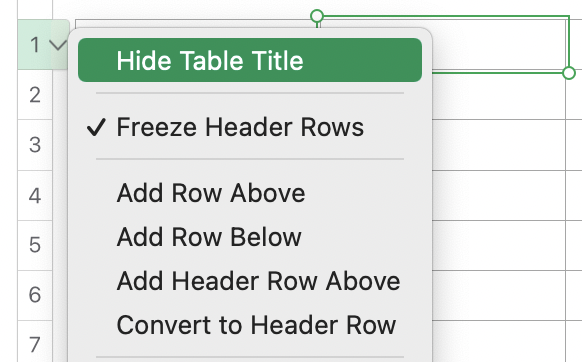
If your table currently contains no header rows, and you select a cell in Row 1, you will get two active choices in the local menu, accesssed by clicking the 'v' between the row reference tab for row 1 and the the table:
Convert to Header Row
Insert Header row Above

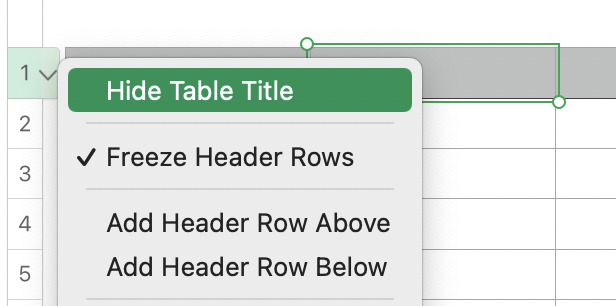
If you then choose Convert to Header Row, and re-open the same local menu, you will see a changed set of 'header' options:

Now that there is at least one Header row at the top of the table, you can choose to "Freeze" that row (and any other Header rows that are currently on or will be added to the table). "Freeze" is the default setting, shown by the √ beside the menu item.
As the row containing the selected cell is now a Header row, the "Convert to Header Row" option is not presented.
You can Add a Header Row above
OR Add a Header Row below
the row containing the selected cell as either of these additions would result in a contiguous set of two Header Rows at the top of the table.
You can also use the Table menu to place up to 5 Header rows at the top the table.
Freezing the Header rows keeps those rows visible in the document window while scrolling the non-header rows up or down the screen. The header rows scroll off screen only when there are no 'body' rows of that table still visible, and reappear when the sheet containing the table is pulled back down, bringing the body rows of that table back into the document window.
"So how do I make row 10 a frozen row ?"
Click on the reference tab for row 10 of your table to select that row.
Scrill to the last row of the table, then shift-click the reference tab for that row to add the last row and all rows between it and row 10.
Release the mouse button, leaving row 10 - last row selected.
Move the pointer to place it on one of the highlighted row reference tabs.
check that the pointer is displaying as an arrow. If it displays as a double-headed arrow pointing up and down, move it slightly up or down until it changes back to the regular arrow.
Click and hold in that position, wait a second or two, then, with the mouse button held down, drag the pointer (and the selected rows) down until they noticeably separate from the unselected rows and become a separate table.
Release the mouse button to drop the (new) table onto the Sheet.
If needed, click any cell to activate the table, then re-position it by dragging the circle at the intersection of the row and column reference tabs.
With the table in place, and still selected, use the Table menu to assign one Header row to this table.
Repeat as needed.
Regards,
Barry