Okay - I *did not* see a green edge, but others have been reporting it. I did, however, manually add a green edge to the image. (Just out of curiosity — do you see a green edge in the image you included above? — I don't! [OS 10.14.6; FCPX 10.4.10])
Try this (Remove Color Fringe):
https://fcpxtemplates.com/?smd_process_download=1&download_id=26093
Install it as an Effect (if you need help with that: https://fcpxtemplates.com/installing-plugins-for-fcpx/)
Apply it to the image.
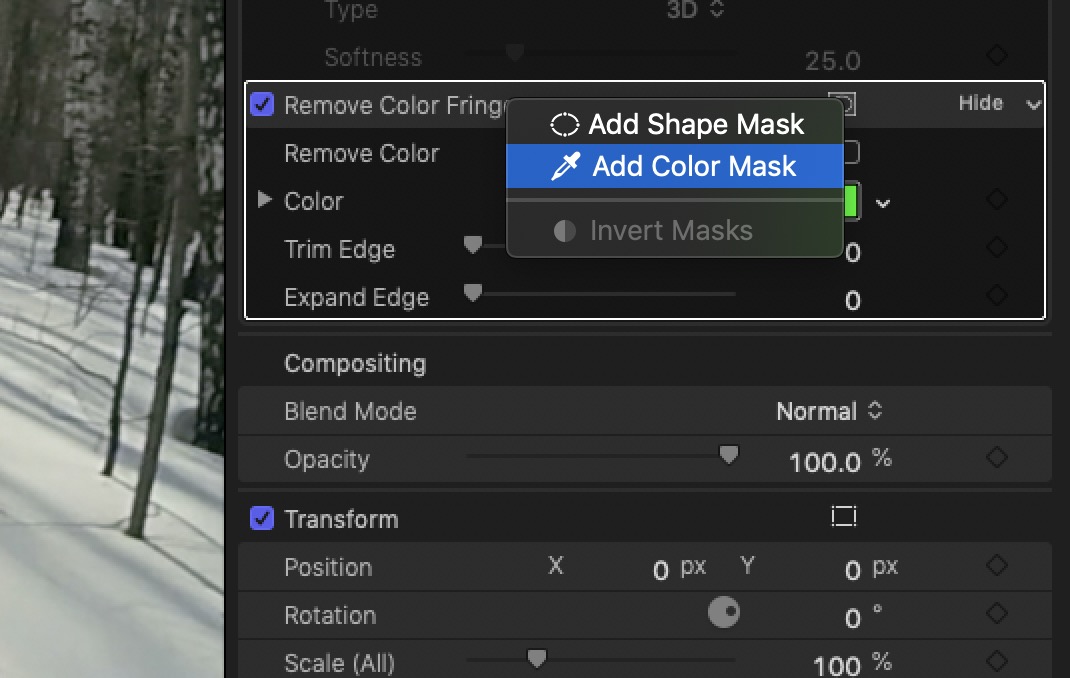
Select the Color Mask and click the eyedropper on the green edge (drag down the line a little to get a better sampling of the greens. You can also increase the Softness.)
The default color is set up for Greens (green screen) but you can optionally ALSO, select the same color with the color swatch.
Turn on Remove Color by selecting the Checkbox.
IF you have anything in the main image area that is the same color you're removing, then add an Effects Mask > Shape Mask. Shape the Mask to basically cover the edge and exclude any important visual content.
In this case: move the Expand Edge slider up to "harden" the edge. (The edge color should turn to a grayscale shade).
(Trim Edge should be exclusively used for green screen keying [and probably only if you're keying by a different plugin than the built in Keyer - which has it's own method of trimming the edges].)
If you have a lot of images you need to apply this to, chances are, they'll all be showing the same color green. Use Remove Color Fringe for ONE image and do a Save Effects Preset. For all other images you need to treat, just select the clip(s) and double click your Effect Preset. (If you have to use a Shape Mask as a "limiter", make sure it's tall enough to cover all your image sizes (you may have to double check these if they are different widths!)
HTH — let me know if it works!