Hello jeffersonben,
Thank you for reaching out to Apple Support Communities, and we'll be happy to help in any way we can. We understand you're having issues with missing notes on your iPhone. Try the steps here to see if they resolve the issue: If you're missing notes on your iPhone, iPad, or iPod touch - Apple Support
"If you're missing notes, they might have been accidentally deleted, or you might need to change your settings.
First, update all of your devices to the latest version of iOS, iPadOS, or macOS to make sure that the issue isn't related to previous software. Then try the following steps.

Check your account settings
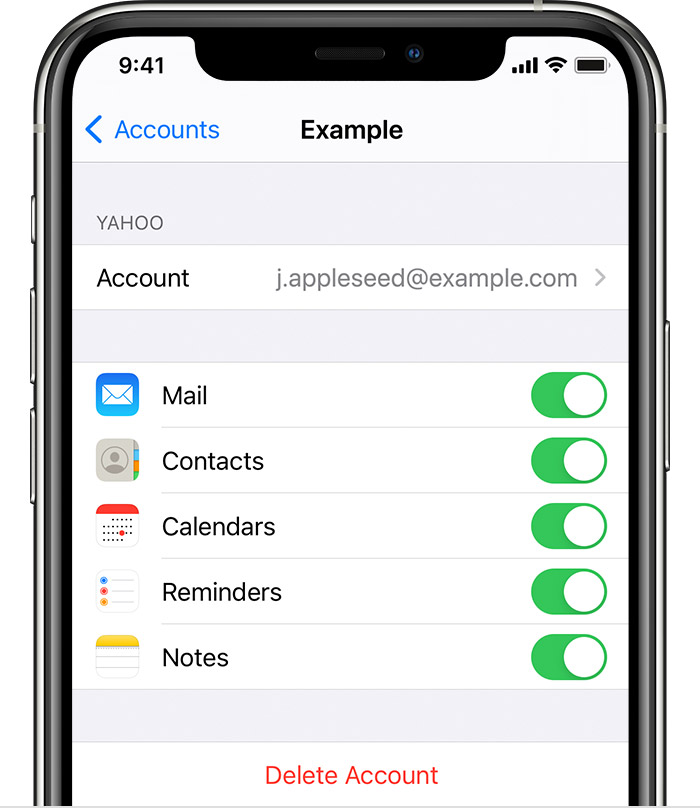
If you store your notes with a third-party account or email service, like Gmail or Yahoo, check your settings:
- In the Settings app, tap Mail.
- Tap Accounts, then tap the email account that you want to check.
- Make sure that Notes is on.
If you use Notes with more than one email account, just repeat the steps for each account. If your account is missing, learn how to add an email account to your device.


Check your Recently Deleted folder
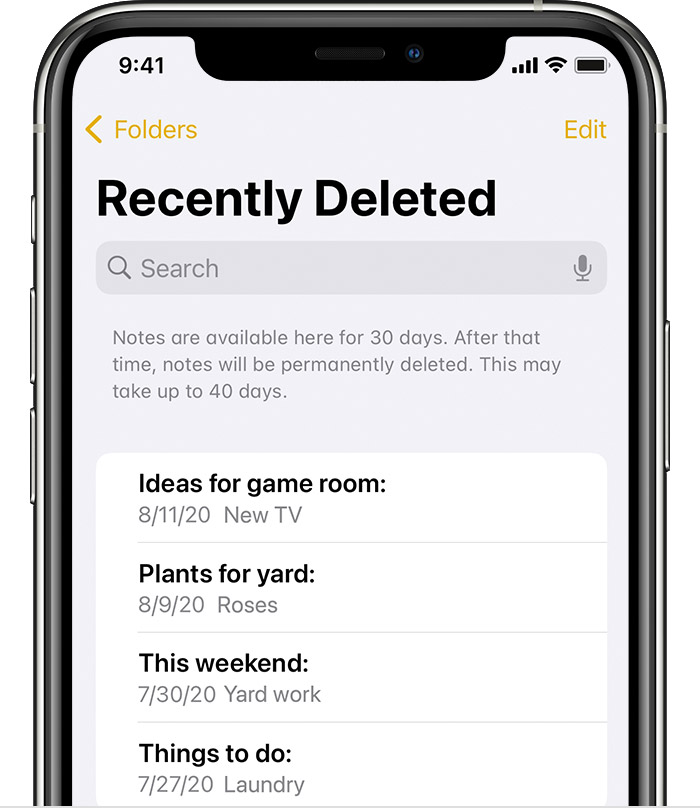
If you store your notes on iCloud, check your Recently Deleted folder:
- Open Notes, then tap the back icon
 until you see your Folders list.
 - Tap Recently Deleted and search for your note.
If you find your note in Recently Deleted or in another folder, you can move it:
- In the Notes list, tap Edit.
- Select the note that you want to move.
- Tap Move, then select the folder you want to move it to.
If you use notes with another service, like Gmail or Yahoo, check the Trash folder of that account in the Mail app. If you delete a note from the Notes app, your third-party account will usually keep it in the Trash folder. To recover a note from the Trash folder, you need to copy and paste the note to a new note in the Notes app.


Use Search to find your notes
- Open Notes, then tap the back icon
 until you see your list of notes.
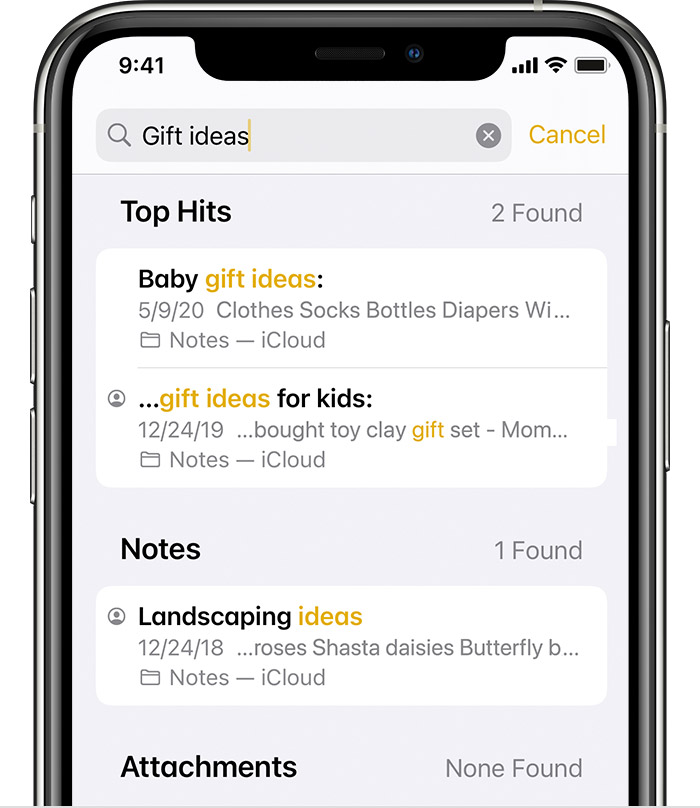
 - Tap the Search bar and type a word, phrase, or the title from the note that you're looking for.
- Make sure All Accounts is selected. Search will check all of your notes in each folder across your accounts, like an email account.
If you don't see the Search bar, you might need to scroll to find it. If you still can't find a note, you might have the note locked. Search will only see the title of locked notes, so you might need to check all of your locked notes to find the specific note that you're looking for.

Manually search for your notes
If Search doesn't show results, you might need to check a different folder and scroll down the list:
- Open Notes, then tap the back icon
 until you see your Folders list.
 - If you have more than one folder, tap a different folder to see if your note is in there.
If you still can't find your note, it's possible that you're not using the correct word, phrase, or title from the note."
We hope this helps.
Cheers!


