Hi,
A labor of love, to be sure. Good for you.
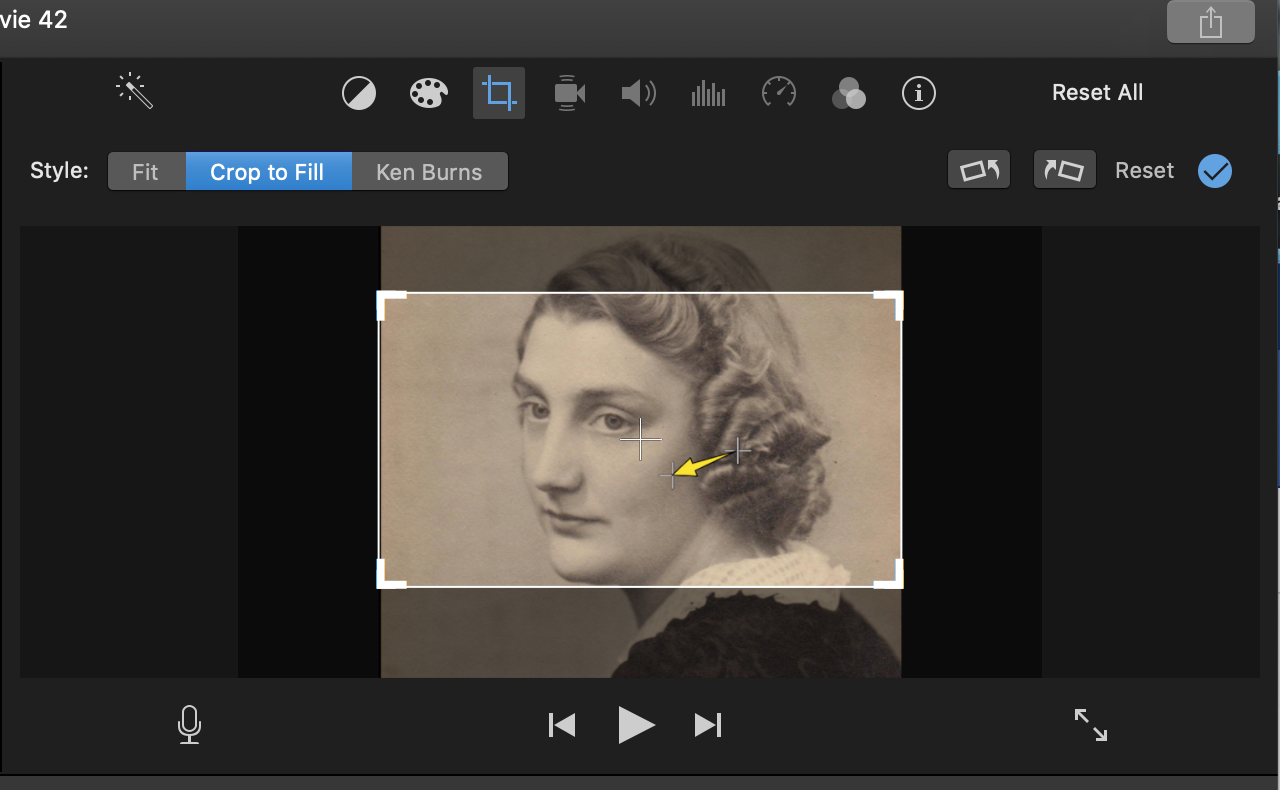
You cannot really "fill in" the black space around the photo. iMovie has a 16:9 screen dimension, and any photo with smaller dimensions than than will have black spaces around it to make it conform to iMovie's 16:9 aspect ratio. What you can do is create a 16:9 background with a duplicate of your photo cropped with the Crop to Fill setting to make it 16:9, and overlay the original photo on top of the background.
So, the steps would be:
- Crop to Fill a duplicate of your original photo to get a 16:9 aspect ratio.
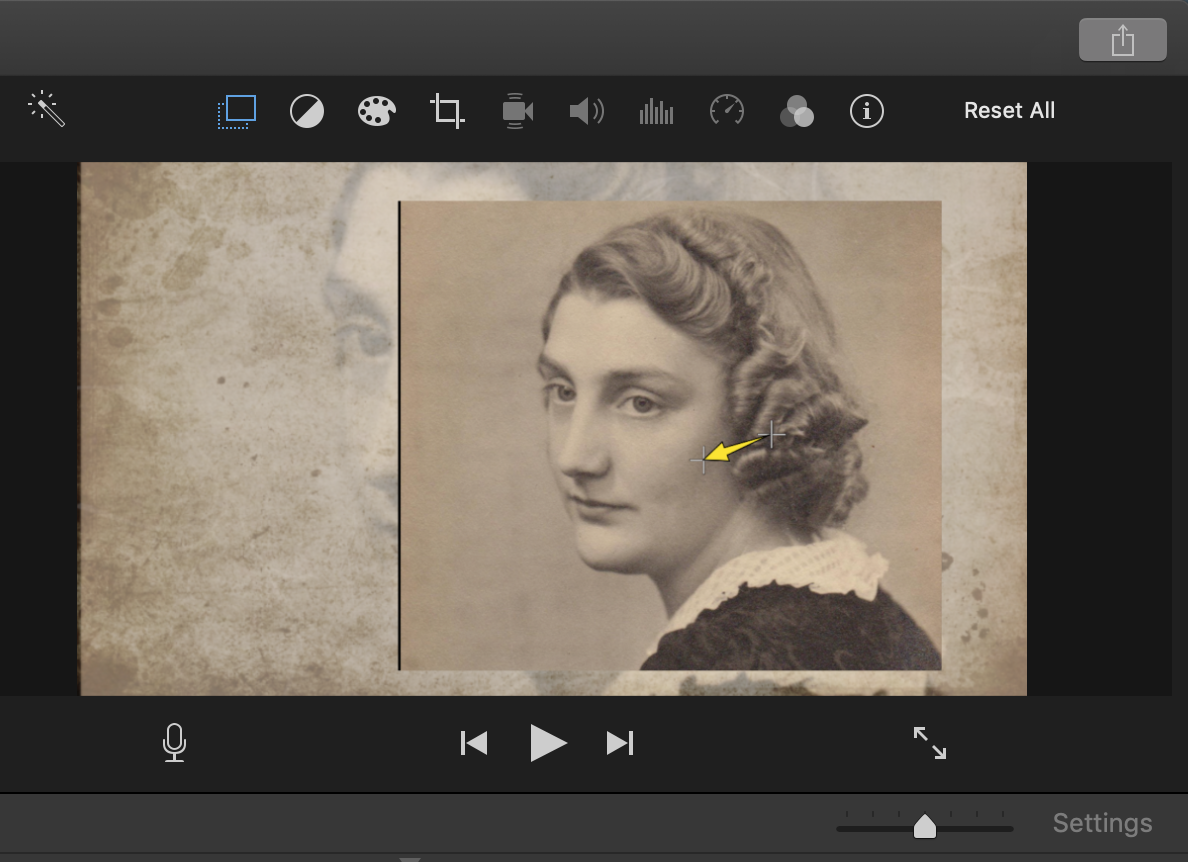
So, like this:
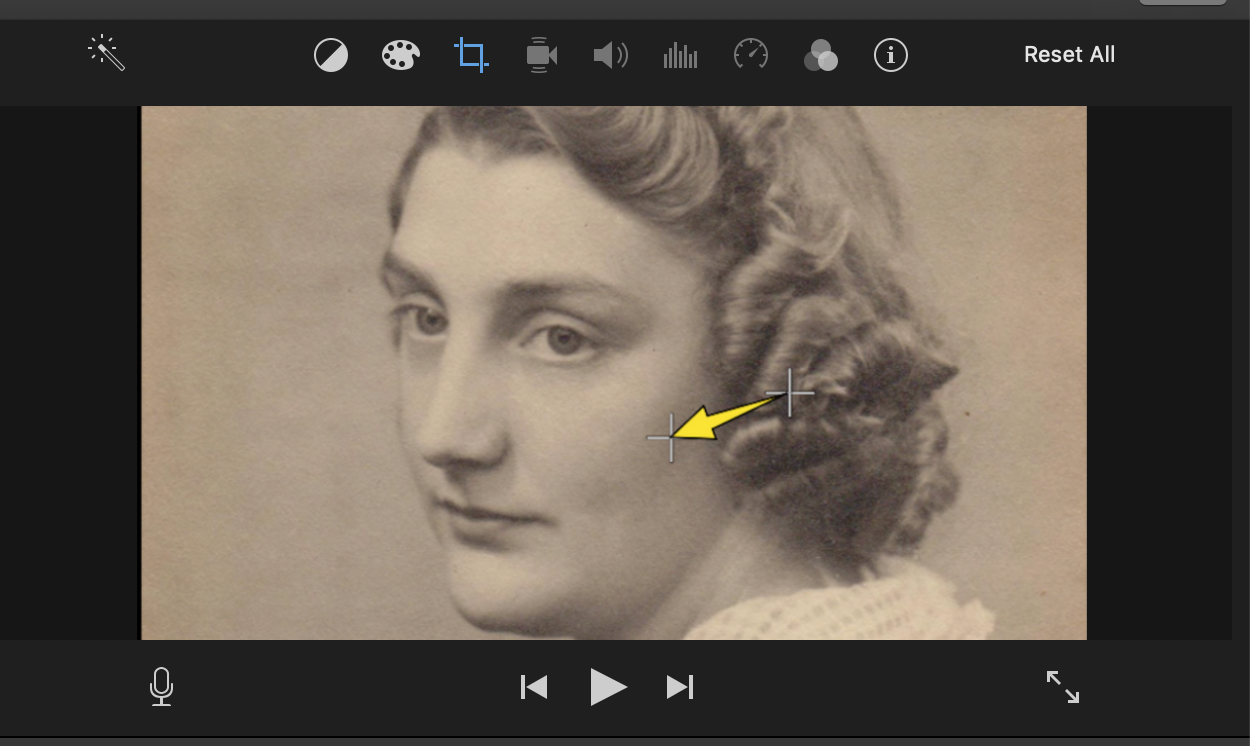
To get this:
2 Take a screen shot of the cropped 16:9 photo, that will be deposited on your deskop.
3.Use a photo editing app to blur the screen shot.

4.Import the blurred screen shot into your project.
5.Place the imported blurred screen shot into your timeline so it becomes a background.
6.Overlay the original photo onto the background with the Picture in Picture feature.
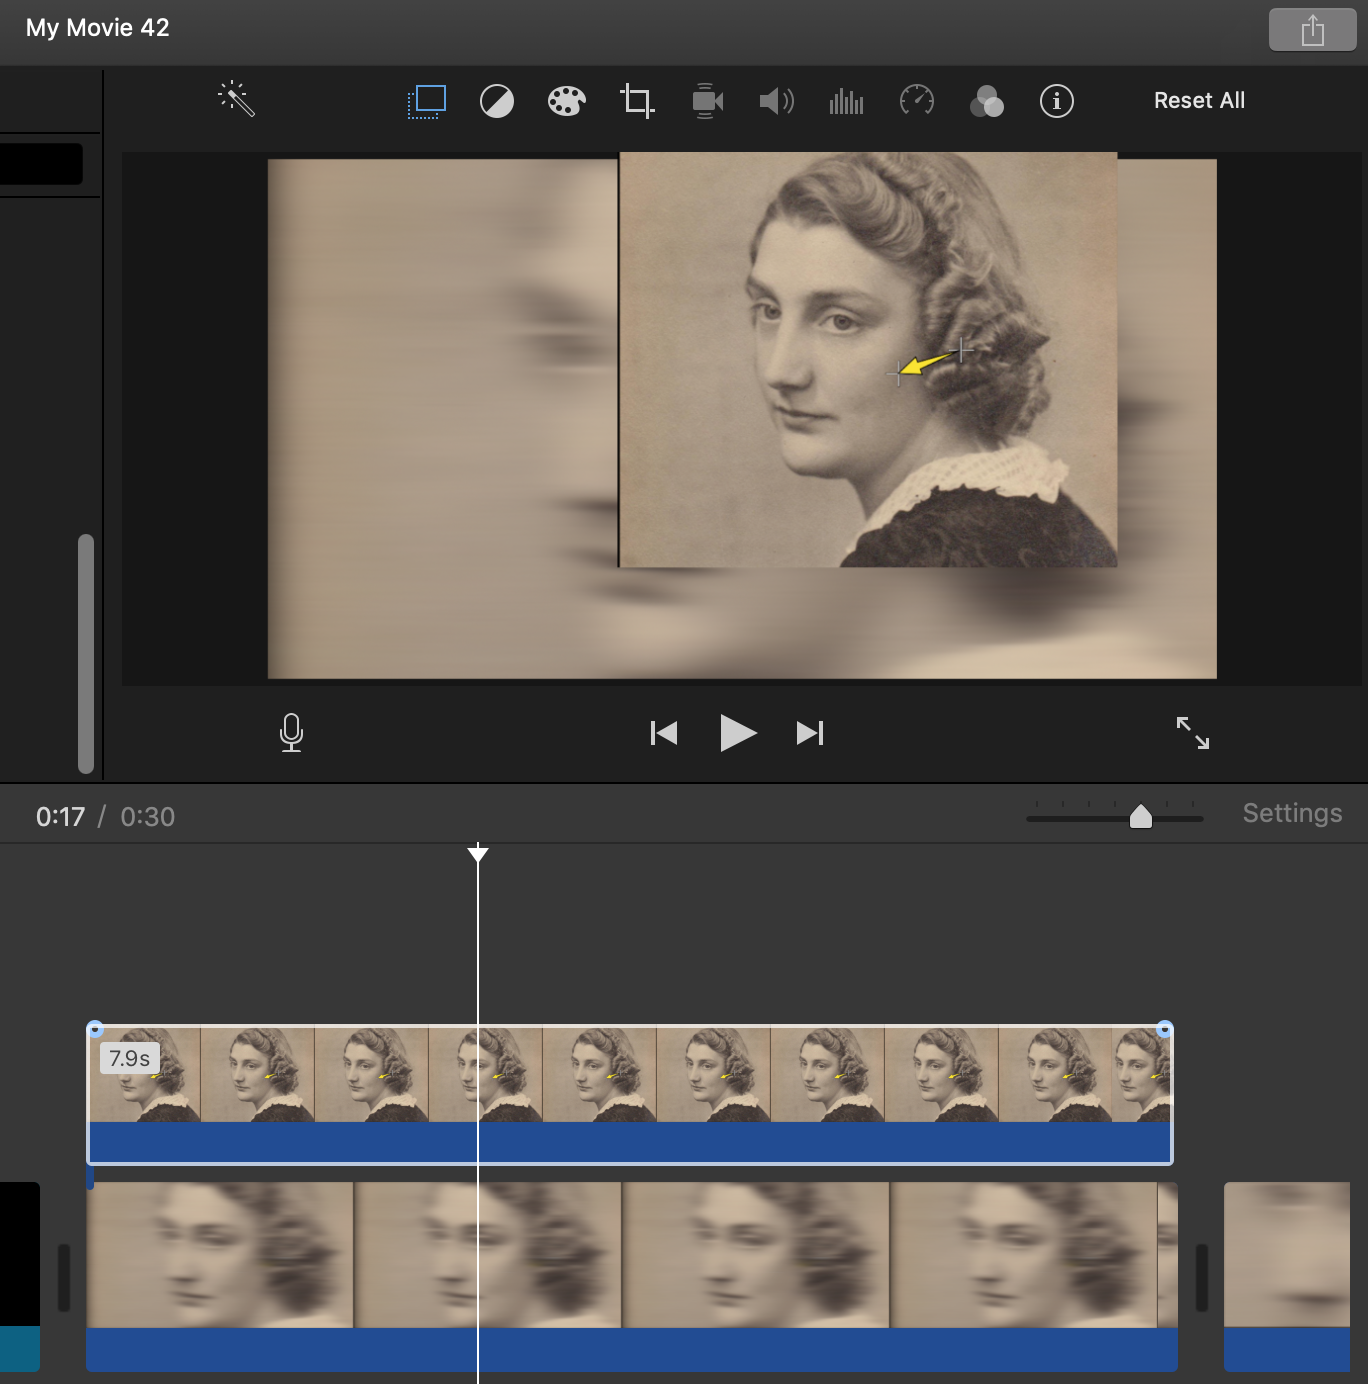
You can use the Ken Burns feature on the overlay photo to impart motion.
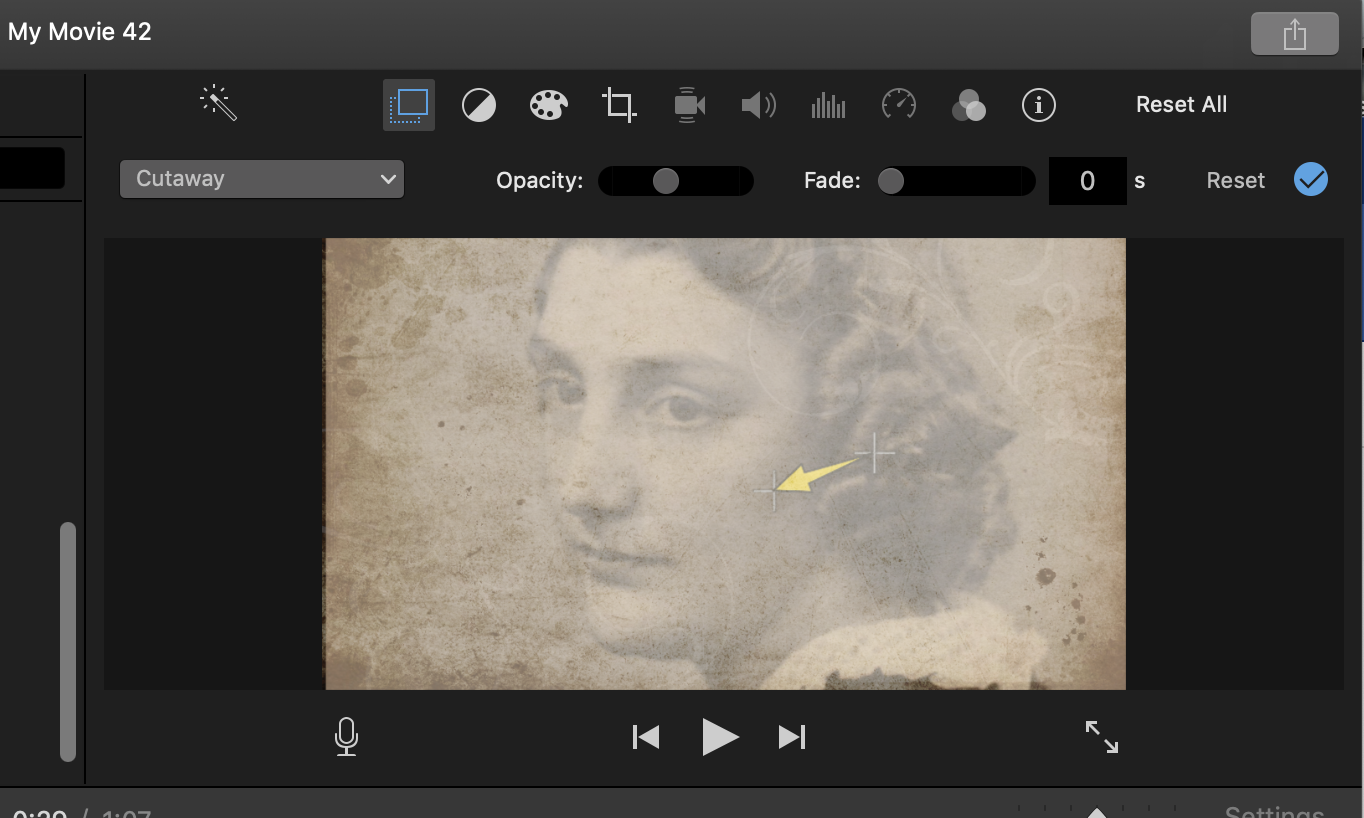
The blurring part is somewhat awkward because it requires a photo editing app to do the blurring. Instead of blurring, you could simply place your original photo, cropped to 16:9 with the Crop to Fill setting, in the timeline and overlay it with a background cutaway like Organic or Silk Beige. Then use the Cutaway slider to reduce the opacity of the background. You would get something like this:
Take a screen shot of the resulting background photo, and import it back into iMovie, and then overlay your original photo onto it, like this:
The above probably looks very confusing. You might want to make a universal background and stretch the duration to cover the entire slideshow. Or you could create 3 or 4 backgrounds to use. Then put your pictures in the timeline above to overlay them onto the background as described above.
Another thing that you can try is to use the Photos app slideshow feature to create a slide show with the Vintage Prints theme. Make your slide show in the Photos app, export it as a movie, and drag the movie into an iMovie project.
-- Rich