Underallocation Detected

After upgrading to High Sierra, I noticed that FMP 16 had become a tad unstable to say the least. Crash report logs show the problem was at Thread 0. Ran Disk Utilities and discovered that there is an Error called Underallocation detected on main device....


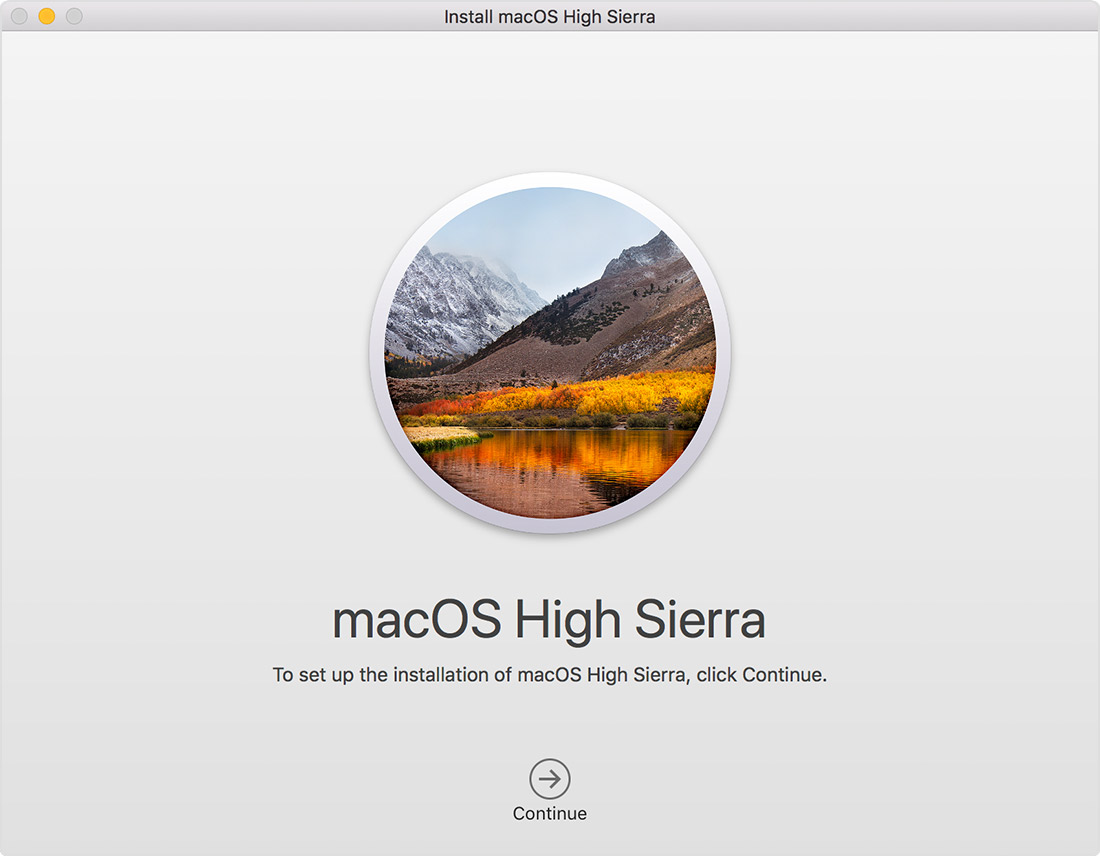
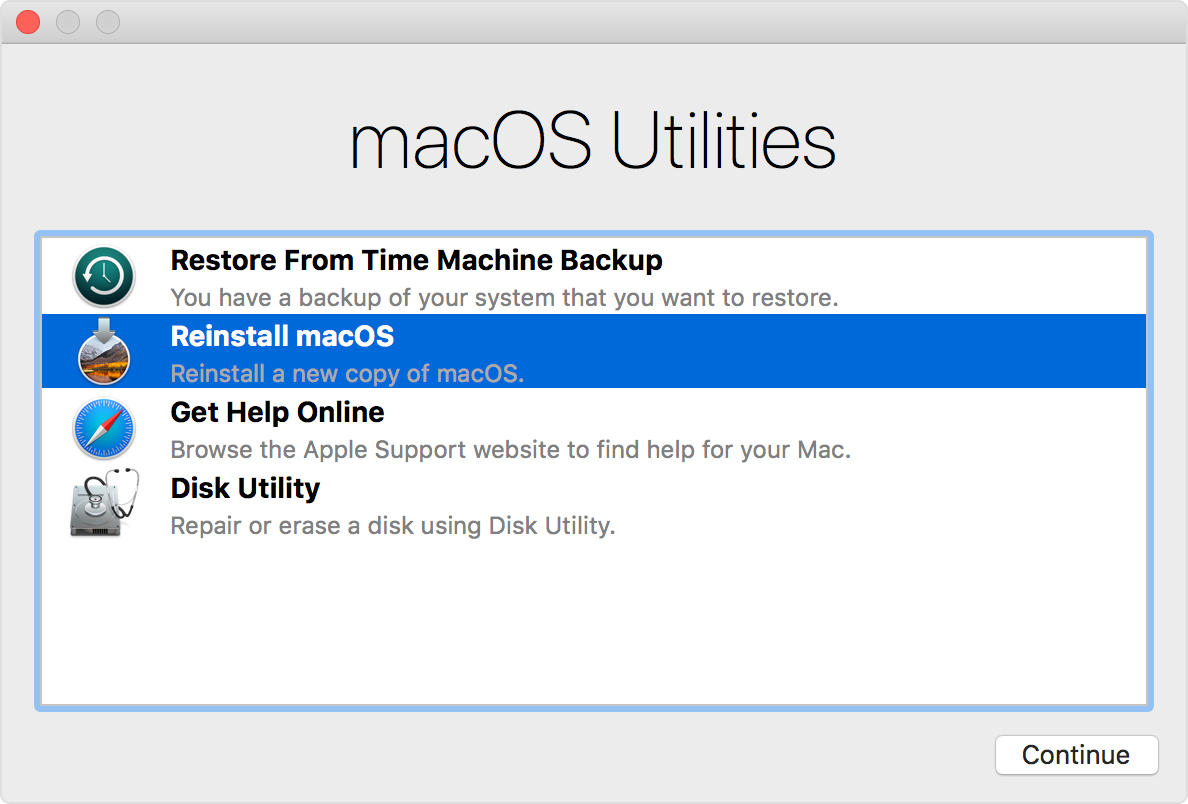
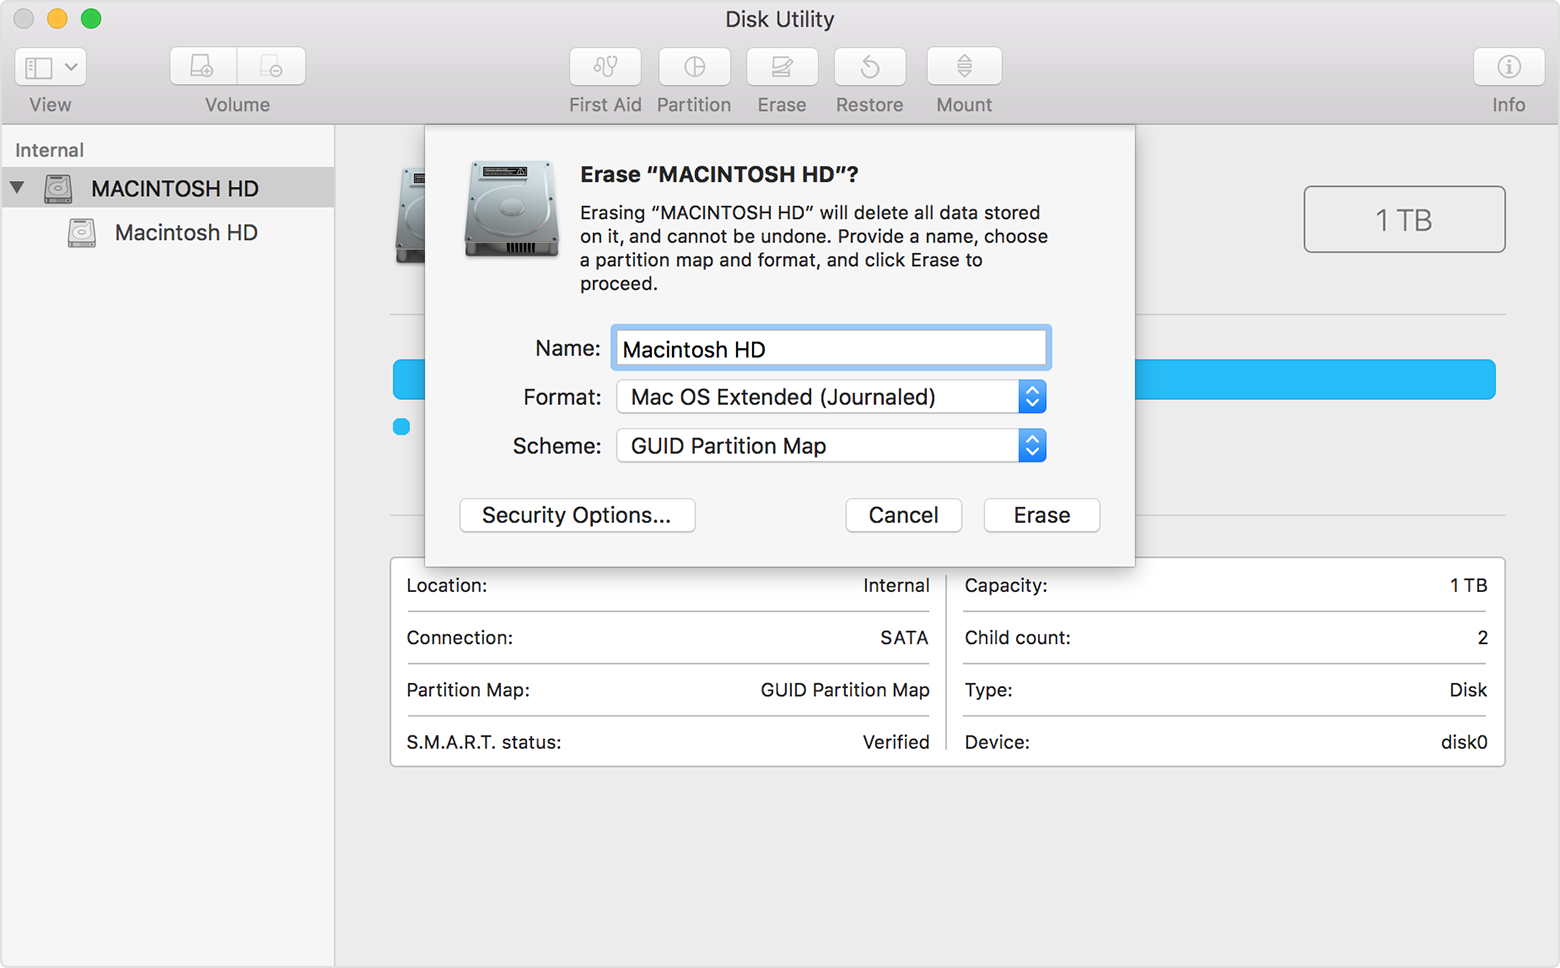
From an extensive search of the internet, blogs, forums etc, it seems that this is a fairly common experience. The advice not from Apple ( Apple is mute on this it seems) but from users is wipe and reinstall, the problem is usually a glitch in the process of installing 10.13.xx. Now up to 10.13.3 with companion update.


I have five questions;

1. Will 10.13.4 address / correct this?

2. Is my internal 500GB SSD hardrive too small?

3. Is my internal HD defective?

4. Are MBP now sold with 10.13.3 Installed?

5. Is this shades of OS8.5?


Finally I don't have time to mess about with fiddling around with technology which interrupts my day and diverts me from what I should be doing.

Posted on Feb 21, 2018 12:47 AM

Reply
Question marked as Top-ranking reply

Posted on Feb 21, 2018 3:27 AM

2) Check to see if your specific Mac meets these requirements. If so, an erase and reinstall of MacOS is necessary via Recovery Mode:


How to download macOS High Sierra

Use the Mac App Store to download and install macOS High Sierra on Mac computers that meet the system requirements.

User uploaded file

Can your Mac use High Sierra?

High Sierra requires any of the following Mac models and versions of macOS. It also requires at least 2GB of memory and 14.3GB of storage space to perform the upgrade.*

  • macOS Sierra
  • OS X El Capitan
  • OS X Yosemite
  • OS X Mavericks
  • OS X Mountain Lion

* Upon completion of the upgrade, macOS High Sierra requires about 1.5GB more storage space than macOS Sierra 10.12.6. To find your model, memory, storage, and version of macOS, choose About This Mac from the Apple () menu.

User uploaded file

Get High Sierra from the App Store

Before upgrading, it's a good idea to back up your Mac. Then follow these steps:

  1. Open the App Store app on your Mac.
  2. Search the App Store for macOS High Sierra, or go directly to the macOS High Sierra page.
  3. Click the Download button on the High Sierra page. A file named Install macOS High Sierra downloads to your Applications folder.
  4. After download is complete, the installer opens automatically. Click Continue and follow the onscreen instructions.You may be asked to sign in with an administrator name and password to install a helper tool, then click Add Helper to continue.User uploaded file

User uploaded file

Get High Sierra as an automatic download

If you're using OS X El Capitan v10.11.5 or later, High Sierra conveniently downloads in the background, making it even easier to upgrade your Mac. When the download has completed, you receive a notification indicating that High Sierra is ready to be installed. Click Install in the notification to get started.

If you want to install High Sierra later, just dismiss the notification. Install it at any time by opening the file named Install macOS High Sierra from your Applications folder, Launchpad, or Spotlight. Or delete the installer by dragging it to the Trash. You can always get it again from the App Store.

User uploaded file

Learn more

  • During installation, your Mac might restart several times. It then performs some initial setup tasks in the background. While those tasks are underway, activities such as using Spotlight or Mail might not seem as fast as they were before.
  • If you previously downloaded El Capitan, Yosemite, Mavericks, or another earlier version of macOS, you can download it again from the Purchased tab of the App Store. Learn how to download Sierra, the previous version of macOS.

Published Date: Dec 1, 2017

3) Reinstall via MacOS recovery:

Install from macOS Recovery

If you don't have the App Store, can't access it, or are selling or giving away your Mac, follow these steps.

Start up from macOS Recovery

macOS Recovery installs different versions of macOS depending on the key combination you use while starting up. Turn on or restart your Mac, then immediately hold down one of these combinations:

Command (⌘)-R Install the latest macOS that was installed on your Mac, without upgrading to a later version.*
Option-Command-R Upgrade to the latest macOS that is compatible with your Mac.**
Shift-Option-Command-RRequires macOS Sierra 10.12.4 or later
Install the macOS that came with your Mac, or the version closest to it that is still available. * If you're selling or giving away a Mac that is using OS X El Capitan or earlier, use Command-R to make sure that the installation isn't associated with your Apple ID.** If you haven't already updated to macOS Sierra 10.12.4 or later, Option-Command-R installs the macOS that came with your Mac, or the version closest to it that is still available.
  • Release the keys when you see the Apple logo or a spinning globe.
  • When you see the macOS Utilities window, continue to the next section to determine whether to erase your startup disk or begin installing macOS.

User uploaded file

Decide whether to erase your startup disk

Decide whether to erase (format) your startup disk before installing macOS. You should erase your startup disk in the following circumstances:

  • You're selling or giving away your Mac, so you're clearing your Mac of anything associated with you, your data, or your Apple ID.
  • You're trying to resolve an issue that Disk Utility can't repair.
  • The macOS installer says that it can't install on your computer or volume. For example, it might say that your startup disk isn't formatted correctly, isn't using a GUID partition scheme, already contains a newer version of the operating system, or can't be used to start up your computer.

If none of the circumstances above apply to you, skip to the next section to install without erasing. Erasing your disk permanently deletes all of the data stored on it.

If you need to erase your startup disk, follow these steps:

  1. Select Disk Utility from the utilities window of macOS Recovery, then click Continue.
  2. Select your device or volume in the sidebar of Disk Utility.
  3. Click the Erase button or tab.
  4. Complete these fields:
  5. Click Erase to begin erasing your disk.
  6. When done, quit Disk Utility to return to the utilities window. You're now ready to install macOS.

User uploaded file

Install macOS

Follow these steps after starting up from macOS Recovery:

  1. Choose Reinstall macOS (or Reinstall OS X) from the utilities window.
  2. Click Continue, then follow the onscreen instructions. You'll be asked to select your disk. If you don't see it, click Show All Disks.To verify eligibility to install macOS, your Mac serial number is sent to Apple, and you might be asked for your Apple ID.
  3. Click Install. Your Mac restarts after installation is complete.

If you erased your disk before installing, or you installed on an external drive or other new disk, your Mac restarts to a setup assistant.

  • If you're keeping your Mac, complete the setup assistant with your own information.
  • If you're selling or giving away your Mac, press Command-Q to quit the setup assistant without completing the setup steps. Then click Shut Down. When the new owner starts up the Mac, they can use their own information to complete setup.

Choose your new startup disk

If you have more than one disk that contains a compatible macOS installation, you can use Startup Disk preferences or Startup Manager to choose which disk to start up from.


Published Date: Oct 2, 2017

Finally, I'll address your statements:

User uploaded file

A) Obviously, Apple is not "mute" on this and has numerous articles I found easily in their database on apple.com, as shown above for your reference & use.

User uploaded file

B) 1. No one can speak on future updates. Moreover, this can be corrected now, so another version isn't applicable nor relevant.

2. High Sierra requires just over 14 Gb for install, as stated above

3. Refer to the above article on reinstall. You simply need to follow the steps to resolve. Only a certified Apple tech could officially determine if a hard drive is damaged, in-store regardless

4. Look on apple.com for specific models to research and find answers unique to devices that interest you

5. I'd focus on what's current and is solid right now. Looking at the past is what many would consider irrelevant and is truly analogous to "fiddling around" and a waste of time that can be spent in productive actions.

User uploaded file

- It appears that while you don't have the time to "fiddle around with technology that interrupts your day", you did just that. Based on the info you provided, you

chose to do so anyhow with no prior preparation nor research done to ensure a secure uograde/install.

Thus, you've put yourself in another position that takes more time. Now, you can choose to either take the time to resolve the issue using the above resources or leave it. You chose this route, not Apple. However, Apple provides you with numerous articles outlining steps to resolve. Thank you, Apple!

Take care and call Apple support if you need someone to guide you through the process, but please make sure you have the time as their time is valuable too, so wait until you can work patiently with a tech advisor.

Hope this helps and clarifies.

Take care :)


Similar questions

9 replies
Question marked as Top-ranking reply

Feb 21, 2018 3:27 AM in response to liv0123

2) Check to see if your specific Mac meets these requirements. If so, an erase and reinstall of MacOS is necessary via Recovery Mode:


How to download macOS High Sierra

Use the Mac App Store to download and install macOS High Sierra on Mac computers that meet the system requirements.

User uploaded file

Can your Mac use High Sierra?

High Sierra requires any of the following Mac models and versions of macOS. It also requires at least 2GB of memory and 14.3GB of storage space to perform the upgrade.*

  • macOS Sierra
  • OS X El Capitan
  • OS X Yosemite
  • OS X Mavericks
  • OS X Mountain Lion

* Upon completion of the upgrade, macOS High Sierra requires about 1.5GB more storage space than macOS Sierra 10.12.6. To find your model, memory, storage, and version of macOS, choose About This Mac from the Apple () menu.

User uploaded file

Get High Sierra from the App Store

Before upgrading, it's a good idea to back up your Mac. Then follow these steps:

  1. Open the App Store app on your Mac.
  2. Search the App Store for macOS High Sierra, or go directly to the macOS High Sierra page.
  3. Click the Download button on the High Sierra page. A file named Install macOS High Sierra downloads to your Applications folder.
  4. After download is complete, the installer opens automatically. Click Continue and follow the onscreen instructions.You may be asked to sign in with an administrator name and password to install a helper tool, then click Add Helper to continue.User uploaded file

User uploaded file

Get High Sierra as an automatic download

If you're using OS X El Capitan v10.11.5 or later, High Sierra conveniently downloads in the background, making it even easier to upgrade your Mac. When the download has completed, you receive a notification indicating that High Sierra is ready to be installed. Click Install in the notification to get started.

If you want to install High Sierra later, just dismiss the notification. Install it at any time by opening the file named Install macOS High Sierra from your Applications folder, Launchpad, or Spotlight. Or delete the installer by dragging it to the Trash. You can always get it again from the App Store.

User uploaded file

Learn more

  • During installation, your Mac might restart several times. It then performs some initial setup tasks in the background. While those tasks are underway, activities such as using Spotlight or Mail might not seem as fast as they were before.
  • If you previously downloaded El Capitan, Yosemite, Mavericks, or another earlier version of macOS, you can download it again from the Purchased tab of the App Store. Learn how to download Sierra, the previous version of macOS.

Published Date: Dec 1, 2017

3) Reinstall via MacOS recovery:

Install from macOS Recovery

If you don't have the App Store, can't access it, or are selling or giving away your Mac, follow these steps.

Start up from macOS Recovery

macOS Recovery installs different versions of macOS depending on the key combination you use while starting up. Turn on or restart your Mac, then immediately hold down one of these combinations:

Command (⌘)-R Install the latest macOS that was installed on your Mac, without upgrading to a later version.*
Option-Command-R Upgrade to the latest macOS that is compatible with your Mac.**
Shift-Option-Command-RRequires macOS Sierra 10.12.4 or later
Install the macOS that came with your Mac, or the version closest to it that is still available. * If you're selling or giving away a Mac that is using OS X El Capitan or earlier, use Command-R to make sure that the installation isn't associated with your Apple ID.** If you haven't already updated to macOS Sierra 10.12.4 or later, Option-Command-R installs the macOS that came with your Mac, or the version closest to it that is still available.
  • Release the keys when you see the Apple logo or a spinning globe.
  • When you see the macOS Utilities window, continue to the next section to determine whether to erase your startup disk or begin installing macOS.

User uploaded file

Decide whether to erase your startup disk

Decide whether to erase (format) your startup disk before installing macOS. You should erase your startup disk in the following circumstances:

  • You're selling or giving away your Mac, so you're clearing your Mac of anything associated with you, your data, or your Apple ID.
  • You're trying to resolve an issue that Disk Utility can't repair.
  • The macOS installer says that it can't install on your computer or volume. For example, it might say that your startup disk isn't formatted correctly, isn't using a GUID partition scheme, already contains a newer version of the operating system, or can't be used to start up your computer.

If none of the circumstances above apply to you, skip to the next section to install without erasing. Erasing your disk permanently deletes all of the data stored on it.

If you need to erase your startup disk, follow these steps:

  1. Select Disk Utility from the utilities window of macOS Recovery, then click Continue.
  2. Select your device or volume in the sidebar of Disk Utility.
  3. Click the Erase button or tab.
  4. Complete these fields:
  5. Click Erase to begin erasing your disk.
  6. When done, quit Disk Utility to return to the utilities window. You're now ready to install macOS.

User uploaded file

Install macOS

Follow these steps after starting up from macOS Recovery:

  1. Choose Reinstall macOS (or Reinstall OS X) from the utilities window.
  2. Click Continue, then follow the onscreen instructions. You'll be asked to select your disk. If you don't see it, click Show All Disks.To verify eligibility to install macOS, your Mac serial number is sent to Apple, and you might be asked for your Apple ID.
  3. Click Install. Your Mac restarts after installation is complete.

If you erased your disk before installing, or you installed on an external drive or other new disk, your Mac restarts to a setup assistant.

  • If you're keeping your Mac, complete the setup assistant with your own information.
  • If you're selling or giving away your Mac, press Command-Q to quit the setup assistant without completing the setup steps. Then click Shut Down. When the new owner starts up the Mac, they can use their own information to complete setup.

Choose your new startup disk

If you have more than one disk that contains a compatible macOS installation, you can use Startup Disk preferences or Startup Manager to choose which disk to start up from.


Published Date: Oct 2, 2017

Finally, I'll address your statements:

User uploaded file

A) Obviously, Apple is not "mute" on this and has numerous articles I found easily in their database on apple.com, as shown above for your reference & use.

User uploaded file

B) 1. No one can speak on future updates. Moreover, this can be corrected now, so another version isn't applicable nor relevant.

2. High Sierra requires just over 14 Gb for install, as stated above

3. Refer to the above article on reinstall. You simply need to follow the steps to resolve. Only a certified Apple tech could officially determine if a hard drive is damaged, in-store regardless

4. Look on apple.com for specific models to research and find answers unique to devices that interest you

5. I'd focus on what's current and is solid right now. Looking at the past is what many would consider irrelevant and is truly analogous to "fiddling around" and a waste of time that can be spent in productive actions.

User uploaded file

- It appears that while you don't have the time to "fiddle around with technology that interrupts your day", you did just that. Based on the info you provided, you

chose to do so anyhow with no prior preparation nor research done to ensure a secure uograde/install.

Thus, you've put yourself in another position that takes more time. Now, you can choose to either take the time to resolve the issue using the above resources or leave it. You chose this route, not Apple. However, Apple provides you with numerous articles outlining steps to resolve. Thank you, Apple!

Take care and call Apple support if you need someone to guide you through the process, but please make sure you have the time as their time is valuable too, so wait until you can work patiently with a tech advisor.

Hope this helps and clarifies.

Take care :)


Feb 21, 2018 3:17 AM in response to why o why

why o why wrote:


I have five questions;

1. Will 10.13.4 address / correct this?

This is a users forum so we have no insight as to what will or won't be fixed in 10.13.4.

2. Is my internal 500GB SSD hardrive too small?

Not unless you have less than 10% free space.

3. Is my internal HD defective?

No indication that it is.

4. Are MBP now sold with 10.13.3 Installed?

Can't say without ordering one today. Maybe.

5. Is this shades of OS8.5?

No idea what this means.

Surely our expectation of technology is that it should be seamless.

Not in the universe I live in. Never has been. Never will be as near as I can tell.

Feb 21, 2018 2:34 AM in response to why o why

First, FMP 16 asks that you update your OS prior to install or reinstall, thus potential instability issues.


Requirements for FMP 16:


Technical Specifications

FileMaker Pro 16 and FileMaker Pro 16 Advanced

What's included

The electronic version of FileMaker Pro 16 and FileMaker Pro 16 Advanced includes a license key for installation and a link to download the product software. The software bundle includes the Installation and New Features Guide in PDF format.

The boxed versions include a license key for installation and a link to download the software.

FileMaker Pro and FileMaker Pro Advanced display and support the language used by the desktop operating system.

Languages supported include: Worldwide English, French, Italian, German, Swedish, Japanese, Dutch, Spanish, Simplified Chinese, Korean, and Brazilian Portuguese.

File compatibility

Custom apps created using FileMaker Pro 12 and later can be opened and used with FileMaker Pro 16 and FileMaker Pro 16 Advanced.

Learn more about converting your pre-12 FileMaker apps.

Host compatibility

FileMaker Pro 16 and FileMaker Pro 16 Advanced can connect to the following hosts:

  • FileMaker Server 16, 15, and 14
  • FileMaker Pro 16, 15, and 14
  • FileMaker Pro 16, 15, and 14 Advanced
  • FileMaker Cloud 1.15.1 minimum

The latest updates must be applied to the above software before hosting FileMaker Pro 16 apps.

System requirements

Note that OS X Yosemite 10.10 is no longer supported. Be sure to update your operating system before upgrading to FileMaker Pro 16.

Operating System*
Windows 10 Pro Edition
Windows 10 Enterprise Edition
32-bit and 64-bit
Anniversary update
Windows 8.1 Standard Edition
Windows 8.1 Pro Edition
System updates 2919355 and 2999226
Windows 7 SP1 Professional Edition
Windows 7 SP1 Ultimate Edition
System update 2999226
macOS High Sierra 10.13
macOS Sierra 10.12
OS X El Capitan 10.11

*Version stated is the minimum requirement. FileMaker Pro may also work with later operating systems certified by FileMaker, Inc. Operating systems not listed in the table above have not been tested and are not supported.

Hardware requirements

Windows
Minimum Requirements CPU: 1 GHz or faster x86- or x64-bit processor
RAM: 1 GB
Recommended Requirements CPU: 1 GHz or faster x86- or x64-bit processor
RAM: 2 GB or more
Mac
Minimum Requirements RAM: 2 GB
Recommended Requirements RAM: 4 GB or more

Remote Desktop Services and Citrix XenApp

Windows Remote Desktop Services and Citrix XenApp 7.5 supported on:

  • Windows Server 2008 R2 SP1
  • Windows Server 2012 R2

Remote Desktop Services clients supported on:

  • Windows: Remote Desktop Services Client
  • OS X: Microsoft Remote Desktop 8.0

Citrix ICA client minimum requirements*:

  • Windows: Receiver for Windows 4.1.2
  • OS X: Receiver for Mac 11.8.2

*At this time, only the above clients are supported by FileMaker, Inc. Other clients may work as expected but they have not been tested for use with FileMaker Pro and are not currently supported.

Additional requirements

Technology Requirement
Networking Peer-to-peer sharing is limited to 5 simultaneous client connections in addition to the host; each client requires a licensed copy of the software. Use FileMaker Server 16 for increased security options and sharing capability.
Microsoft .NET For Windows, FileMaker Pro and runtime solutions require Microsoft .NET framework version 4.6 or later.
ODBC and JDBC Client Drivers Learn more about installing drivers to enable ODBC and JDBC clients to access FileMaker Pro data.
Supported email applications FileMaker Pro can Send Mail via an email client application. To do so, you must have a supported email application installed and configured properly on your computer. See a list of supported email applications.

Deprecated and removed technologies

FileMaker, Inc. continually invests in the latest technology in order to keep making improvements to the FileMaker Platform. As a result, some features and operating systems are deprecated and will be removed in future versions of FileMaker software. See a list of deprecated technologies.


List of deprecated features in FMP 16 via filmmaker support:


Deprecated features in FileMaker 16

The following features have been deprecated in FileMaker:Note

: Deprecation does not mean the immediate deletion of an API or technology. However, FileMaker recommends that you migrate your solution to use other APIs, technologies, or alternative features of the product because the deprecated interfaces may be deleted from a future version of the application.


Product Deprecated Operating Systems / Technologies / Features
FileMaker Pro
  • Image formats: FPX, MacPaint, QIF, EPS
  • 32-bit architecture
  • FileMaker Pro runtime
  • The Set Allowed Orientations script step
  • Support for EPS files (*.eps)
  • The Get(WindowOrientation) function
  • The External( ) function
  • Connecting to a host via LDAP Directory
  • Container field option: “Store only a reference to the file”
  • DBF import/export format
  • Support for Windows 7, 8, and 8.1
  • Send DDE and spelling script steps
  • DDR HTML format
  • Type 1 fonts
FileMaker Server
  • Standby server
  • Support for Windows Server 2008 R2 SP1 Standard and Enterprise Editions


The following features have been removed from FileMaker :

Product Removed Operating Systems / Technologies / Features
FileMaker Pro
  • Layout Themes:
    Family Theme
    Condensed Dark, Light
    Contrast Black, Blue, Green, Red
    FileMaker Millennium Cool Brown, Cool Gray, Cool Gray Touch, Warm Blue, Warm Bronze, Warm Green
    Glass Onyx, Onyx Touch, Purple, Silver
    Rectangular Bamboo, Ice, Pine, Shell, Stone
    Rounded Cosmos, Desert, Forest, Ocean, Ocean Touch, Sky
    Semi-Rounded Beach, Canyon, Meadow, Quarry, River, River Touch
    Specialty Electric, Retro, Wave, Wave Touch
  • Insert QuickTime for container fields
  • Import Bento Data Source
  • Open Bento Data Source
  • Bitmap fonts
  • QuickTime on Windows
  • Insert Sound
  • Menu items added through AppleEvents
  • Layout Theme: Classic
  • Save records as PDF using Acrobat 5 and Acrobat 6
  • Support for OS X 10.9 Mavericks
  • Support for OS X 10.10 Yosemite
FileMaker Server
  • Safari 6
  • Internet Explorer 9
  • Support for Windows Server 2012 Standard Edition
  • Internet Explorer 10
  • Support for OS X 10.9 Mavericks
  • Support for OS X 10.10 Yosemite
FileMaker Go
  • iOS 6
  • iOS 7
  • iOS 8
  • iOS 9

Answer Number: 000025819

Products

  • FileMaker Pro
  • 16.x
  • FileMaker Pro Advanced
  • 16.x
  • FileMaker Server
  • 16.x
  • FileMaker Go for iPad
  • 16.x
  • FileMaker Go for iPhone and iPod touch
  • 16.x

Feb 21, 2018 2:51 AM in response to liv0123

Thanks for bothering to extend your advice. It is appreciated.


The FMP issue aside, of lingering concern is the state of the Internal SSD Hard drive following an OS update. The 'underallocation' issue is not isolated. It is widely discussed on forums and blogs etc. There is minimal recognition of it here. Surely our expectation of technology is that it should be seamless.

Feb 21, 2018 3:55 AM in response to why o why

You're welcome.


This is why I go to direct sources vs blogs, etc. I require credible sources with proven results. I research, network with experienced users and techs, prepare, plan, then reach out for support as needed. I like results and resolution :)


I found loads of info right here and per Apple.

Yes, I agree - it should be seamless and is, until we begin to make changes on our own accord. I expect nothing the best and have only gotten exceptional support, but I work with my techs when issues arise that yep - I created. We're only human. It's a team effort and I come prepared to the best of my ability so they can best assist me.


You can get through it with active measures and effort. Have faith 😊

See ya ~

Feb 21, 2018 3:54 AM in response to liv0123

I hope the record in all my dealings with Apple support staff, since Apple released Mac in 1984 shows nothing but patience. (As an aside I paid more for my Mac 512k than I did for my latest MBP). Thank you Apple. Thank you for a bold new progressive OS running on a APFS,


I would only conclude whilst not wishing have the last word, I followed all prescribed instructions and advice kindly reproduced above. The nett result has been the situation I find myself in, not as you suggest, a something I might have just carelessly done. I invest in the latest technology with one reasonable expectation that it will deliver as promised on that investment. I accept that glitches happen, and I am grateful to you for mapping out the most efficient pathway forward. Grateful simply because I value other people's time as much as my own.

Feb 21, 2018 3:57 AM in response to why o why

why o why wrote:


I hope the record in all my dealings with Apple support staff, since Apple released Mac in 1984 shows nothing but patience. (As an aside I paid more for my Mac 512k than I did for my latest MBP). Thank you Apple. Thank you for a bold new progressive OS running on a APFS,

FWIW, this is a users for users forum. Apple is not here. You can send feedback to Apple here… Feedback - macOS - Apple

Feb 21, 2018 4:17 AM in response to CountryGirl56

Thank you for your insights and thoughts.

I would expect that many members of this forum are beta testers, and would have insights into what is coming in 10.13.4 - without any suggestion that they might violate any Non Disclosure Agreements.

As to HD size, possible HD defects and OS on current MBP's, these arose after a chat with a member of an Apple store.

OS8.5 brought crashes, memory leaks and data corruption - 8.5.1 was an attempted fix.

This thread has been closed by the system or the community team. You may vote for any posts you find helpful, or search the Community for additional answers.

Underallocation Detected

Welcome to Apple Support Community
A forum where Apple customers help each other with their products. Get started with your Apple Account.