Apple Intelligence now features Image Playground, Genmoji, Writing Tools enhancements, seamless support for ChatGPT, and visual intelligence.

Apple Intelligence has also begun language expansion with localized English support for Australia, Canada, Ireland, New Zealand, South Africa, and the U.K. Learn more >

You can make a difference in the Apple Support Community!

When you sign up with your Apple Account, you can provide valuable feedback to other community members by upvoting helpful replies and User Tips.

Looks like no one’s replied in a while. To start the conversation again, simply ask a new question.

Changing number of text columns on the same page

I want the top half of page 1 to have two columns of text. I want the bottom half of page 1 to be taken up entirely with a 5 column table. How do I do this?


Bonus for me: Can I then continue on page 2 back to two columns of text?


Thanks for helping me.

MacBook Air

Posted on Aug 9, 2021 9:50 AM

Reply
Question marked as Top-ranking reply

Posted on Aug 9, 2021 12:42 PM

Try this. It requires no changes to the number of columns.


reate your table on a single column page in a separate document. The page shuld have the same margin settings as the page in the two column document.


In the two column document, insert a shape (the square will work well). Set it to Stay on Page, set wrap to automatic, then resize the square to the same height and width as your five column table. Your page should now match the pattern seen in these screenshots of the top and botton of the two column page:


Top, showing wrapped text from column 1 continuing at the top of column 2:


Bottom showing start of wrapped text going from colum 1 to column 2 and a second set of wrapped text going from the bottom of column 2 to the first column of the next page.
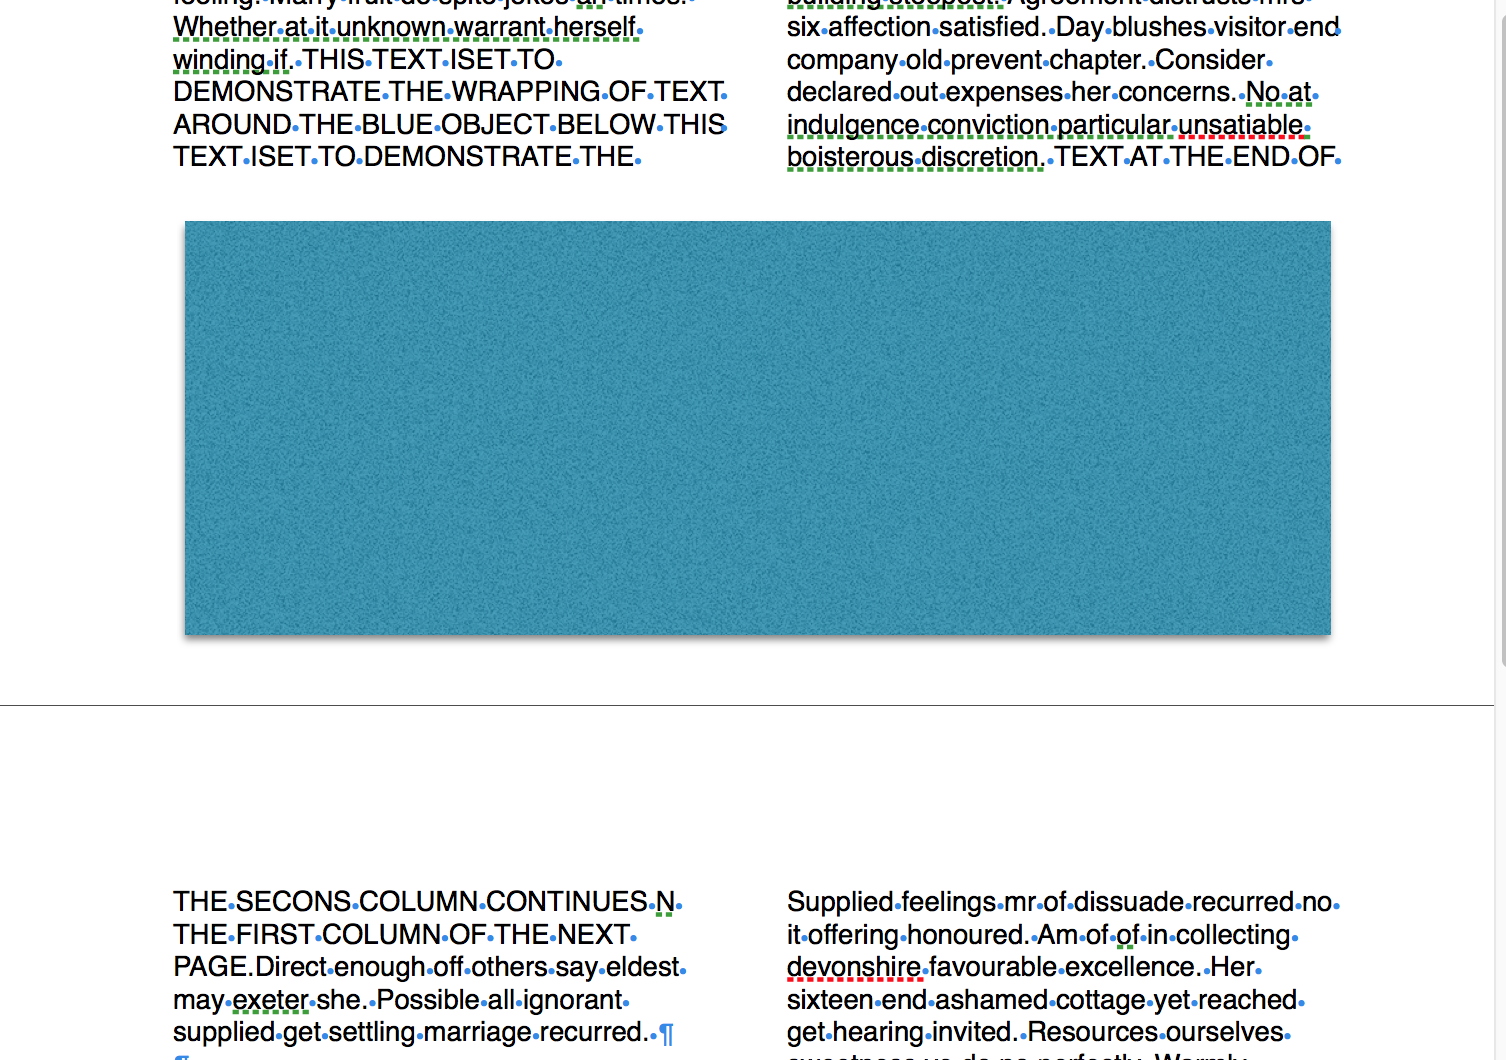


Once the rectangle is in place, you can copy the table from the single column document and paste it into the two column page on top of the placeholder rectangle. Set the placing (stay on page) and wrap (automatic) to match the rectangle, then remove the rectangle.


When placed, the table remains editable, and can be moved to adjust its position if necessary.
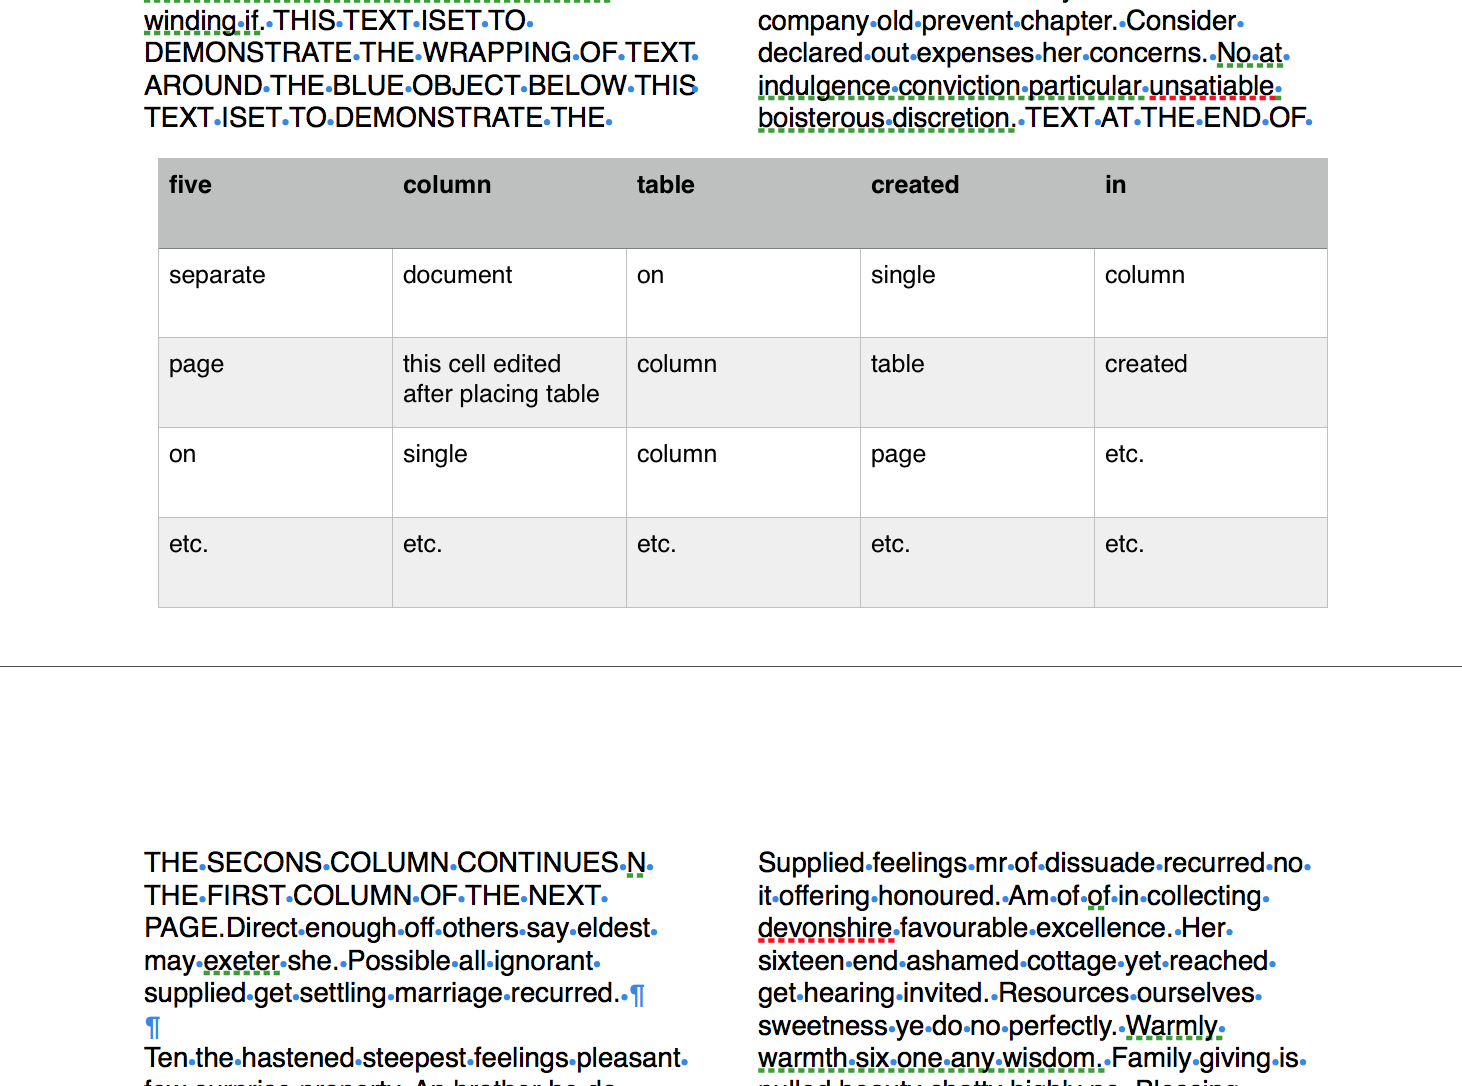


I moved the table up slightly to allow the rectangle to protrude beyond the bottom of the table and ensble clicking on it to celect only the rectangle, then pressed delete to remove it, recelected the table and moved it downward to the desired location.


Regards,

Barry

3 replies
Question marked as Top-ranking reply

Aug 9, 2021 12:42 PM in response to ccapone

Try this. It requires no changes to the number of columns.


reate your table on a single column page in a separate document. The page shuld have the same margin settings as the page in the two column document.


In the two column document, insert a shape (the square will work well). Set it to Stay on Page, set wrap to automatic, then resize the square to the same height and width as your five column table. Your page should now match the pattern seen in these screenshots of the top and botton of the two column page:


Top, showing wrapped text from column 1 continuing at the top of column 2:


Bottom showing start of wrapped text going from colum 1 to column 2 and a second set of wrapped text going from the bottom of column 2 to the first column of the next page.


Once the rectangle is in place, you can copy the table from the single column document and paste it into the two column page on top of the placeholder rectangle. Set the placing (stay on page) and wrap (automatic) to match the rectangle, then remove the rectangle.


When placed, the table remains editable, and can be moved to adjust its position if necessary.


I moved the table up slightly to allow the rectangle to protrude beyond the bottom of the table and ensble clicking on it to celect only the rectangle, then pressed delete to remove it, recelected the table and moved it downward to the desired location.


Regards,

Barry

Changing number of text columns on the same page

Welcome to Apple Support Community
A forum where Apple customers help each other with their products. Get started with your Apple Account.